
Driving a Servo Motor — SIK Circuit 8
Maagizo
Parts & Introduction
Parts & Introduction
A servo motor can be precisely positioned between 0 and 180 degrees. Unlike a regular motor that just spins, servos hold their position — making them perfect for robotics, pan/tilt mechanisms, and control surfaces. This experiment introduces the Servo library.
Parts Needed
- 1x Arduino Uno + USB cable
- 1x Breadboard
- 1x Servo Motor (with 3-pin header)
- 8x Jumper Wires
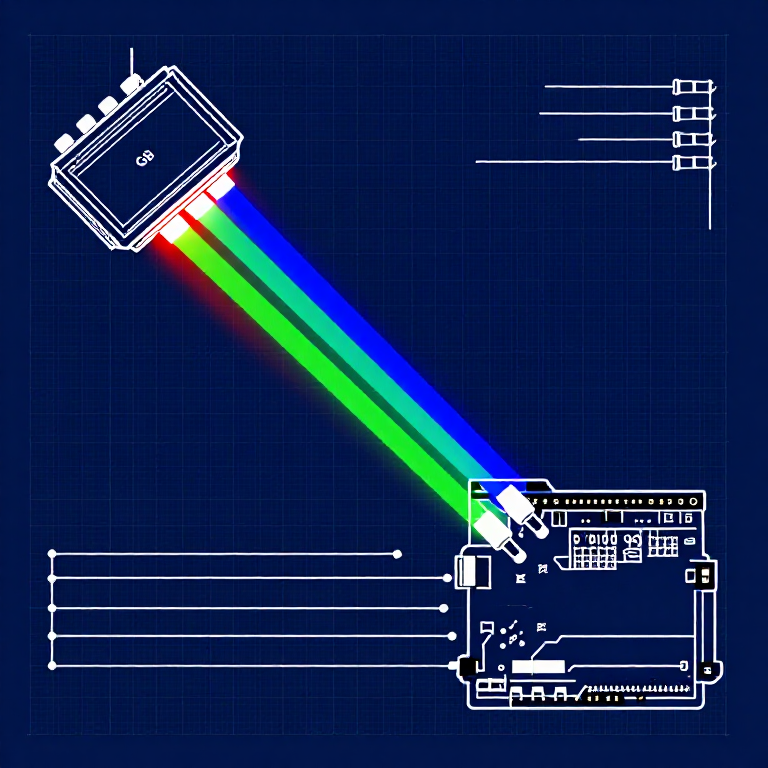
The servo has three wires: Red (power), Black (ground), White (signal).
Vifaa kwa hatua hii:
 SparkFun Inventors Kit - V3.21 kifaa
 Arduino Uno R31 kipande
 Breadboard1 kipande
 Servo Motor1 kipande
 Jumper Wires3 vipande
Zana zinazohitajika:
Hardware Hookup
Hardware Hookup
Wiring Instructions
- Connect 3 jumper wires to the servo's female 3-pin header for breadboarding.
- Connect the Red wire to 5V.
- Connect the Black wire to GND.
- Connect the White wire (signal) to Digital Pin 9.
Power Note: Servos draw significant current. If the servo twitches and the Arduino resets, use a wall adapter instead of USB power, or power the servo from a separate 5V supply.
Vifaa kwa hatua hii:
Servo Motor1 kipandeJumper Wires3 vipandeArduino Code
Arduino Code
Open the Arduino IDE and upload the following sketch to your Arduino board.
Vifaa kwa hatua hii:
Arduino Uno R31 kipandeZana zinazohitajika:
Test & Experiment
Test & Experiment
What You Should See
The servo quickly moves to 90°, 180°, and 0° (1 second each), then slowly sweeps from 0° to 180° and back.
Troubleshooting
- Servo not moving: Even with colored wires, it's easy to plug a servo in backwards. Check connections.
- Twitching/resetting: The servo draws too much power from USB. Use a wall adapter or separate power supply.
Experiments to Try
- Add a potentiometer (from Circuit 2) to control servo position with a knob.
- Change the step size and delay to experiment with speed and smoothness.
- Build a simple pan/tilt mechanism with two servos.
Vifaa
5- $105.00
- 1 kipandeKishikilia Nafasi
- 1 kipandeKishikilia Nafasi
- 1 kipandeKishikilia Nafasi
- $5.00
You can swap these in
Can't get one of the materials? Swap it for an equivalent — these work just as well.
- Instead of Arduino Uno R3, try:
 Prototyping Shield for Arduino Uno (3-Pack)
 Arduino Uno R3 BoardArduino Uno
 - Instead of Servo Motor, try:
 Vibration Motor Assortment
 SG90 Micro Servo Motor (5-Pack)
 Marine Brushless Motor
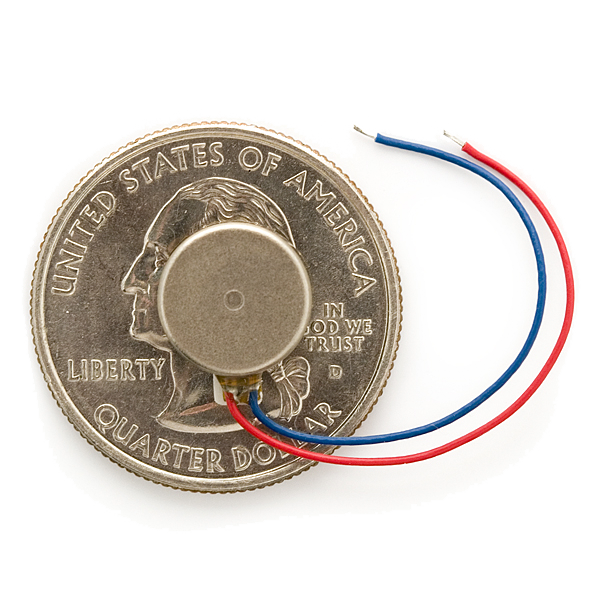 Vibration Motor
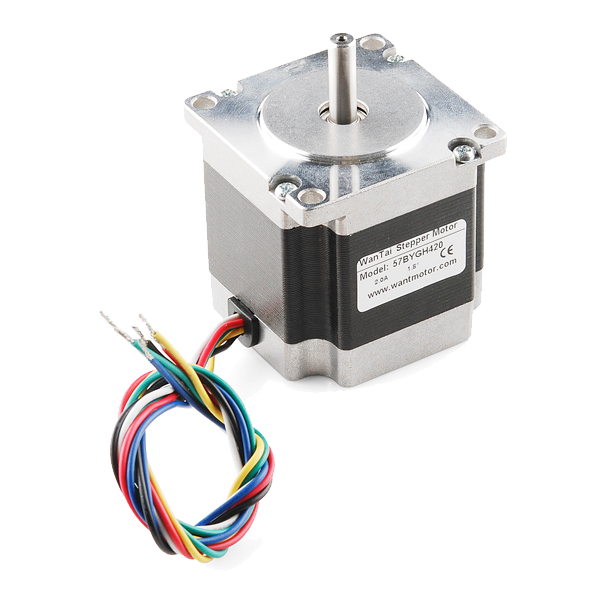 Stepper Motor - 125 oz.in (200 steps/rev)
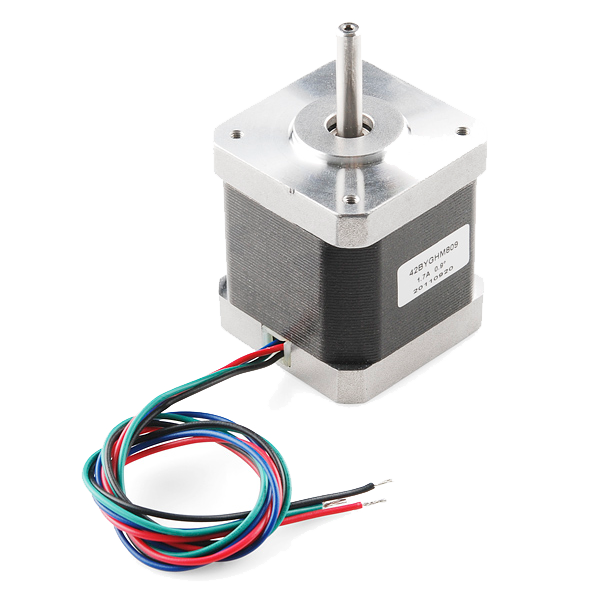 Stepper Motor - 68 oz.in (400 steps/rev)
 DC MotorDC Gear Motor 6V (4-Pack with Wheels)
 - Instead of Breadboard, try:
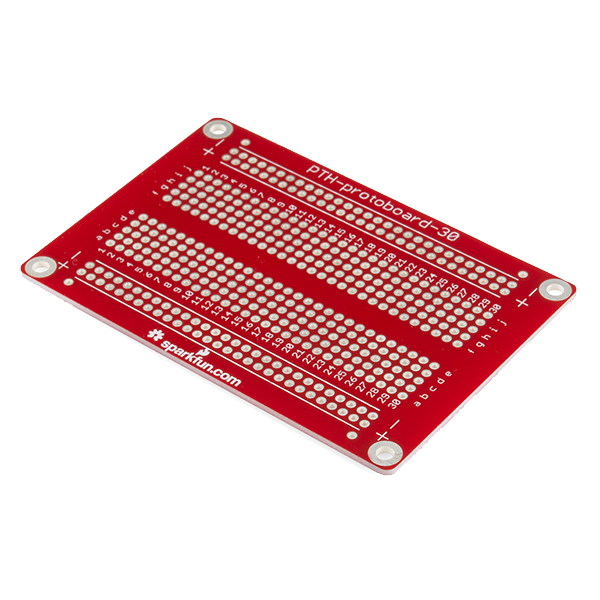 Solder-able Breadboard
Recommended for this build
Products makers often use with builds like this one.
 Resistor 330 Ohm 1/6 Watt PTH - 20 packUsed together and in similar builds
 Diode KitUsed together and in similar builds
 5mm LED Assortment Kit (300pcs, 5 Colors)Used together and in similar builds
 Flex Sensor 2.2 InchUsed together and in similar builds
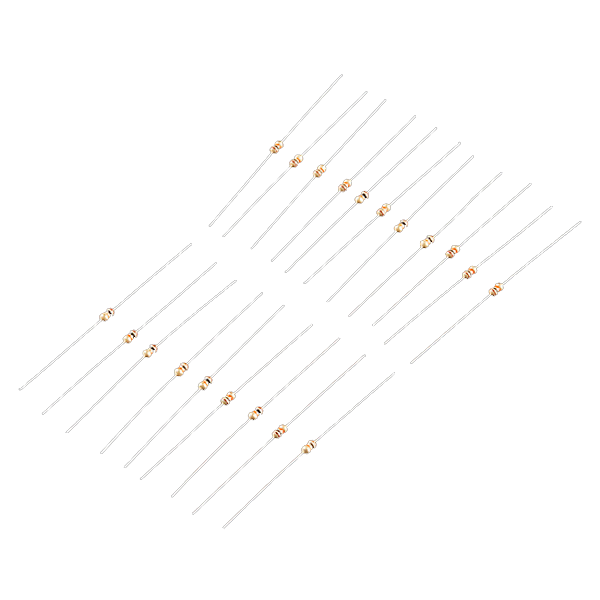 Resistor 10K Ohm 1/6th Watt PTH - 20 packUsed together and in similar builds
 Relay ModuleUsed in similar builds
 Temperature SensorUsed in similar builds
Related blueprints
Other builds that share materials, tools, or techniques with this one.


CC0 Umma Wote
Mchoro huu umetolewa chini ya CC0. Uko huru kunakili, kubadilisha, kusambaza, na kutumia kazi hii kwa madhumuni yoyote, bila kuomba ruhusa.
Saidia Mtengenezaji kwa kununua bidhaa kupitia Mchoro wao ambapo wanapata Kamisheni ya Mtengenezaji iliyowekwa na Wachuuzi, au unda marudio mapya ya Mchoro huu na uiunganishe kama kiungo katika Mchoro wako kuchangia mapato.