SANAA
UREMBO NA USTAWI
UJANJA
UTAMADUNI NA HISTORIA
BURUDANI
MAZINGIRA
CHAKULA NA VINYWAJI
UHANDISI WA KINYUME
SAYANSI
MICHEZO
TEKNOLOJIA
VAZI



The Twisted Nematic LCD
Schadt and Helfrich, 1970. Every other display in this batch makes light; the LCD is a valve in front of a backlight. Rod-shaped molecules line up with a rubbed surface and twist a quarter-turn between two plates, carrying polarised light round with them — the cell is clear. A few volts stand the molecules up, the twist vanishes, the light is blocked. A valve costs power only to switch, which is why the LCD won. You will build a working cell.
Juu
6 hours
Maagizo
1
1
The molecule whose shape is the whole device
The molecule whose shape is the whole device
5CB — 4-cyano-4'-pentylbiphenyl — is the first room-temperature liquid crystal (Gray, 1972), and almost every early LCD uses it or a relative. Its shape is the device: a rigid biphenyl rod so the molecules line up (the nematic phase), a floppy pentyl tail so it stays liquid, and a polar cyano end that is the handle the electric field grabs to switch it. Rigid enough to align, floppy enough to flow, polar enough to steer.
2
2
The twist, and why it needs two polarisers
The twist, and why it needs two polarisers
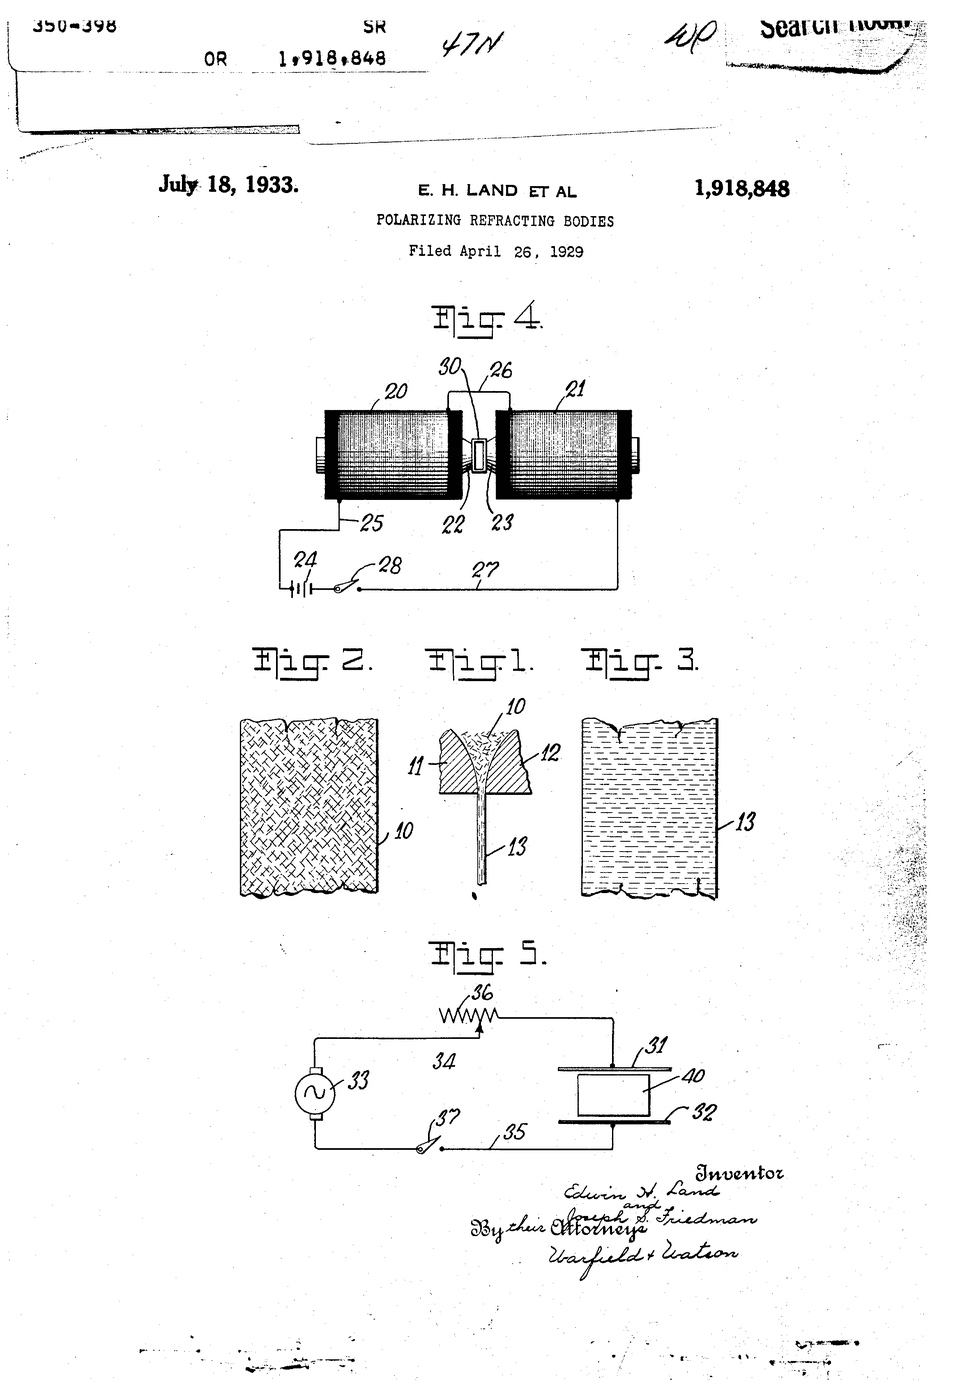
A liquid-crystal cell does nothing visible without a polariser each side — it rotates polarisation, which the eye cannot see. The plates are rubbed at 90 degrees, so the molecules form a quarter-turn helix that guides polarised light round to pass the crossed rear polariser: bright. A few volts stand the molecules up, the helix dies, the light is blocked: dark. Read the embedded polariser blueprint first.
3
3
Build a working cell and rub the alignment layer
Build a working cell and rub the alignment layer
A real build. Two ITO-coated glass plates (find the conductive side with a meter, ~hundreds of ohms). Wipe a thin PVA or polyimide film on each and RUB firmly one way — the grooves align the molecules. Assemble conductive faces in, rubbing directions at 90 degrees, ~10 um spacers, three edges sealed. Draw in 5CB by capillary action (warm it above ~35 C so it flows), seal the last edge. Add a polariser each side, axes crossed.
Test: crossed polarisers, no volts = bright; touch 3-5 V AC to the two ITO faces and the lit area goes dark. Use AC, not DC — DC electrolyses and kills the cell in minutes.
Vifaa kwa hatua hii:
 Kioo cha sampuli kilichofunikwa kwa ITO2 vipande
 Kioo cha majimaji 5CB1 ml
 Karatasi ya kichujio cha polarisheni2 karatasi
Zana zinazohitajika:
 Mita-nyingi ya dijitali ya maabara
 Chanzo cha umeme cha meza
 Seti ya koleo ndogo za usahihi
4
4
Measure the threshold voltage
Measure the threshold voltage
Inapakia daftari la Jupyter…
Zana zinazohitajika:
 Kompyuta ya mezani
Vifaa
3- Kishikilia Nafasi
- Kishikilia Nafasi
- 2 karatasiKishikilia Nafasi
Zana Zinazohitajika
4- Kishikilia Nafasi
- Kishikilia Nafasi
- Kishikilia Nafasi
- Kishikilia Nafasi
Blueprint zinazohusiana
Blueprint hizi zinashiriki maarifa — mbinu, vifaa au kanuni

CC0 Umma Wote
Mchoro huu umetolewa chini ya CC0. Uko huru kunakili, kubadilisha, kusambaza, na kutumia kazi hii kwa madhumuni yoyote, bila kuomba ruhusa.
Saidia Mtengenezaji kwa kununua bidhaa kupitia Mchoro wao ambapo wanapata Kamisheni ya Mtengenezaji iliyowekwa na Wachuuzi, au unda marudio mapya ya Mchoro huu na uiunganishe kama kiungo katika Mchoro wako kuchangia mapato.