Making Acrylic Paint — Grinding Pigments into Acrylic Polymer Medium
ការណែនាំ
Understand Acrylic Medium Chemistry
Understand Acrylic Medium Chemistry
Acrylic polymer emulsion is a milky-white liquid consisting of microscopic acrylic resin particles (0.05-1 micrometre diameter) suspended in water, stabilised by surfactants. When the water evaporates, the resin particles fuse together (a process called coalescence) to form a continuous, clear, flexible, water-resistant plastic film. The acrylic polymer is typically polymethyl methacrylate (PMMA), polyethyl acrylate, or polybutyl acrylate — the same family of plastics used in Perspex/Plexiglas. Acrylic polymer emulsion cannot be made at home because emulsion polymerisation requires precise temperature control, chemical initiators (ammonium persulfate), and surfactants under controlled conditions. However, artist-grade acrylic medium is widely available and inexpensive, and it is the standard professional approach to making custom acrylic paint.
Tools needed:
 Dust Mask
 Nitrile Gloves
Wet the Pigment
Wet the Pigment
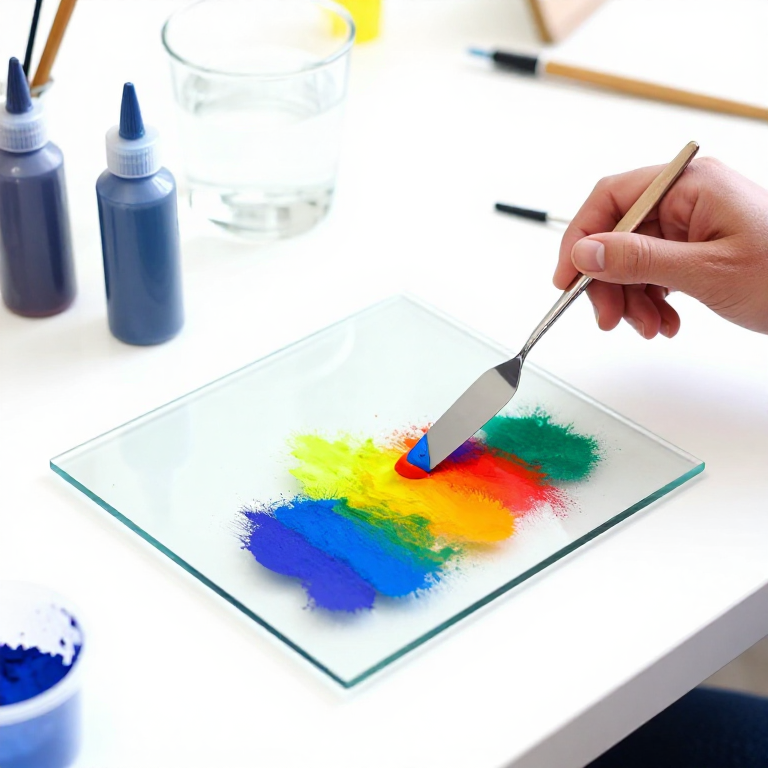
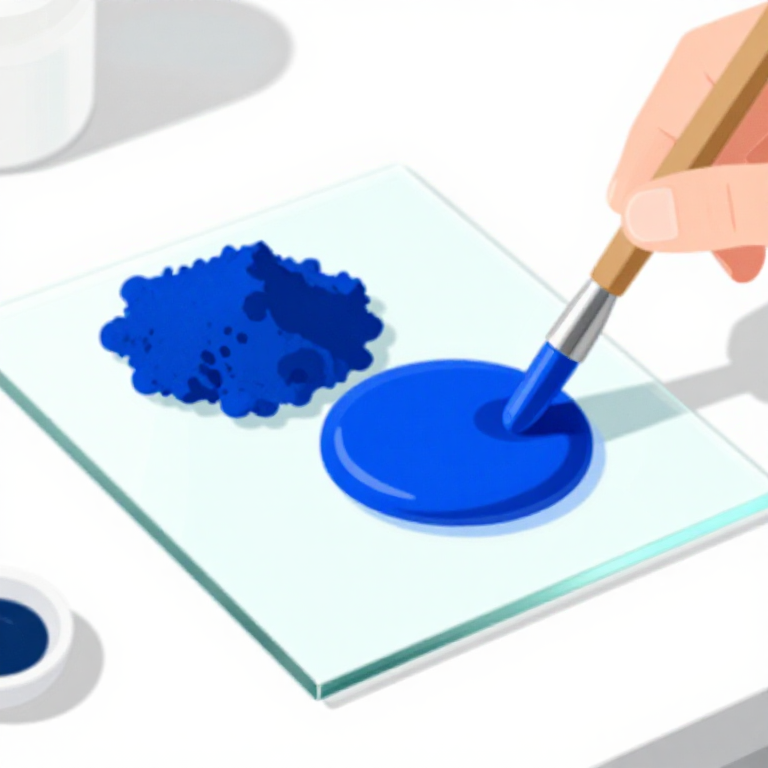
Wearing a dust mask, place a small mound of dry pigment (1-2 tablespoons) on the glass slab. Add a few drops of distilled water and mix with the palette knife to form a smooth, thick paste. This pre-wetting step is important: dry pigment powder does not disperse well directly into the thick acrylic medium — it clumps and resists mixing. The water breaks the surface tension of the pigment particles, allowing the acrylic medium to coat them more easily in the next step. Only add enough water to eliminate all dry powder — the paste should be thick, like toothpaste. Excess water dilutes the acrylic medium and weakens the final paint film.
Materials for this step:
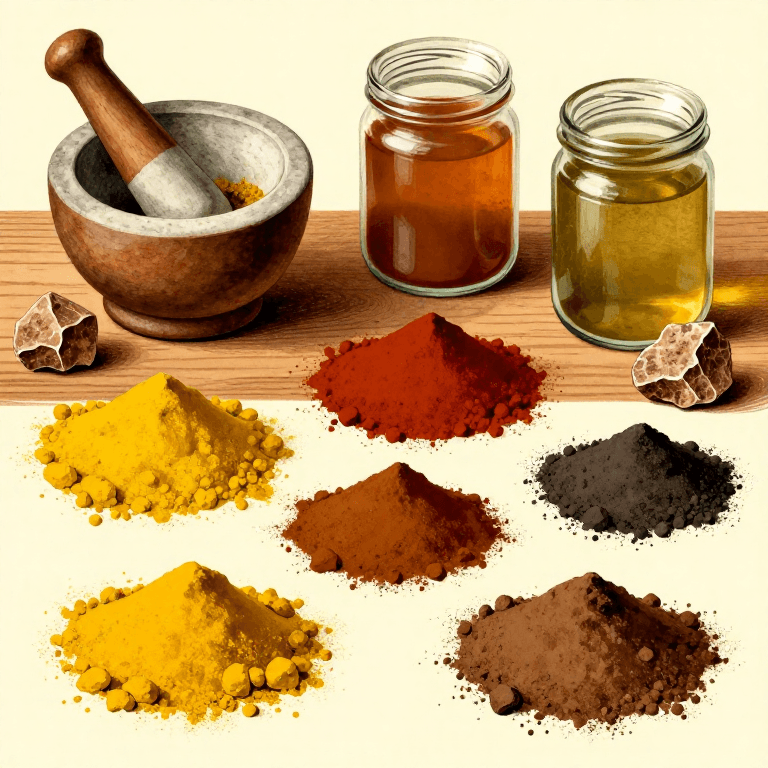
 Earth Pigment Powder Set (10 Colors)50 g
 Distilled Water (1 Gallon)50 ml
Tools needed:
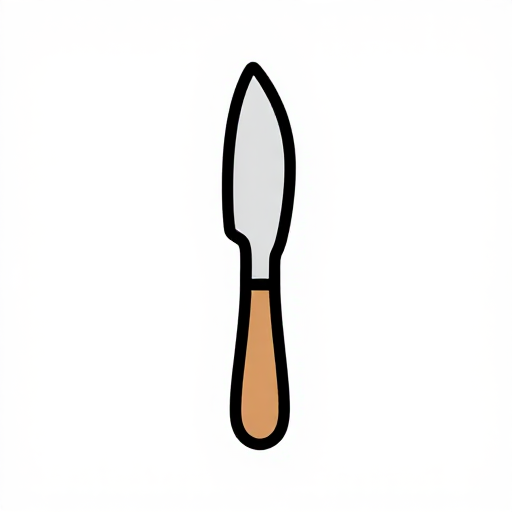 Palette Knife Set (5-Piece)
Add Acrylic Medium and Grind
Add Acrylic Medium and Grind
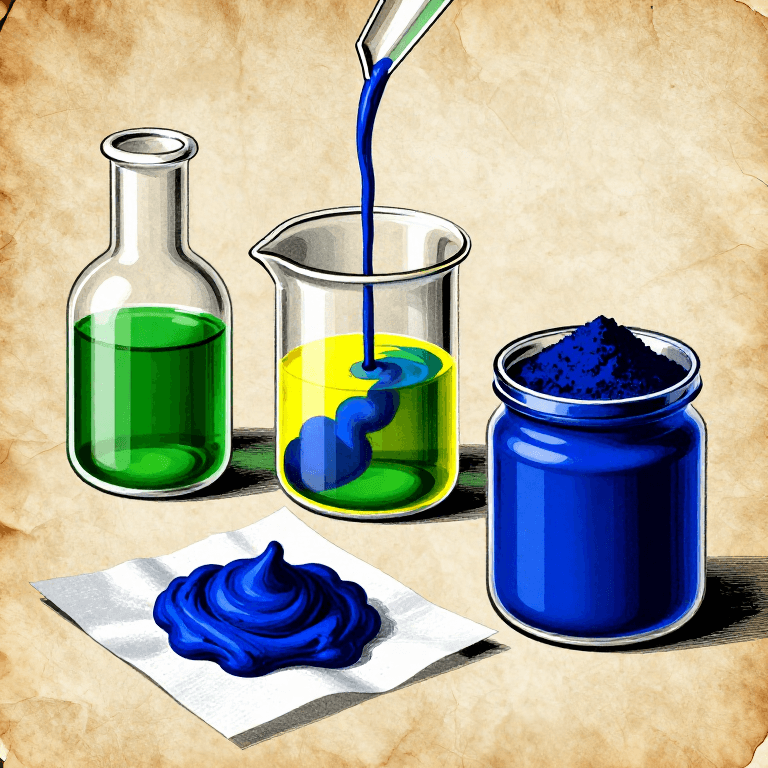
Add acrylic polymer medium to the wetted pigment paste — start with approximately equal volumes of medium and pigment paste. Mix roughly with the palette knife, then grind with the glass muller in circular motions. The muller disperses the pigment evenly through the medium, breaking up any remaining clumps. Acrylic medium is thicker than water or gum arabic solution, so grinding requires moderate pressure. Work the mixture for 5-10 minutes until it is smooth, creamy, and uniform in colour with no visible graininess. Add more medium if the mixture is too stiff, or more wetted pigment if it is too thin. The ideal consistency depends on your intended use: thicker paint (less medium) for impasto work, thinner paint (more medium) for glazing.
Materials for this step:
 Acrylic Polymer Medium100 ml
Tools needed:
 Glass MullerPalette Knife Set (5-Piece)
Test and Adjust Pigment Load
Test and Adjust Pigment Load
Apply a brushstroke of the paint to a white surface (primed canvas or heavy paper) and let it dry — acrylic paint dries in 5-20 minutes. The dry paint should be richly coloured and opaque (for opaque pigments like titanium white, cadmium yellow, or yellow ochre) or deeply saturated and transparent (for transparent pigments like ultramarine, phthalo blue, or quinacridone red). If the dry colour appears washed out, the pigment-to-medium ratio is too low — grind more pigment. If the paint is crumbly or chalky when dry, there is too much pigment and not enough medium — add more acrylic medium and grind again. Factory-made "student grade" acrylics often contain fillers (calcium carbonate) and less pigment; your hand-ground version should have significantly higher pigment concentration and richer colour.
Tools needed:
Palette Knife Set (5-Piece)Adjust Flow and Viscosity
Adjust Flow and Viscosity
Acrylic paint viscosity can be modified by adding specific mediums: more clear acrylic medium thins the paint while maintaining film strength; distilled water thins the paint but weakens the film if more than ~20% water is added (too much water breaks the emulsion and the dried film becomes powdery). For fluid acrylic consistency (ink-like, for pouring or airbrush): use acrylic flow medium or thin with water up to 20% of the paint volume. For heavy body consistency (butter-like, for palette knife work): use less medium and grind with minimal water. You can also add retarder medium (glycol-based) to slow drying time — acrylic normally dries very fast, which makes blending difficult. A few drops of retarder gives you several extra minutes of working time.
Materials for this step:
Distilled Water (1 Gallon)20 mlTools needed:
Palette Knife Set (5-Piece)Store the Finished Paint
Store the Finished Paint
Transfer the ground acrylic paint into squeeze bottles or jars with tight-fitting lids using a palette knife. Unlike oil paint, acrylic paint cannot be stored in metal tubes because the water-based emulsion corrodes aluminium over time. Plastic squeeze bottles or glass jars are ideal. Acrylic paint stored in sealed containers keeps for months to years — the key is preventing the water from evaporating, which would cause the paint to dry in the container. If a skin forms on the surface, peel it off and stir — the paint underneath should still be usable. If the paint thickens over time, add a few drops of water and stir to restore consistency. Label each container with the pigment name, date, and pigment-to-medium ratio for your records. Clean all tools with water immediately — dried acrylic is essentially plastic and is extremely difficult to remove once cured.
Tools needed:
 Glass Storage Jar Set
សម្ភារៈ
3- កន្លែងទុក
- កន្លែងទុក
- 100 mlកន្លែងទុក
Connected Blueprint Materials

Making Oil Paint from Raw Pigments — Grinding Pigments in Linseed Oil
ដោយ Charlie![]()
សិល្បៈ
Making Natural Earth Pigments from Soil and Rocks — Collecting and Processing
ដោយ Mary![]()
សិល្បៈ
Making Prussian Blue — The First Modern Synthetic Pigment (Berlin, 1704)
ដោយ Charlie![]()
សិល្បៈ
ប្លង់ពាក់ព័ន្ធ
ប្លង់ទាំងនេះចែករំលែកចំណេះដឹង — បច្ចេកទេស សម្ភារៈ ឬគោលការណ៍

Making Watercolour Paint from Raw Pigments — Gum Arabic Binder
ដោយ Charlie![]()
សិល្បៈ

Making Egg Tempera Paint — The Medieval Panel Painting Medium
ដោយ Charlie![]()
សិល្បៈ

Making Malachite Green Pigment — Grinding the Copper Mineral into Painter's Green
ដោយ Charlie![]()
សិល្បៈ

Making Bone Black Pigment — Calcining Animal Bones into the Warm Black of Old Master Painters
ដោយ Charlie![]()
សិល្បៈ

Making Vine Black Pigment — Charring Grape Vines into the Cool Blue-Black of Classical Painters
ដោយ Charlie![]()
សិល្បៈ

Making Green Earth Pigment (Terra Verte) — The Soft Green of Celadonite and Glauconite
ដោយ Charlie![]()
សិល្បៈ

Making Smalt — Grinding Cobalt Blue Glass into the Renaissance Painter's Blue Pigment
ដោយ Charlie![]()
សិល្បៈ

Making Cinnabar Red Pigment — Grinding Mercury Sulfide into the Most Vivid Red of the Ancient World
ដោយ Charlie![]()
សិល្បៈ

Making Dammar Varnish — The Clear Picture Varnish for Oil Paintings
ដោយ Charlie![]()
សិល្បៈ
CC0 សាធារណៈ
ប្លង់នេះត្រូវបានចេញផ្សាយក្រោម CC0។ អ្នកមានសិទ្ធិចម្លង កែប្រែ ចែកចាយ និងប្រើប្រាស់ដោយមិនចាំបាច់សុំអនុញ្ញាត។
គាំទ្រអ្នកបង្កើតដោយទិញផលិតផលតាមរយៈប្លង់របស់ពួកគេ ដែលពួកគេទទួលបាន កម្រៃជើងសារអ្នកបង្កើត កំណត់ដោយអ្នកលក់ ឬបង្កើតកំណែថ្មីនៃប្លង់នេះ ហើយបញ្ចូលជាការតភ្ជាប់ក្នុងប្លង់របស់អ្នកដើម្បីចែករំលែកចំណូល។