협업
예술
뷰티 및 웰니스
공예
문화 및 역사
엔터테인먼트
환경
음식 및 음료
역공학
과학
스포츠
기술
웨어러블
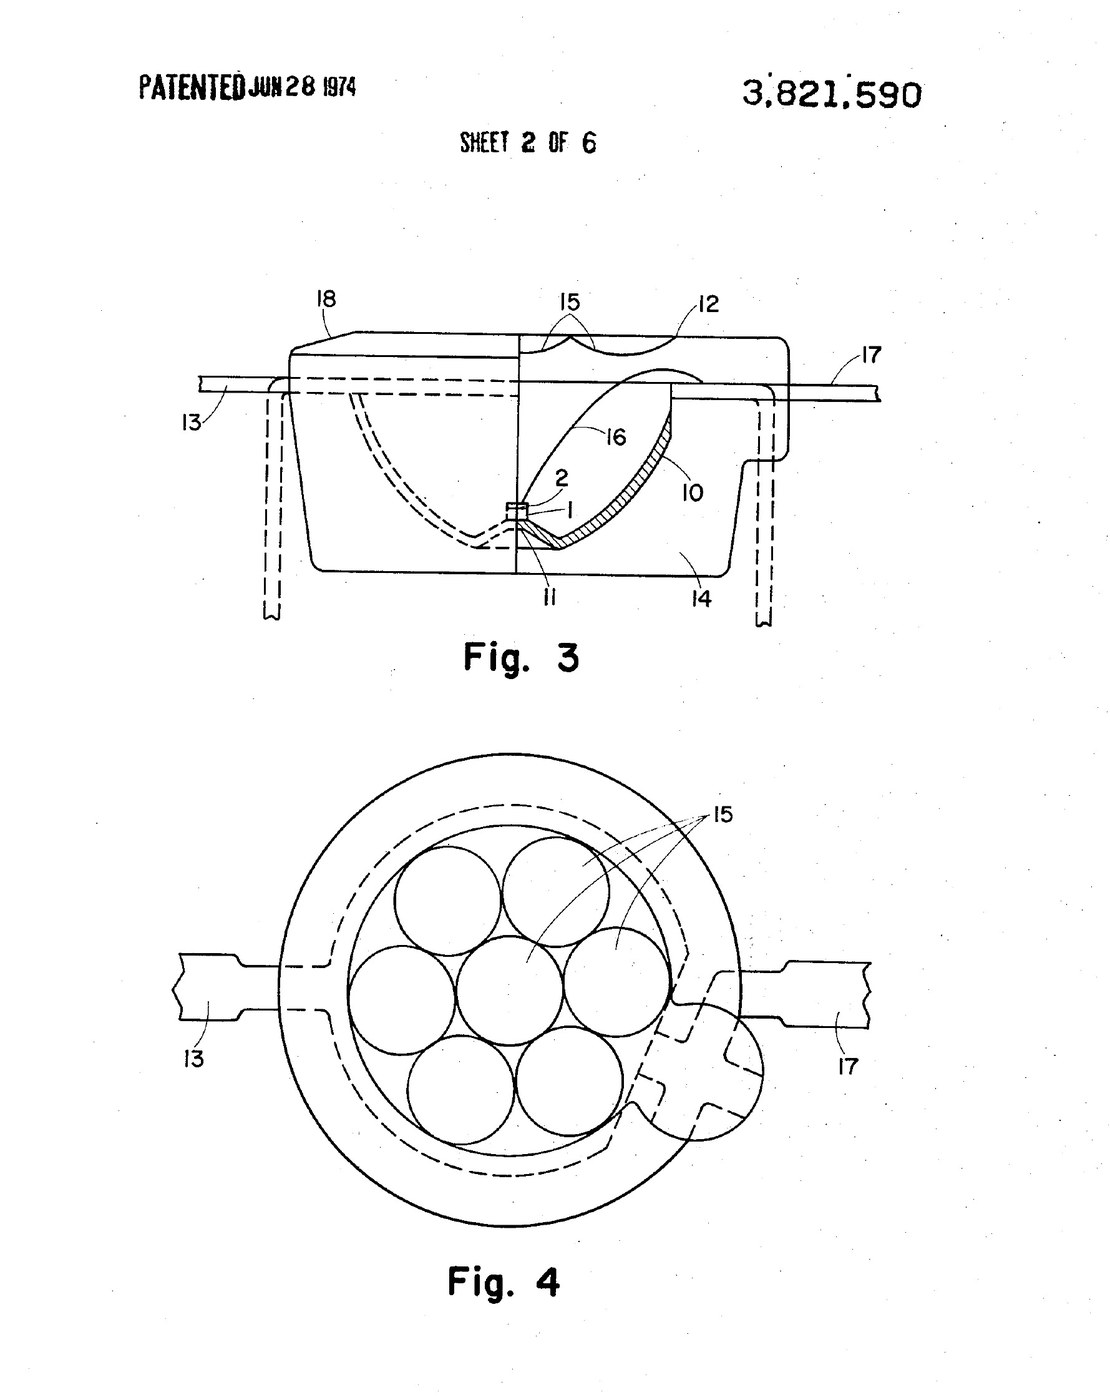


5mm LED: Epoxy Lamp with a Reflector-Cup Lead Frame (Kosman, US 3,821,590, 1974)
A round LED indicator lamp about 0.200 in (5 mm) across. A red GaP chip sits on a small pedestal at the focus of a paraboloid reflector cup that is part of the lead frame. A fine wire runs from the chip to the other lead. The whole is moulded in clear or tinted epoxy, with small lenses moulded into the front face to spread the light.
Result: an encapsulated LED lamp visible within about ±45°, moulded many at a time on one lead frame.
Source: K. J. W. Kosman and L.-P. Boivin (Northern Electric), US 3,821,590 (1974). Unknown: lead and wire metals, die attach and cure. Picture: the patent drawing.
전문가
Unknown
안내
1
1
Make the lead frame with its reflector
Make the lead frame with its reflector
Make a lead frame carrying many lamps. In each, the negative lead ends in a paraboloid reflector cup with a small pedestal at its focus, and the positive lead ends nearby. Not given: the metal, sizes beyond the lamp's 0.200 in diameter.
이 단계의 재료:
 알 수 없는 금속1 lead frame
필요한 도구:
 알 수 없는 치수
2
2
Mount and bond the chip
Mount and bond the chip
Mount a light-emitting chip with a P-N junction, for example red GaP:Zn,O, on the pedestal, so the cup makes contact with one side of the junction. Connect the other side by a fine wire to the positive lead. About 0.015 in square is the junction size Kosman gives for best efficiency. Not given: the die attach, the wire metal.
이 단계의 재료:
 LED 칩1 light-emitting chip알 수 없는 금속1 bond wire
필요한 도구:
알 수 없는 치수3
3
Transfer-mould the lamps
Transfer-mould the lamps
Set the bonded lead frame in a mould and transfer-mould clear or tinted thermosetting resin round all the lamps at once, front face down so any flaws fall at the back. The front face carries seven spherical lenses, six in a ring round one, each 0.045 in across with a radius about 0.8 times its width; an inclined edge sends some light out sideways. Ours: bisphenol epoxy (the patent lists epoxy, silicone, polyester or diallyl phthalate). Not given: the mould, the cure.
이 단계의 재료:
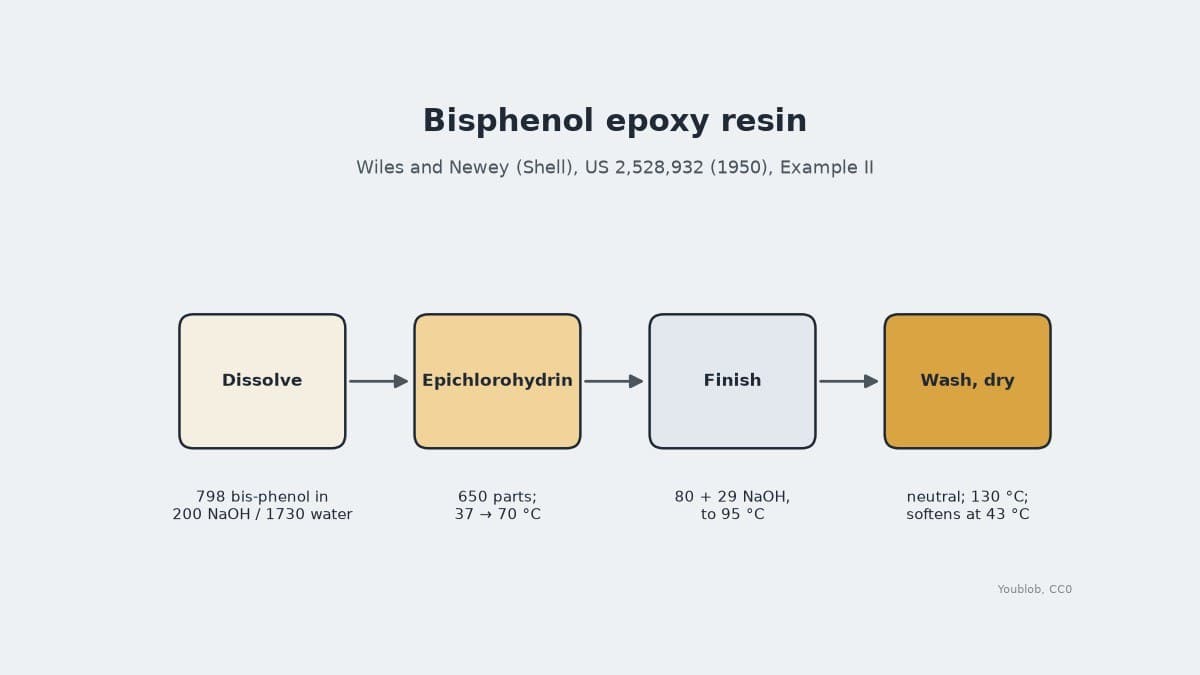
 비스페놀 에폭시 수지1 capsule resin
필요한 도구:
 트랜스퍼 성형기
 미상의 성형 방법
4
4
Cut apart and test
Cut apart and test
Cut the lamps from the lead frame and light each one with current forward through the junction: the face shows seven bright spots in a 0.100 in image, visible up to about 45° off axis. Not given: the current.
필요한 도구:
 직류 전원 장치
재료
3- 1 bond wire플레이스홀더
- 1 light-emitting chip플레이스홀더
- 1 capsule resin플레이스홀더

이 블루프린트로 만드는 것
CC0 퍼블릭 도메인
이 블루프린트는 CC0로 공개되었습니다. 어떤 목적으로든 자유롭게 복사, 수정, 배포 및 사용할 수 있습니다.
제품 구매를 통해 메이커를 지원하세요. 판매자가 설정한 메이커 커미션 을 받거나, 이 블루프린트의 새로운 반복을 만들어 연결로 포함시킬 수 있습니다.