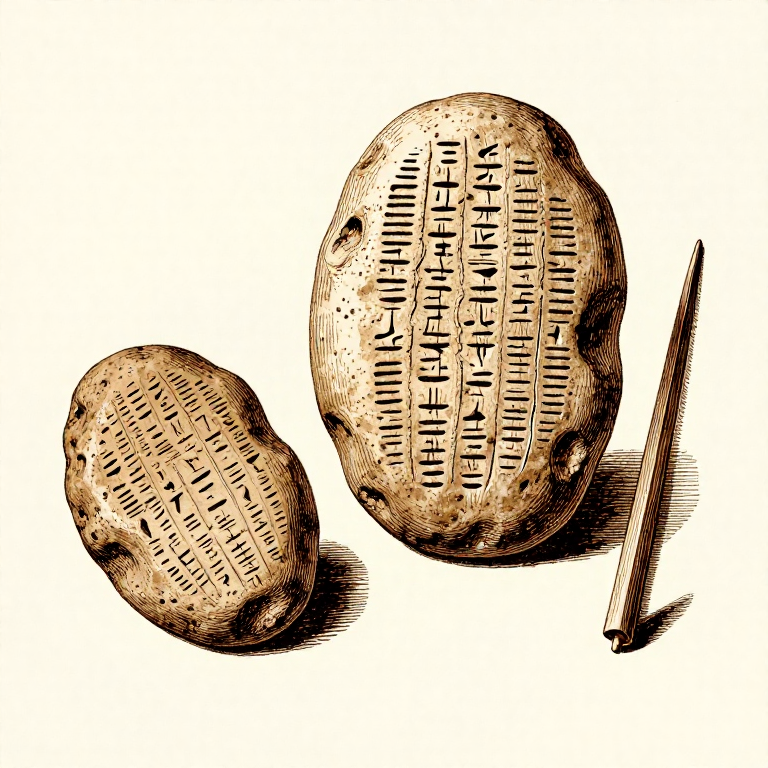
Making a Clay Tablet for Cuneiform Writing — Mesopotamian Record Keeping
안내
Prepare the Clay
Prepare the Clay
Use fine-grained alluvial clay — the type deposited along river banks. Mesopotamian scribes used clay from the Tigris and Euphrates floodplains, which has a naturally smooth, fine texture ideal for receiving impressions. Remove any stones, roots, or grit by picking through the clay and kneading it thoroughly. The clay should be moist enough to take clear impressions but firm enough to hold its shape. If the clay is too sticky, add a small amount of fine sand; if too dry, add water gradually. Knead for several minutes to achieve a uniform, bubble-free consistency.
이 단계의 재료:
 Wild Clayfist-sized lump per tablet 개
 Watersmall amount 개
 Fine Sandsmall amount 개
필요한 도구:
 Flat Stone (Trowel / Shaping Tool)
Form the Tablet
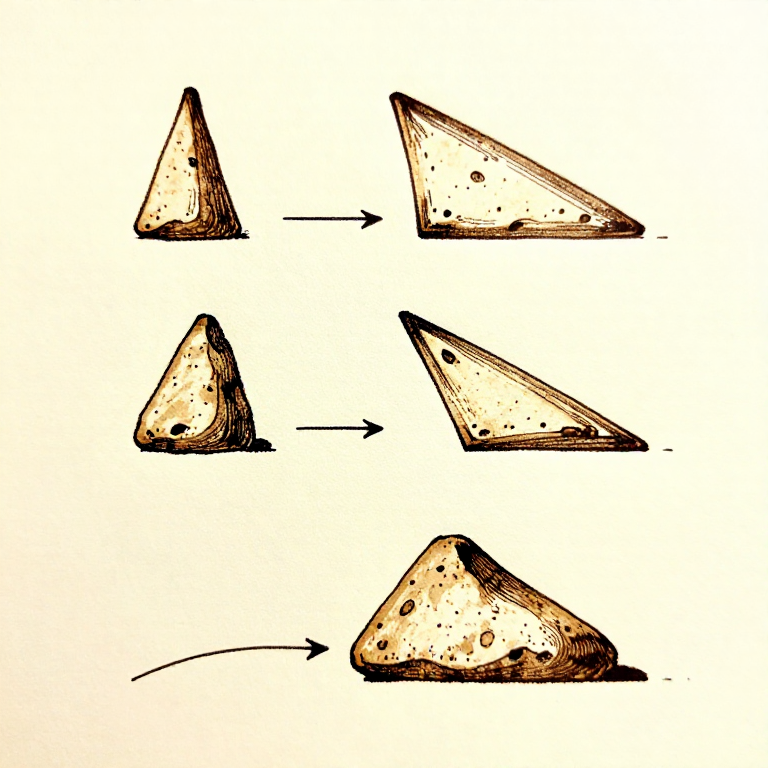
Form the Tablet
Roll the prepared clay into a smooth ball, then flatten it between your palms or against a flat surface into a rectangular or pillow-shaped tablet. Standard Mesopotamian tablets range from about 3 cm square (for small receipts) to 20 cm or larger (for literary texts). The tablet should be 1-2 cm thick — thick enough to handle without breaking, thin enough to dry efficiently. Smooth the writing surface with a wet finger or a flat tool until it is even and free of cracks. The characteristic convex 'pillow' shape of cuneiform tablets results from the clay naturally bulging when formed between the palms.

Prepare the Writing Surface
Prepare the Writing Surface
The writing surface must be uniformly smooth and slightly moist. If the surface develops a dry skin before writing begins, dampen it lightly with a wet finger. Mesopotamian scribes often ruled faint horizontal guide lines on the tablet surface using the edge of the stylus before writing — these helped maintain even line spacing. For administrative texts, a vertical line was also impressed to separate columns of information. Both front (obverse) and back (reverse) of the tablet could be used for writing, with the tablet flipped along its lower edge so the text continued in the correct orientation.
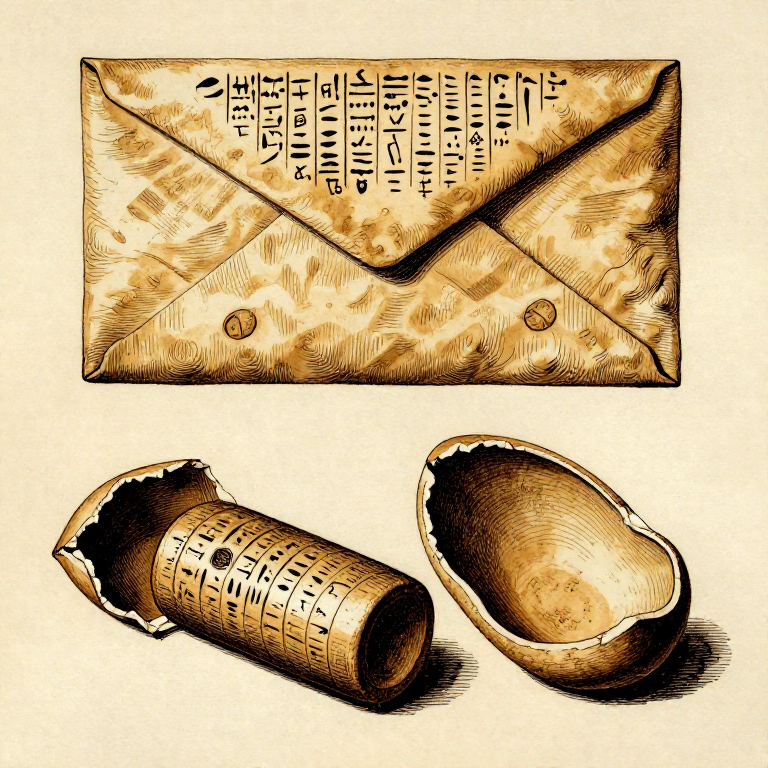
Write with the Stylus
Write with the Stylus
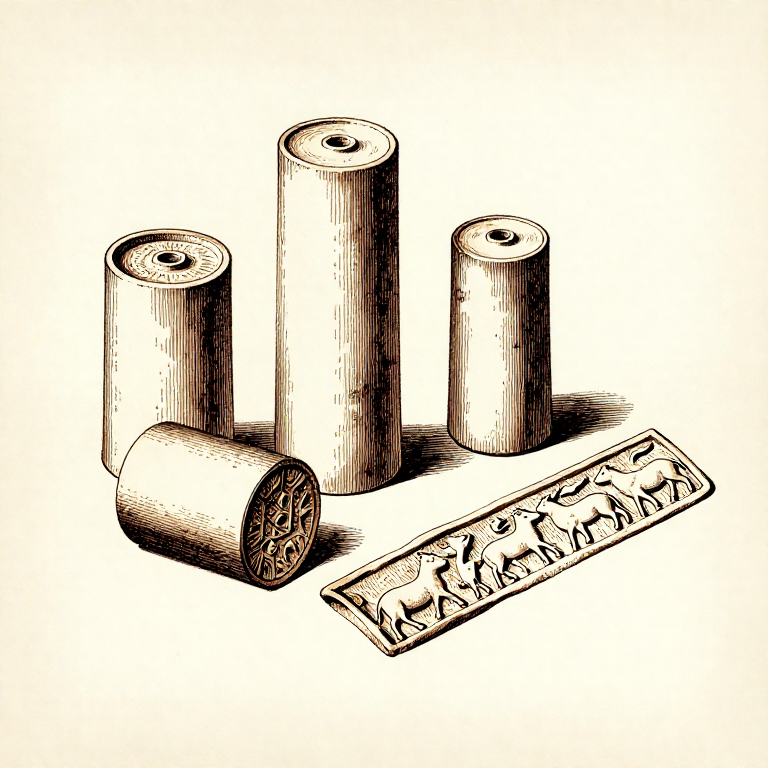
Hold the reed stylus at roughly a 30-45 degree angle to the tablet surface. Cuneiform signs are composed of combinations of wedge-shaped impressions made by pressing the triangular tip of the stylus into the clay. A vertical push creates a vertical wedge; rotating the stylus and pressing at an angle creates horizontal or diagonal wedges. Cuneiform is read left to right in horizontal rows (in its later form). Each sign is composed of 1-15 individual wedge impressions arranged in a specific pattern. Work quickly while the clay remains moist — dried clay will not take clean impressions and the stylus tears the surface rather than impressing it.
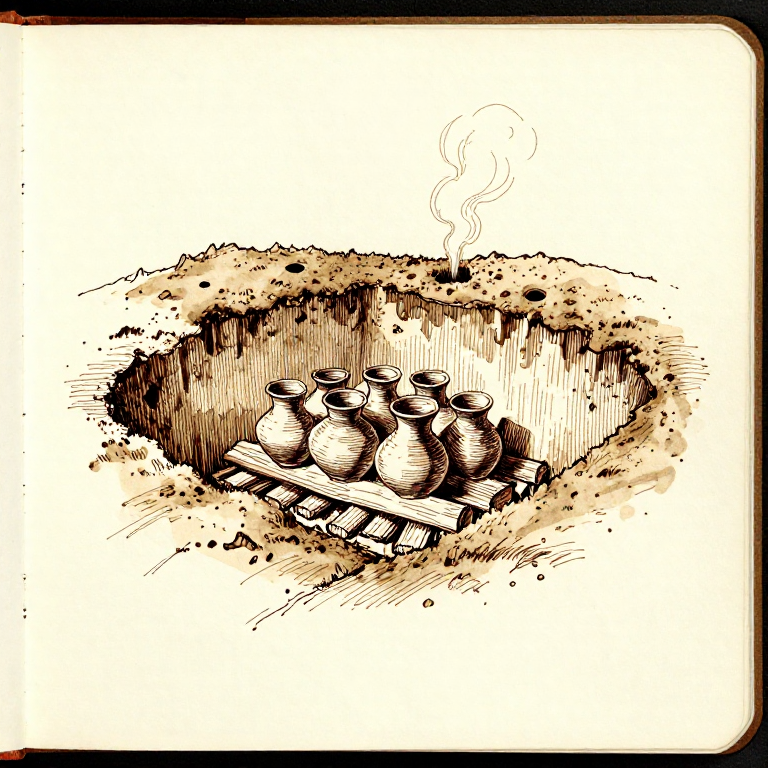
Dry or Fire the Tablet
Dry or Fire the Tablet
Most cuneiform tablets were simply air-dried in the sun, not fired in a kiln. Sun-drying produces a hard surface suitable for archival storage in the dry Mesopotamian climate. Important documents — royal inscriptions, treaties, and library texts — were sometimes deliberately fired in a kiln for permanent preservation. Ironically, many tablets intended as temporary records survived precisely because they were accidentally fired when buildings burned down in wars and catastrophes. The fired clay becomes ceramic and is virtually indestructible. The great library of Ashurbanipal at Nineveh contained over 30,000 fired clay tablets, many of which survive intact after 2,700 years.
재료
3필요 도구
2- 플레이스홀더
Related blueprints
Other builds that share materials, tools, or techniques with this one.
CC0 퍼블릭 도메인
이 블루프린트는 CC0로 공개되었습니다. 어떤 목적으로든 자유롭게 복사, 수정, 배포 및 사용할 수 있습니다.
제품 구매를 통해 메이커를 지원하세요. 판매자가 설정한 메이커 커미션 을 받거나, 이 블루프린트의 새로운 반복을 만들어 연결로 포함시킬 수 있습니다.