예술
뷰티 및 웰니스
공예
문화 및 역사
엔터테인먼트
환경
음식 및 음료
역공학
과학
스포츠
기술
웨어러블
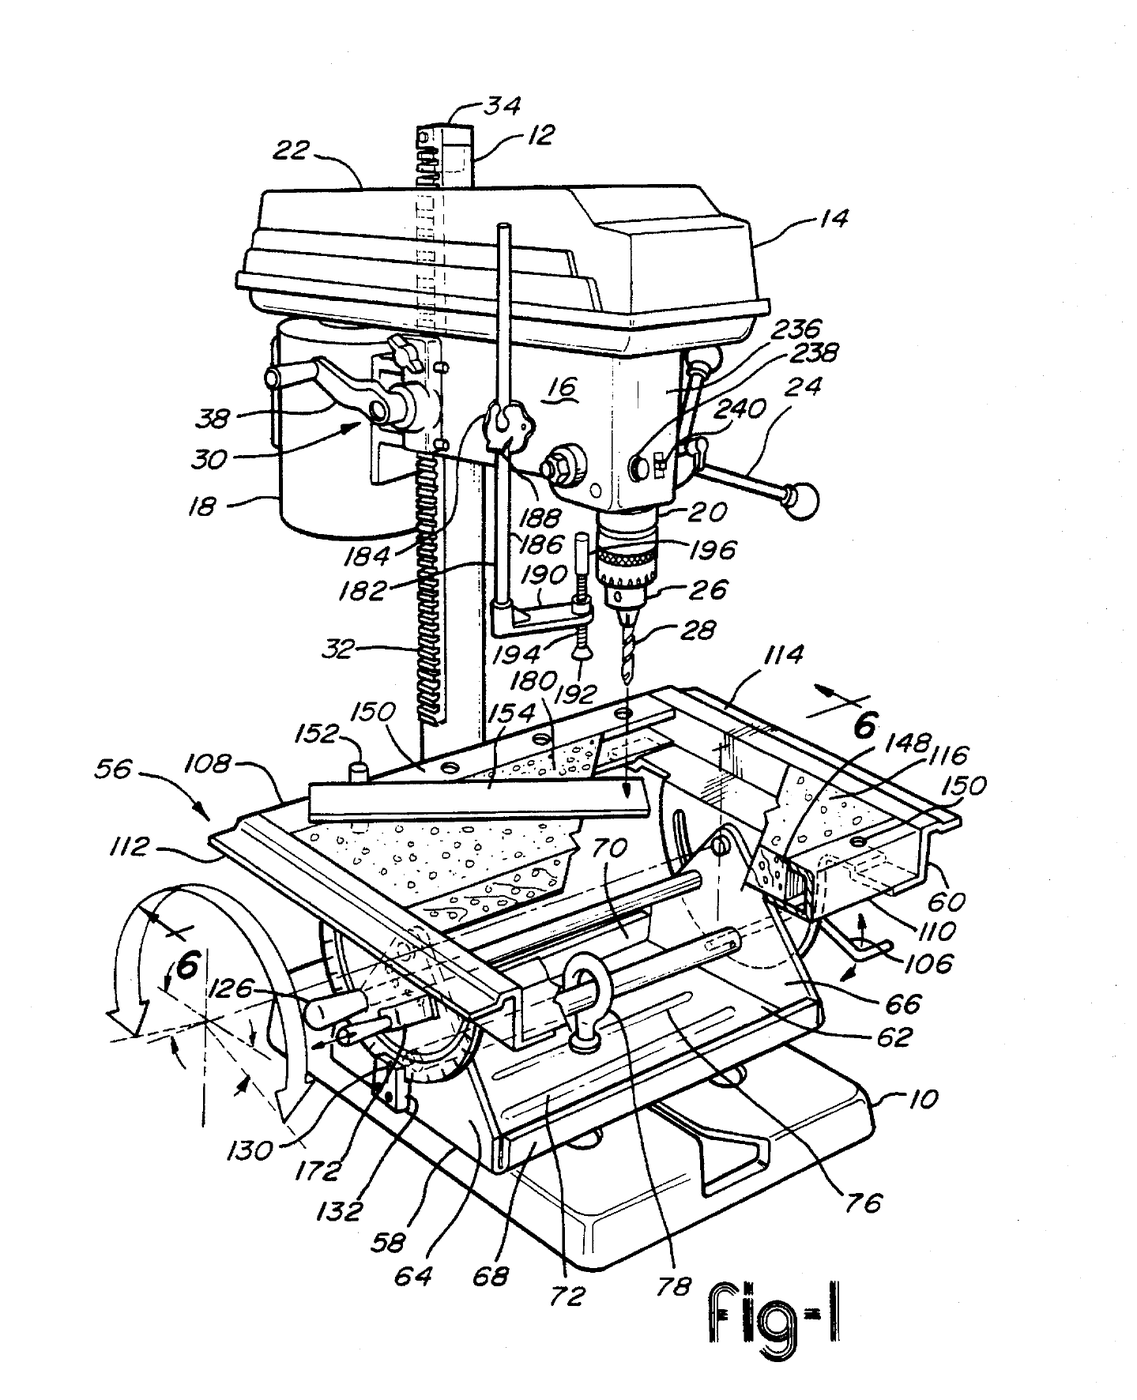


Bench Drill Press with Raising Head and Tilt Table: Brazell, 1997
Most home drill presses kept the head fixed and moved the work relative to it. Kenneth M. Brazell and colleagues at Ryobi patented the reverse in 1997, US 5,634,748. A cast iron base sits on the work bench, a column rises from it, and the whole drill head, with its motor and quill, is raised and lowered along the column by a crank and a rack, or swung round it. A tilt table made of stamped and folded sheet steel locks to the base with one cam and eyebolt, slides two ways and turns on the base, and tilts to drill holes at an angle. Its replaceable ¾" particle board panel supports the stock underneath, preventing tear-out.
고급
Factory process
안내
1
1
Base and column
Base and column
Cast the base with a collar near its rear end to take the column, a transverse slot with a funnel-shaped entrance at the front for the table's lock, and two keyhole slots whose round ends take standard ½ inch carriage bolts for clamping vices. Fix the column in the collar.
이 단계의 재료:
 드릴 프레스 주철 베이스1 개
 드릴 프레스 칼럼1 개
필요한 도구:
 주조용 국자
 멍키스패너
멍키스패너2
2
Rack on a turning cap
Rack on a turning cap
Screw the rack to a cap that fits over the top of the column. Two opposite pins in the column ride in an annular slot in the cap, so the cap turns but cannot lift off. The rack runs down most of the column's length.
이 단계의 재료:
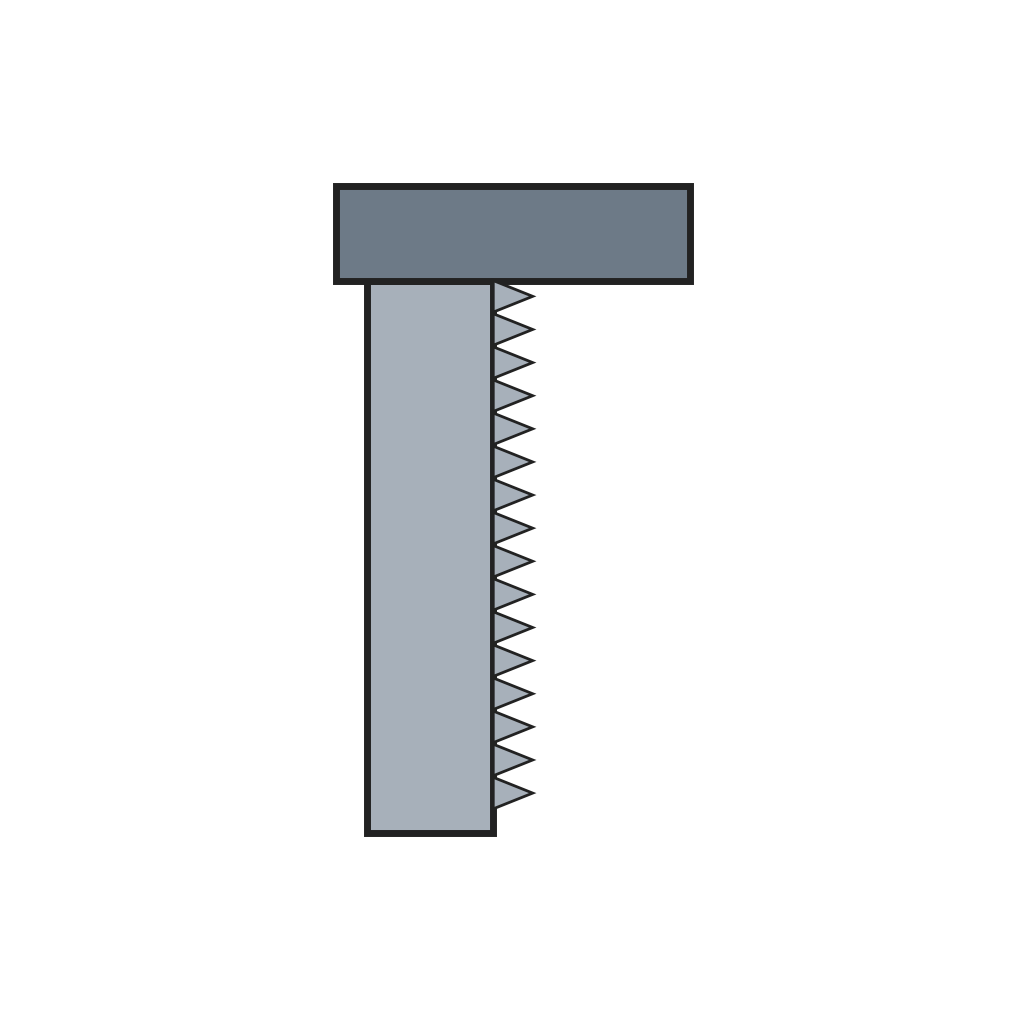 회전 캡이 있는 칼럼 랙1 개
필요한 도구:
 드라이버 세트
3
3
Head frame
Head frame
Make the head frame with a split C-section round the column, two clamping flanges and a slot through which the rack passes. A crank on the frame turns a pinion in the rack to raise and lower the head; a knobbed locking member through the flanges clamps the frame to the column. A spring-loaded indexing pin through a bracket on the rack drops into a bore in the column to lock the head over the centre of the base.
이 단계의 재료:
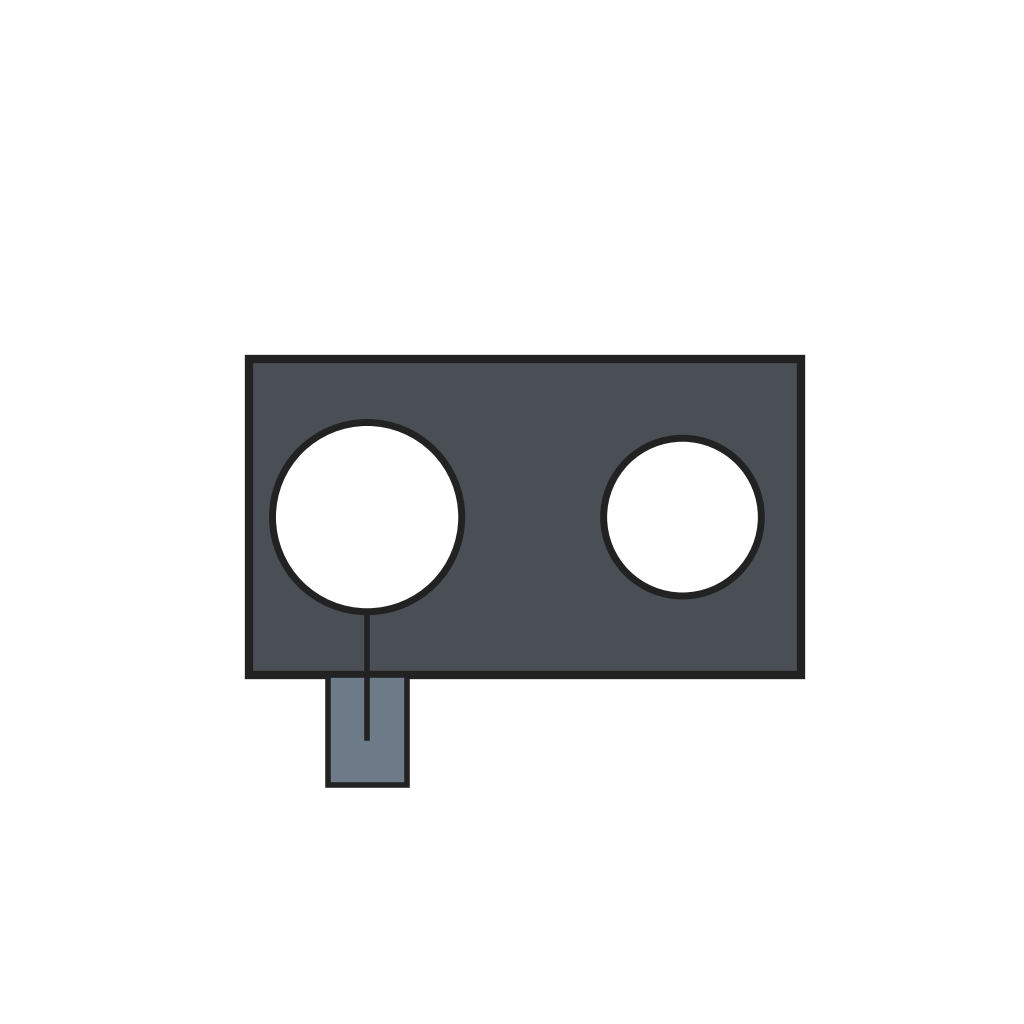 분할 칼럼 클램프가 있는 드릴 헤드 프레임1 개
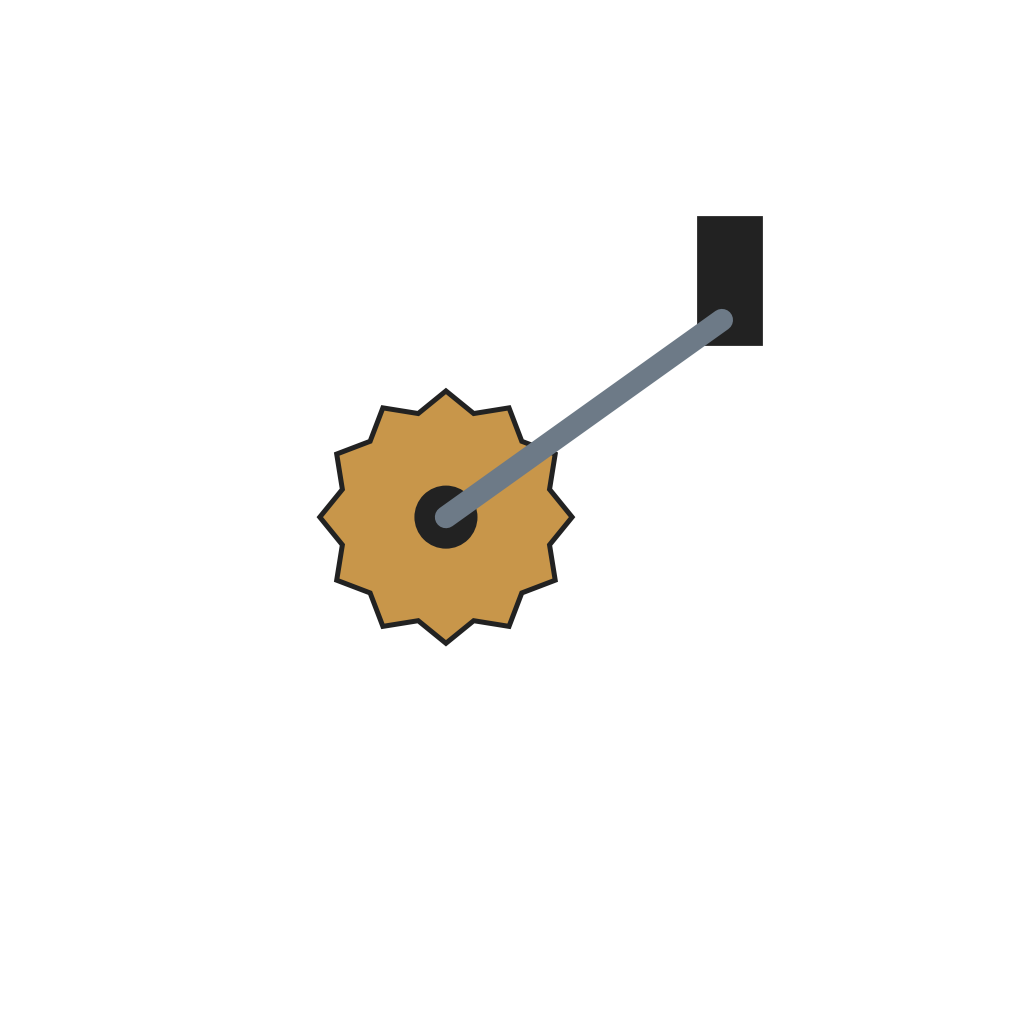 헤드 승강 크랭크와 피니언1 개
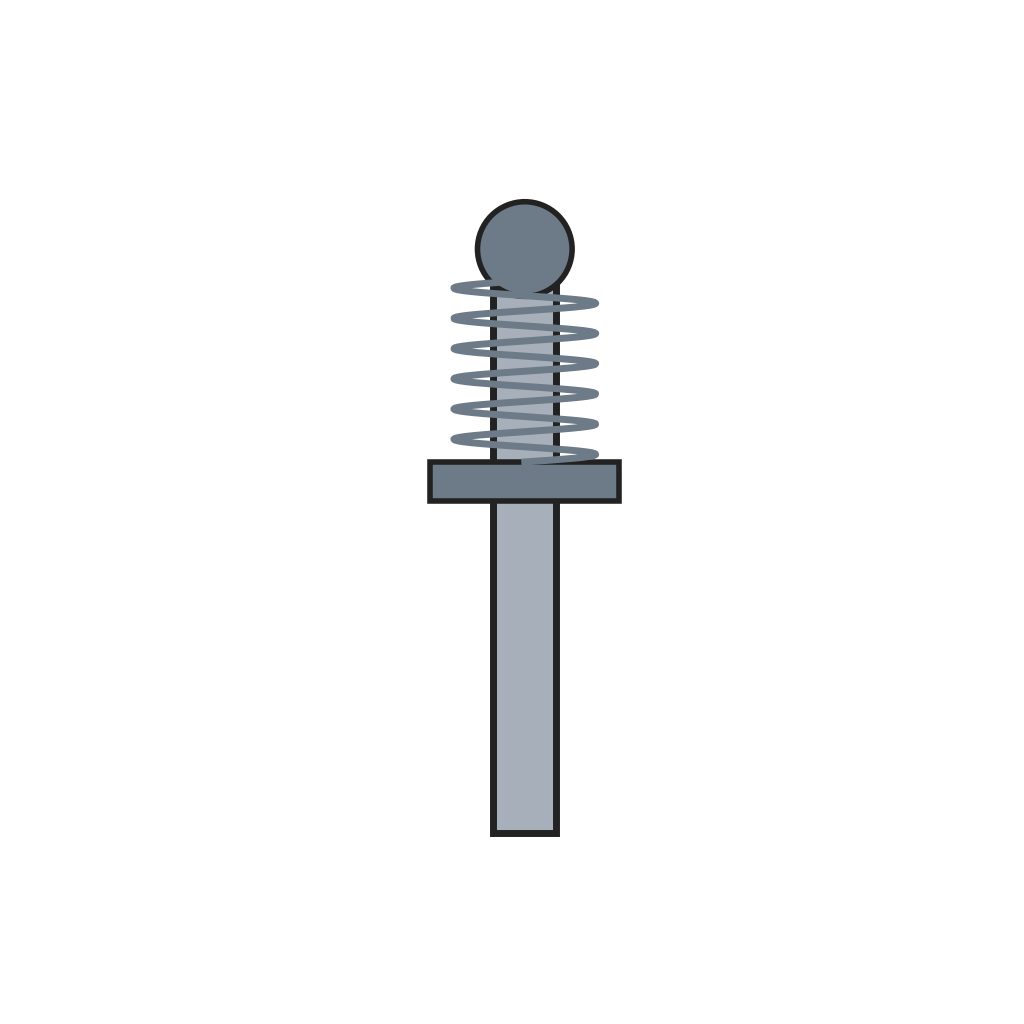 스프링식 인덱싱 핀1 개
필요한 도구:
드라이버 세트 펜치(콤비네이션 플라이어)
4
4
Motor and belt
Motor and belt
Mount the motor on a bracket that slides on a clamping rod and a parallel follower rod in a boss on the frame, on the opposite side of the column from the quill. A belt connects the motor to the quill; loosen the lock knob and slide the motor to tension the belt. A cover encloses the drive and its speed-change mechanism, with a clearance opening for the column. The on/off switch, speed control knob and light switch sit on the face of the frame.
이 단계의 재료:
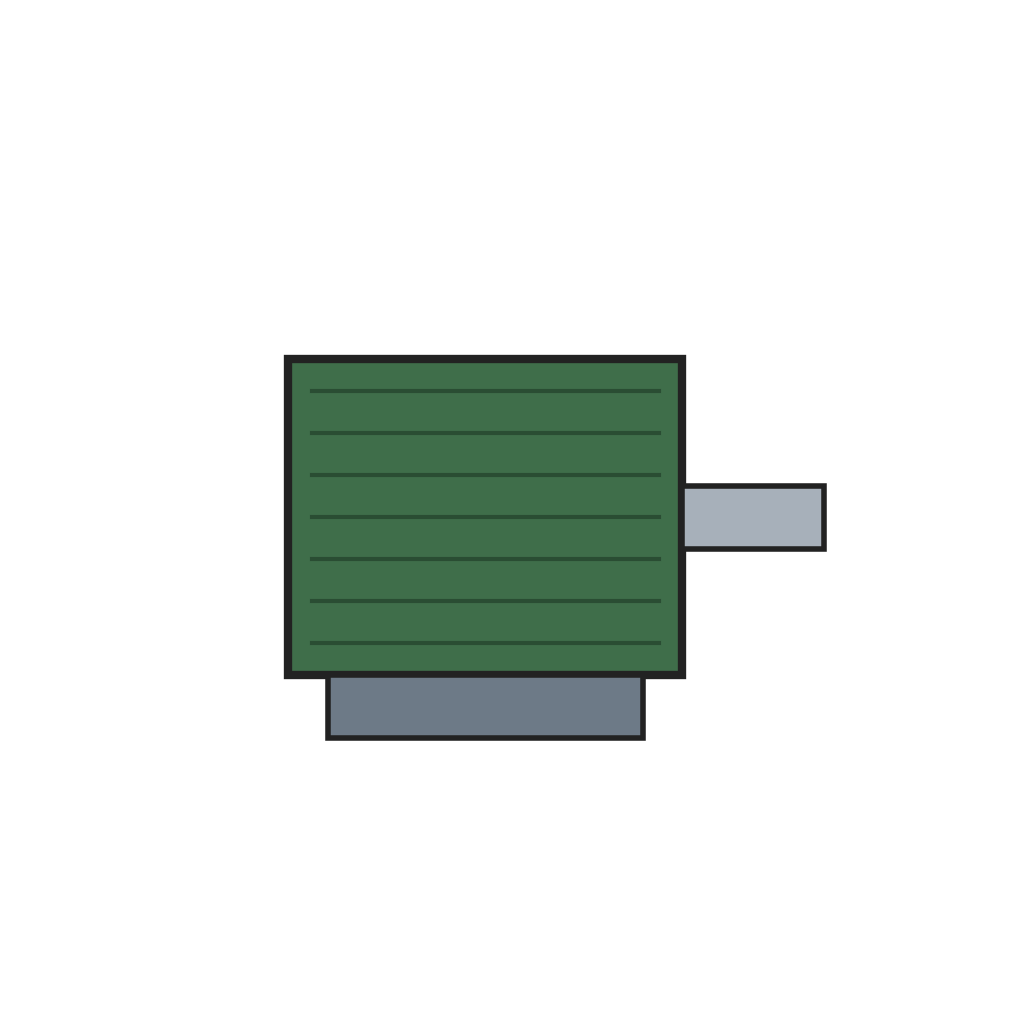 전동기1 개
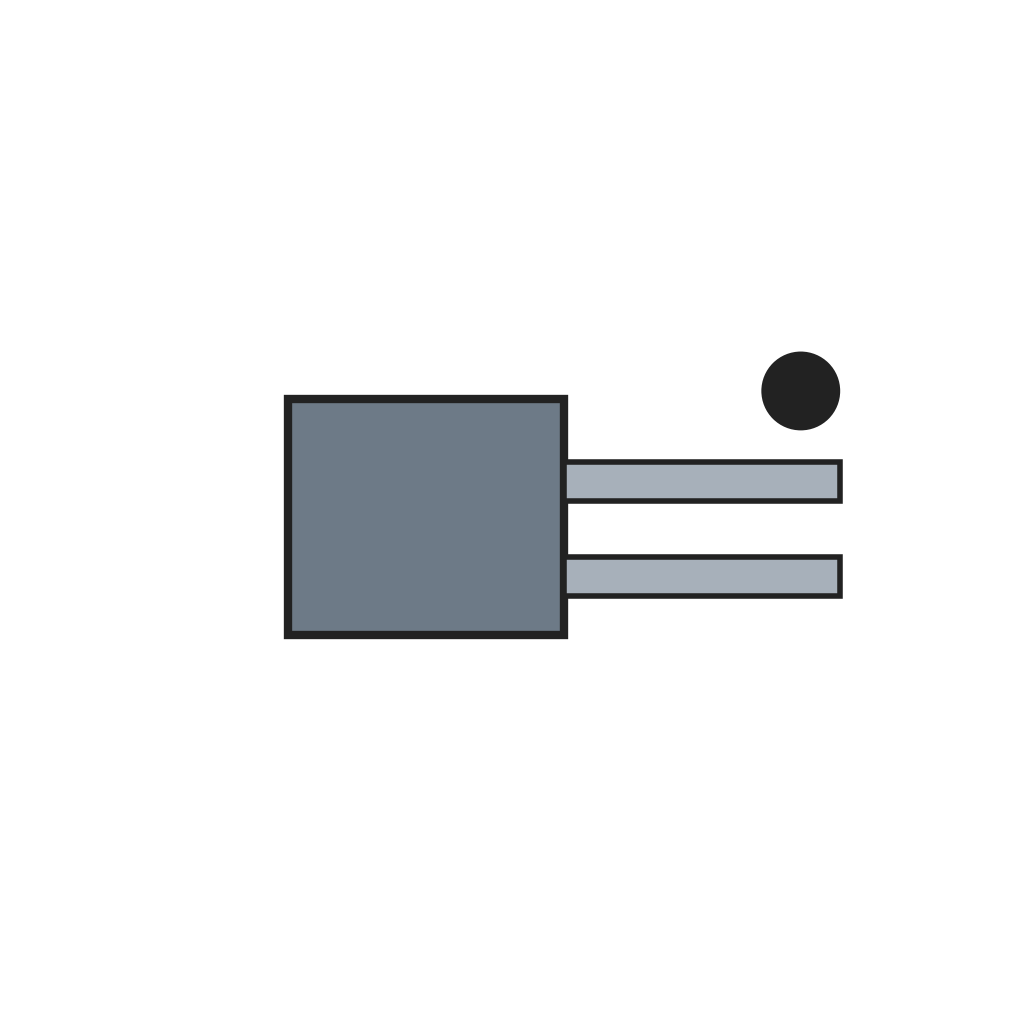 미끄럼식 모터 장착 브래킷1 개
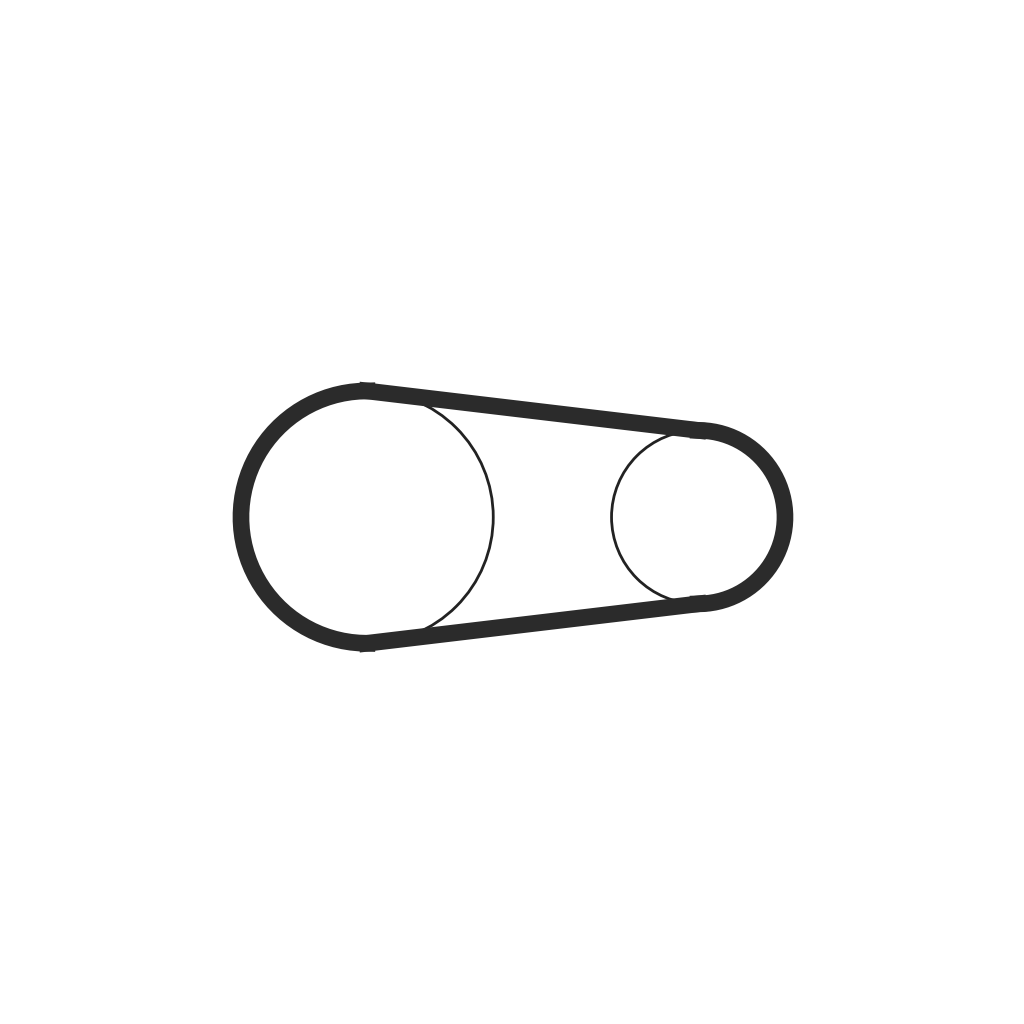 구동 벨트1 개
필요한 도구:
멍키스패너드라이버 세트5
5
Quill and chuck
Quill and chuck
Fit the quill in the frame with a hand wheel that moves it up and down, and fit the chuck on its end to take the shanks of drill bits and other tools.
이 단계의 재료:
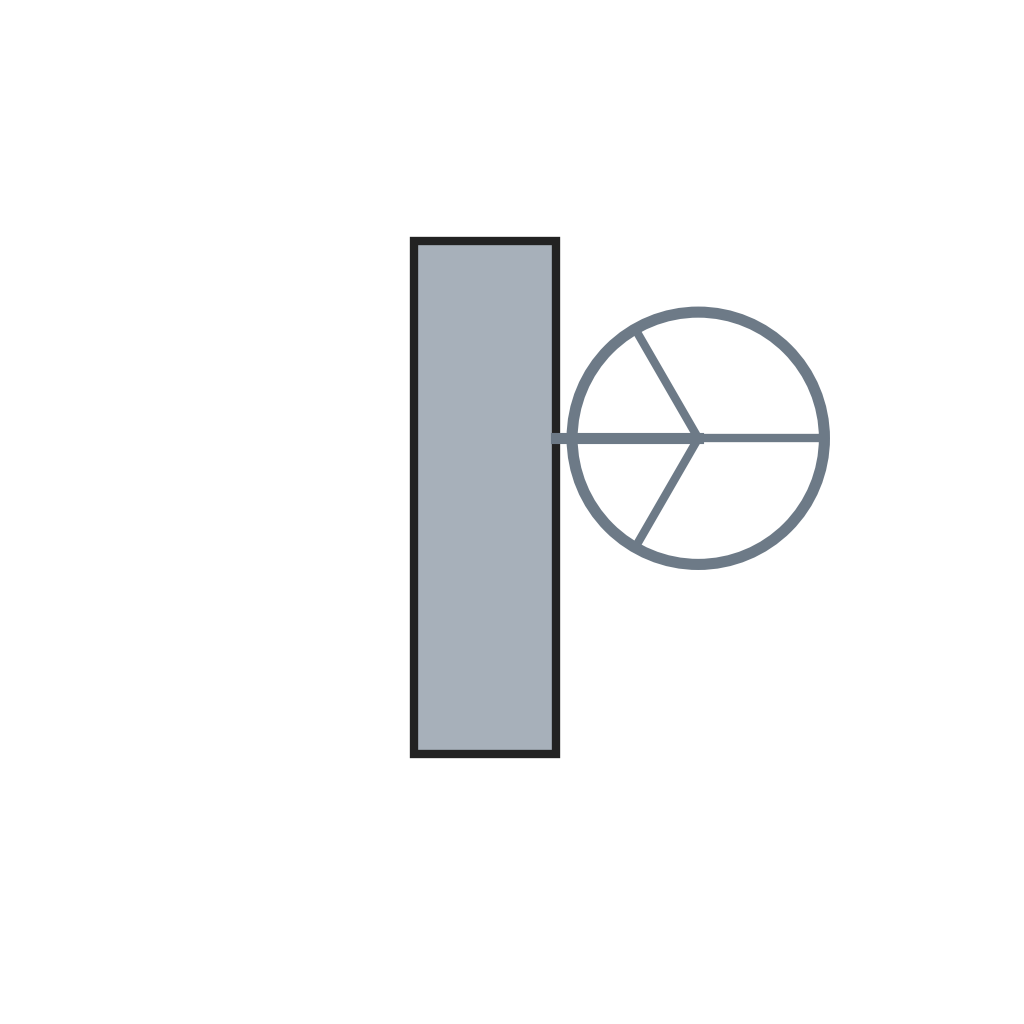 이송 핸드휠이 있는 드릴 프레스 퀼1 개
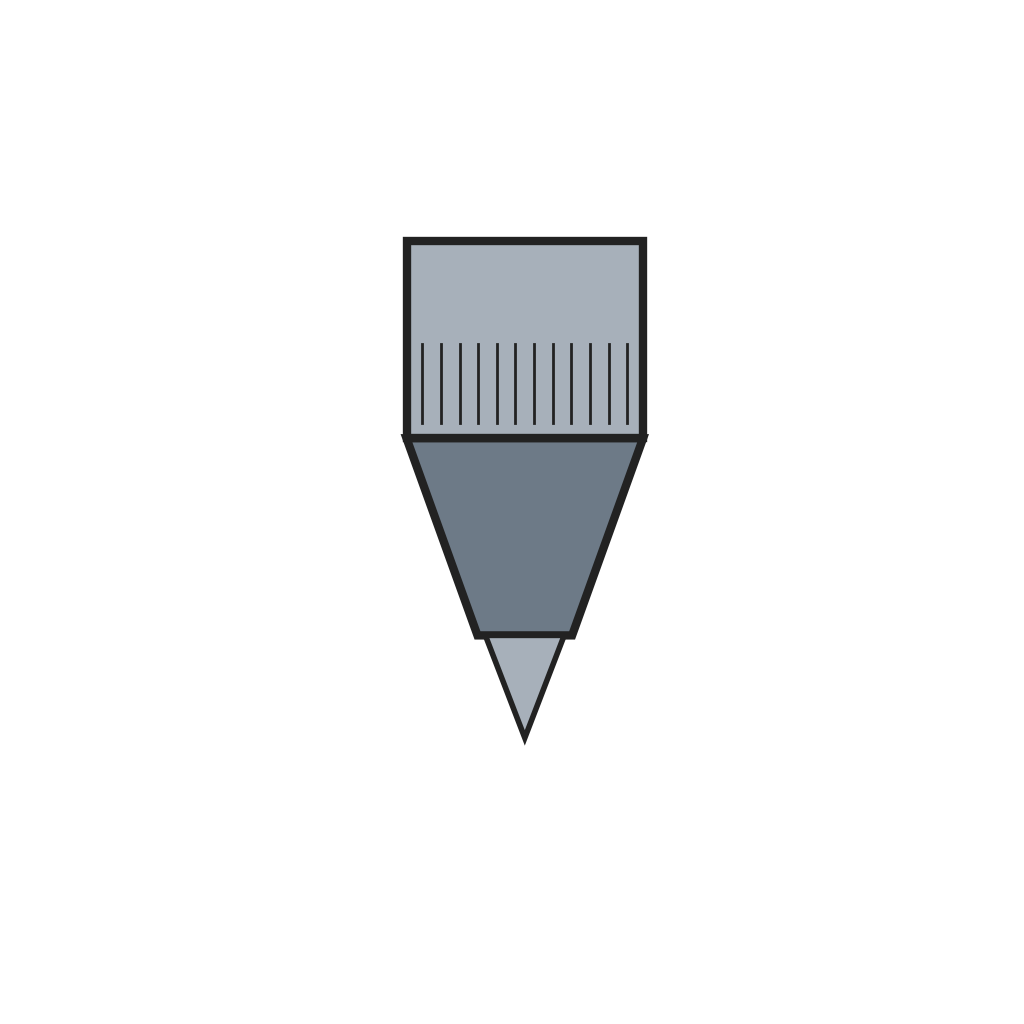 드릴 척1 개
필요한 도구:
멍키스패너6
6
Tilt table
Tilt table
Stamp and fold the supporting base from 3.2 mm steel plate, with a flat base, two upright trunnions, side walls, stiffener ribs and a longitudinal slot. Pivot the table frame between the trunnions on its two sector disks, and lay the particle board panel in it. Pass an eyebolt through the slot and the base's transverse slot, with a nylon nut underneath. An eccentric camshaft between the trunnions runs through the eye; turning its crank lifts the eyebolt and clamps the table to the base, and turning it back frees the table to slide or turn.
이 단계의 재료:
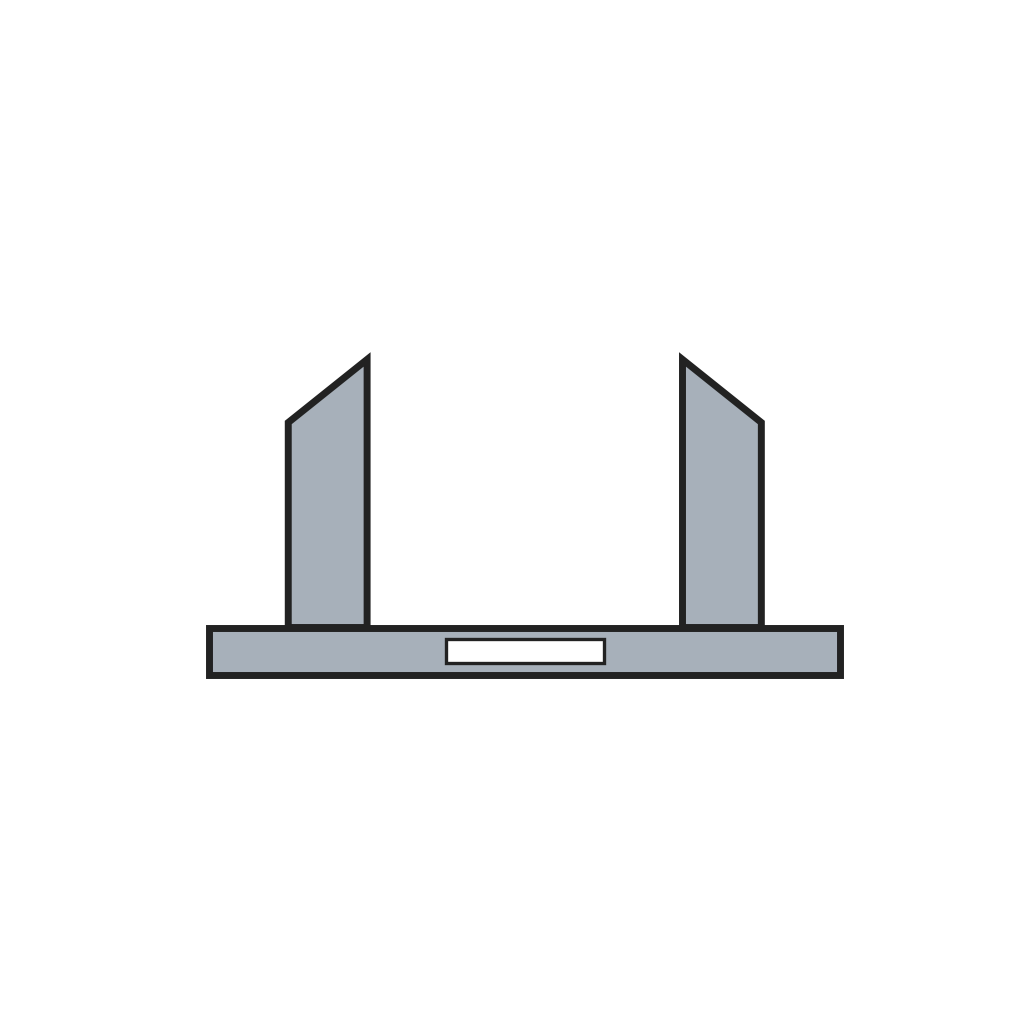 틸트 테이블 받침 베이스1 개
 연강판1 개
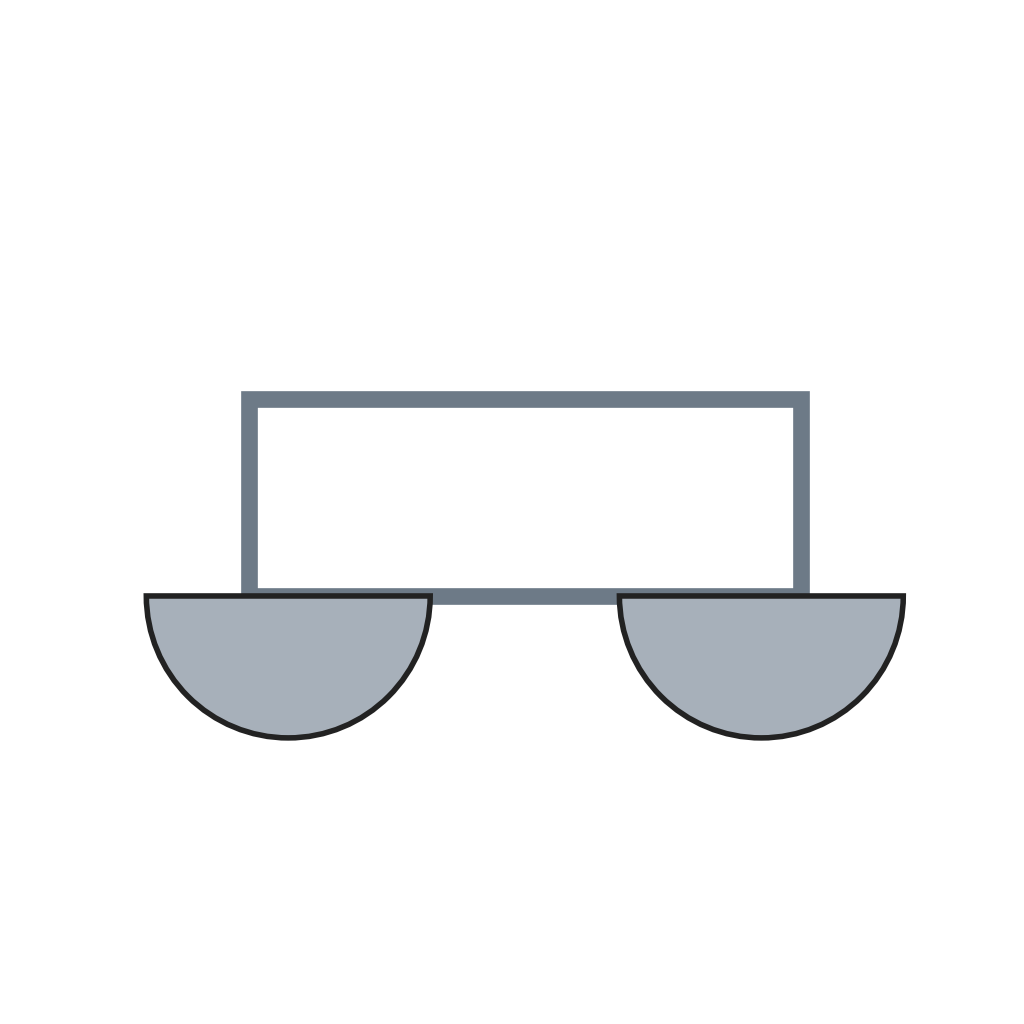 틸트 테이블 회전 프레임1 개
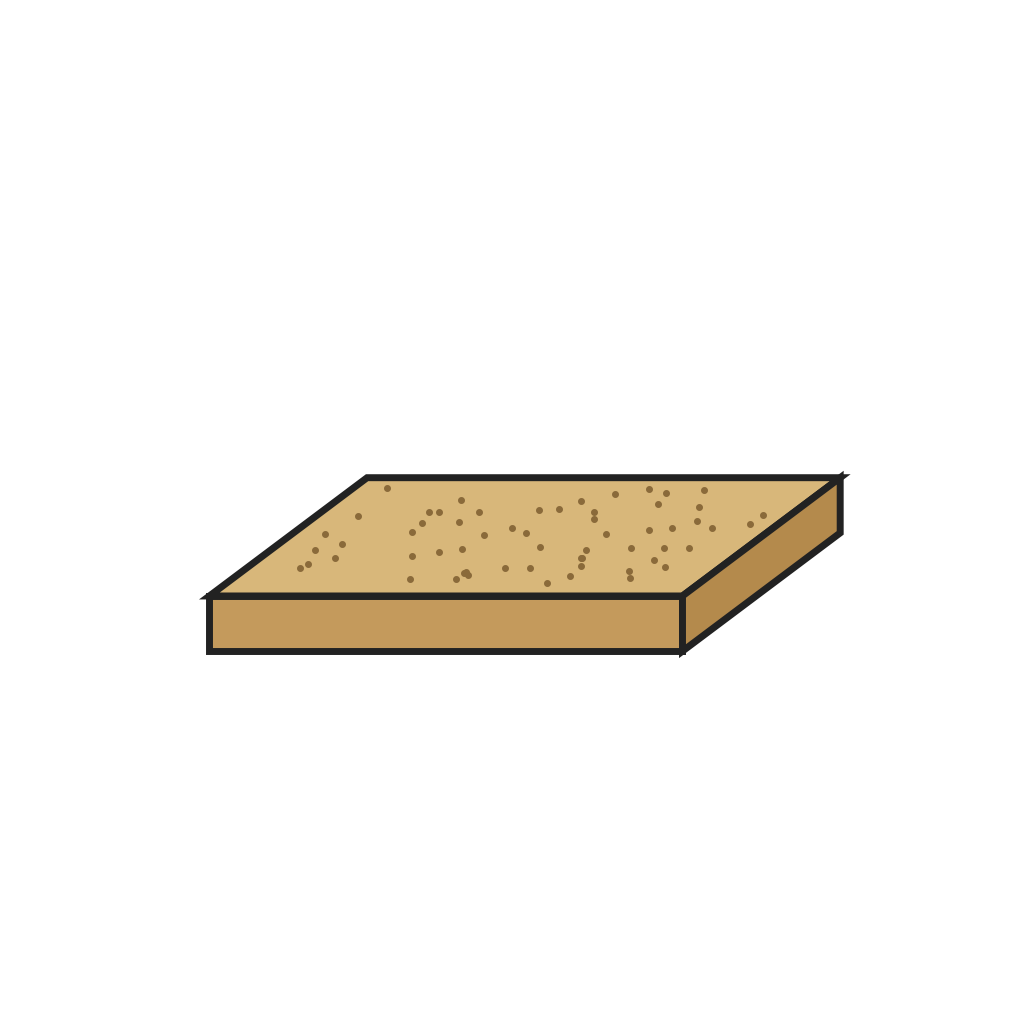 파티클보드 테이블 판1 개
 아이볼트1 개
 나일론 너트1 개
 편심 잠금 캠축1 개
필요한 도구:
 스탬핑 프레스멍키스패너
재료
18- 플레이스홀더
- 1 개플레이스홀더
- 플레이스홀더
- 플레이스홀더
- 플레이스홀더
- 1 개플레이스홀더
- 1 개플레이스홀더
- 플레이스홀더
- 1 개플레이스홀더
- 플레이스홀더
- 1 개플레이스홀더
- 플레이스홀더
- 1 개플레이스홀더
- 플레이스홀더
- 1 개플레이스홀더
- 1 개플레이스홀더
- 1 개플레이스홀더
- 1 개플레이스홀더
이 블루프린트로 만드는 것
관련 블루프린트
이 블루프린트들은 지식을 공유합니다 — 기술, 재료 또는 원리

CC0 퍼블릭 도메인
이 블루프린트는 CC0로 공개되었습니다. 어떤 목적으로든 자유롭게 복사, 수정, 배포 및 사용할 수 있습니다.
제품 구매를 통해 메이커를 지원하세요. 판매자가 설정한 메이커 커미션 을 받거나, 이 블루프린트의 새로운 반복을 만들어 연결로 포함시킬 수 있습니다.