

Chip Carving
안내
Choose wood without figure
Choose wood without figure
For once, boring timber is the right timber.
- Use basswood, lime or butternut — fine, even grain and no strong figure.
- Avoid anything with prominent growth rings or wild grain.
- Surface it smooth and flat.
이 단계의 재료:
 피나무 조각용 목재1 block
Lay out the geometry
Lay out the geometry
The traditional patterns are compass-and-straightedge constructions.
- Draw a grid or a circle divided into equal parts.
- Connect points to form triangles, rosettes and borders.
- Mark the centre point of each chip.
이 단계의 재료:
 각도기1 개
 흑연 연필 세트1 세트
Cut a three-sided chip
Cut a three-sided chip
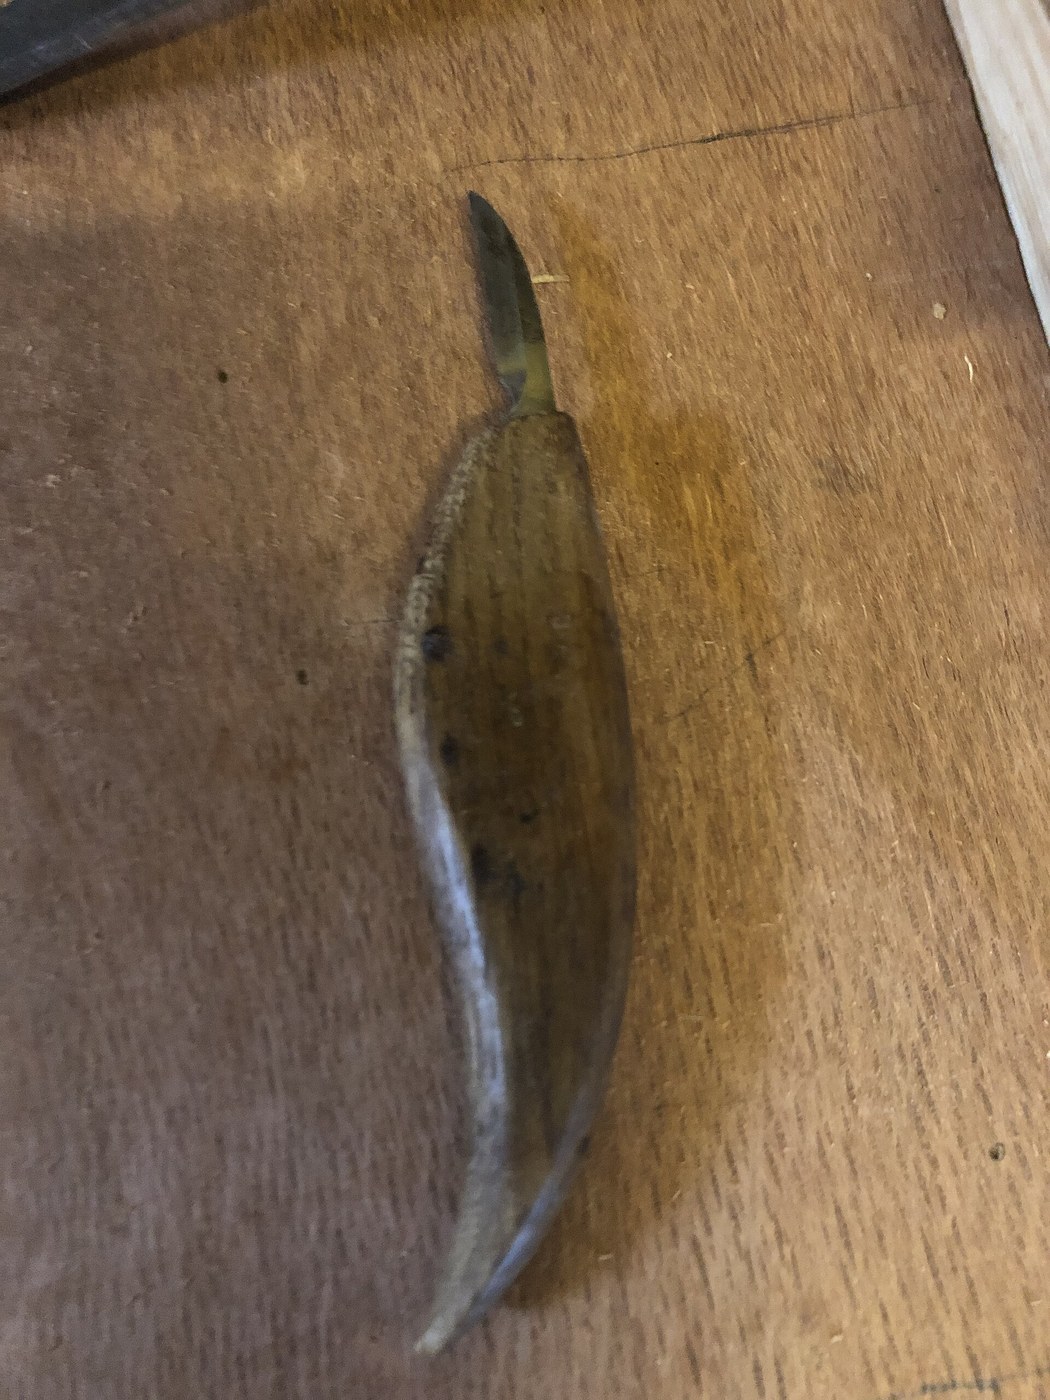
Three cuts, always in the same order, always angled to the same point.
- Hold the knife at a consistent angle — around 65 degrees to the surface.
- Make two cuts from two corners toward the centre, deepest at the centre.
- Make the third cut along the remaining side; the chip should lift out whole.
이 단계의 재료:
 슬로이드 조각칼1 개
Test the shadow, then keep the knife sharp
Test the shadow, then keep the knife sharp
Judge the work the way it will be seen, and diagnose the commonest fault.
- Hold the finished panel under a single light source and rotate it.
- Note how the pattern appears and disappears with the light angle.
- Examine any fuzzy facet walls under magnification.
History and context
History and context
Chip carving is a folk tradition rather than a guild craft, and it turns up independently across northern and eastern Europe — Swiss and Bavarian work, Scandinavian karveskurd, Russian and Ukrainian geometric carving, and English medieval chip-carved chests. It is also found in Africa and South Asia. Wherever people have a knife and flat wood, some version appears.
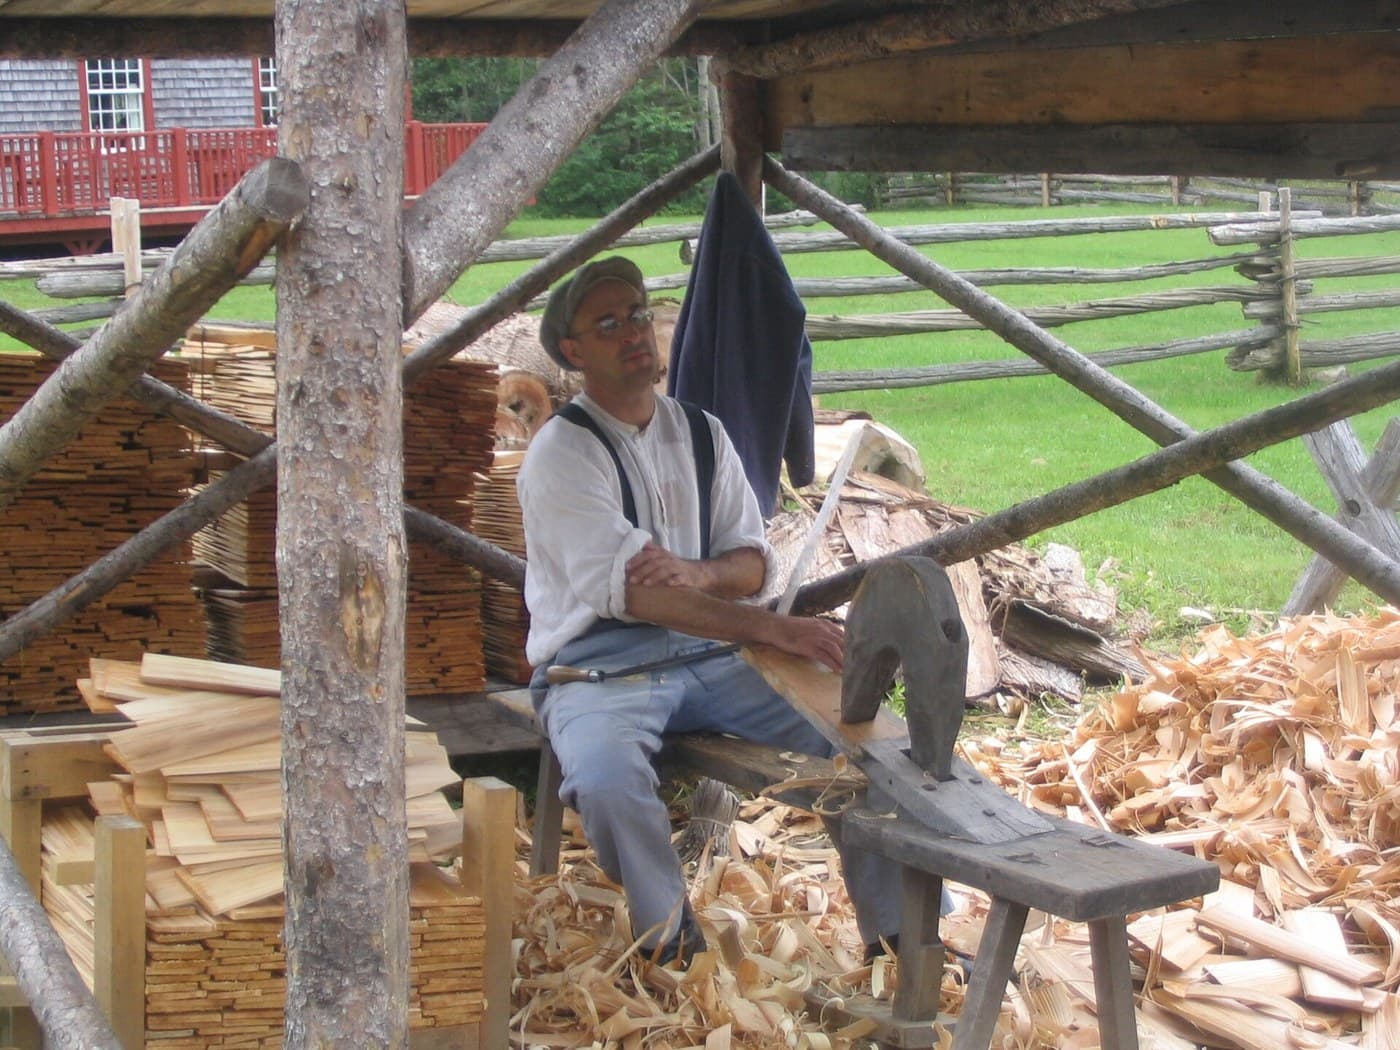
Its social position is the interesting part. This is decoration on objects people made for their own households — spoon racks, boxes, chair backs, mangle boards, butter moulds. It required no workshop, no expensive tools and no apprenticeship, so it was practised by farmers and shepherds in winter rather than by professionals. That is unusual: most of the crafts in this catalogue are trades.
The Scandinavian courtship connection is well documented for some objects — elaborately chip-carved mangle boards and spoons were made as gifts, and the amount of work invested was itself the message. The skill is legible in the object, which is precisely the point of giving it.
Why geometric rather than pictorial: the technique physically favours straight cuts meeting at points. Curves are possible but fight the method, and a single-bevel knife naturally produces flat facets. The style follows from the tool, which is a recurring pattern across craft — Gothic tracery, Islamic geometry and chip carving all take their vocabulary partly from what their tools do easily.
CC0 퍼블릭 도메인
이 블루프린트는 CC0로 공개되었습니다. 어떤 목적으로든 자유롭게 복사, 수정, 배포 및 사용할 수 있습니다.
제품 구매를 통해 메이커를 지원하세요. 판매자가 설정한 메이커 커미션 을 받거나, 이 블루프린트의 새로운 반복을 만들어 연결로 포함시킬 수 있습니다.