협업
예술
뷰티 및 웰니스
공예
문화 및 역사
엔터테인먼트
환경
음식 및 음료
역공학
과학
스포츠
기술
웨어러블
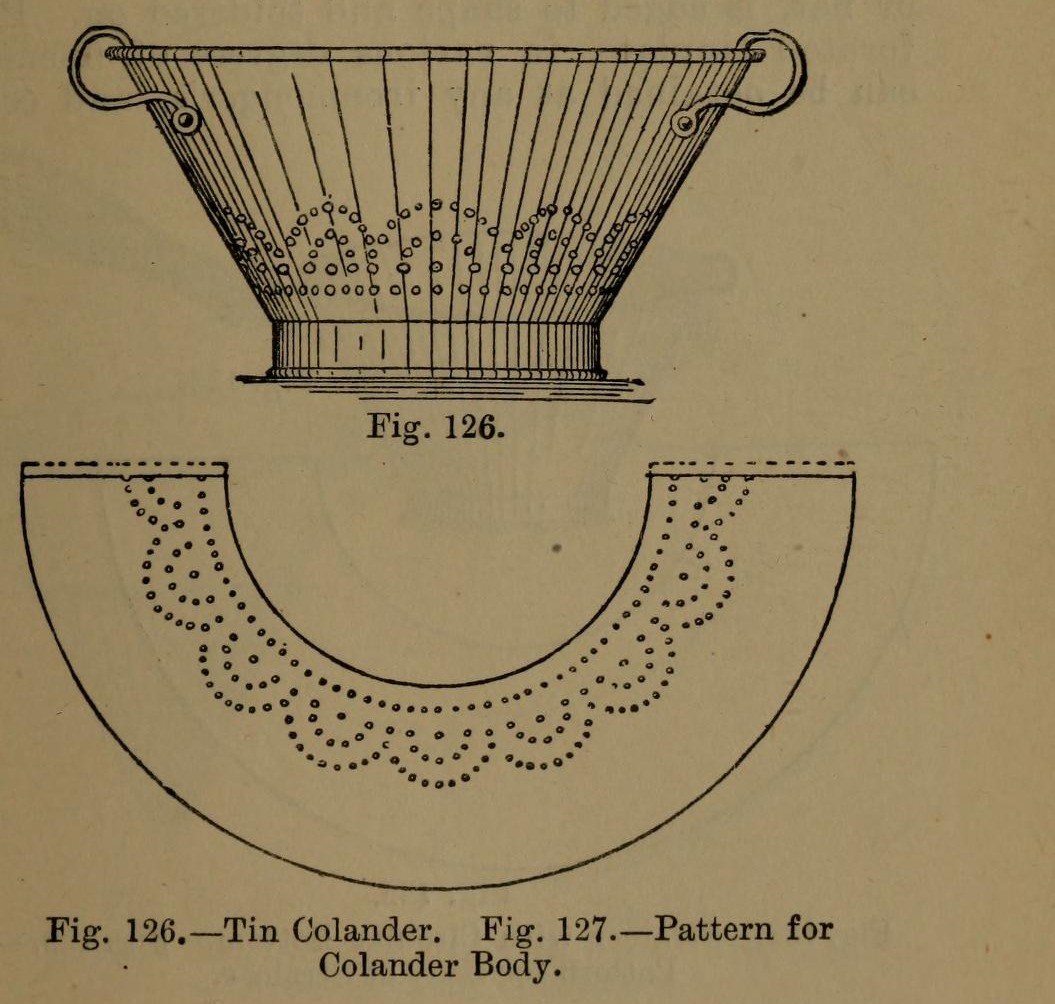


Colander: a Tinplate Colander with Perforated Body and Bottom (Hasluck, 1907)
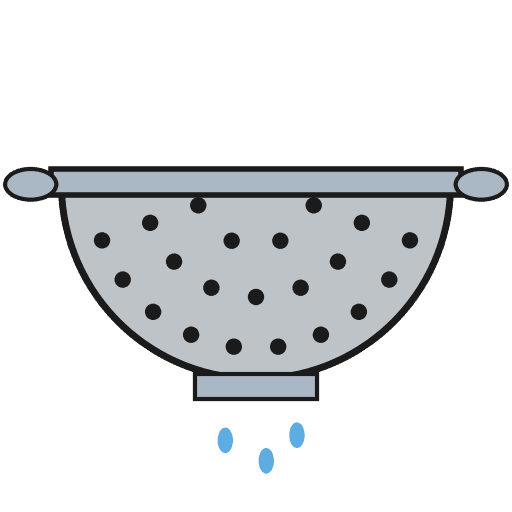
A tinsmith's colander for straining: a tapered tinplate body and a hollowed bottom, both punched full of holes, standing on a wired hoop, with two bow handles.
The body pattern is a ring segment: outer radius = top diameter, inner radius = bottom diameter, which gives sides at 60 degrees.
Source: Paul N. Hasluck, Tinplate Work (1907), pp. 50-51. Unknown: sizes, solder. Picture: Figs. 126-127 of the book.
중급
Unknown
안내
1
1
Set out the body pattern
Set out the body pattern
Choose the top and bottom diameters. On tinplate, strike an arc with radius equal to the top diameter and, from the same centre, one equal to the bottom diameter (Fig. 127); the sides then slope at 60 degrees. Mark the rows of holes, add edges for a grooved seam and the wire, and cut it out.
이 단계의 재료:
 양철판1 body
필요한 도구:
 디바이더(양각규)
 금긋개
 판금 가위
2
2
Break, punch and planish the body
Break, punch and planish the body
'Break' the pattern through the rollers, turning it the opposite way each pass, so it won't crease when bent. Punch the holes on a hardwood block, then flatten and planish the burrs.
필요한 도구:
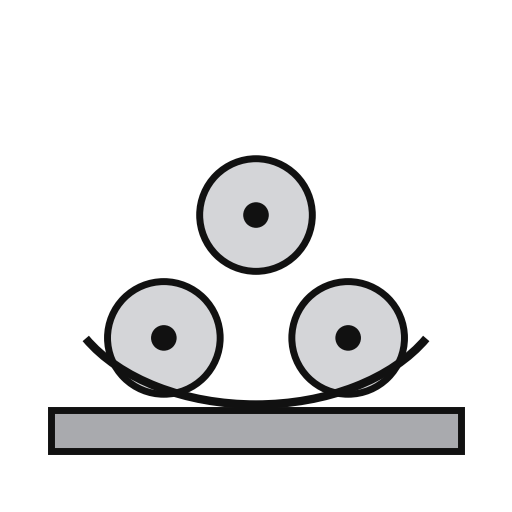 판재 굽힘 롤
 판금 구멍 펀치
 경목 블록
 평 망치
3
3
Seam and wire the body
Seam and wire the body
Set off the edges for a grooved seam, bend the body to shape and seam it. Solder the seam inside. Set off an edge on the wide end and wire it with No. 10 B.W.G. wire. If you like, raise a swage about 1 1/2 in below the wired edge: it stiffens the colander and looks better.
이 단계의 재료:
 철사1 No. 10 B.W.G.
 주석-납 땜납1 seam
필요한 도구:
 나무 망치
 말뚝
 전기 납땜인두
 플럭스
4
4
Make and fit the bottom
Make and fit the bottom
Cut out the bottom, hollow it and edge it to fit the small end. Inside, mark circles from 1 in across at the centre, each 1 in wider than the last, out to the edge. Punch holes at short intervals round them and flatten the burrs on an upturned hollowing hammer. Solder the bottom on.
이 단계의 재료:
양철판1 bottom주석-납 땜납1 bottom필요한 도구:
디바이더(양각규)판금 가위판금 구멍 펀치평 망치전기 납땜인두플럭스5
5
Add the hoop and handles
Add the hoop and handles
Cut a strip 1 1/2 in wide, as long as the circumference of the bottom. Wire it with No. 10 B.W.G., round it, seam it and solder it on as the foot. Rivet a pair of bow handles opposite each other at the top.
이 단계의 재료:
양철판1 hoop철사1 hoop주석-납 땜납1 hoop 자루2 bow handles
 철 리벳1 number not given
필요한 도구:
판금 가위전기 납땜인두플럭스 리벳 망치
6
6
Clean and scald
Clean and scald
Clean with turpentine and whiting, then polish with dry whiting. Before first use, steep it a short time in boiling water, as for any metal article for the kitchen.
필요한 도구:
 테레빈유
 탄산칼슘(호분)
 물
재료
5- 1 hoop플레이스홀더
- 1 hoop플레이스홀더
- 1 hoop플레이스홀더
- 2 bow handles플레이스홀더
- 1 number not given플레이스홀더
연결된 블루프린트 재료


이 블루프린트로 만드는 것
CC0 퍼블릭 도메인
이 블루프린트는 CC0로 공개되었습니다. 어떤 목적으로든 자유롭게 복사, 수정, 배포 및 사용할 수 있습니다.
제품 구매를 통해 메이커를 지원하세요. 판매자가 설정한 메이커 커미션 을 받거나, 이 블루프린트의 새로운 반복을 만들어 연결로 포함시킬 수 있습니다.