
Coolidge X-Ray Tube
Early X-ray tubes ran on a trace of leftover gas. Voltage ionised it, the ions crashed into the cathode, and that bombardment knocked out the electrons that made the X-rays. It worked, and it was almost uncontrollable: the gas was consumed as the tube ran, so output drifted through every exposure, and the same knob changed both how many X-rays came out and how penetrating they were. Radiographers learned their tubes individually, like animals.
Coolidge removed the gas entirely. Pump the tube far harder than before and supply the electrons from a separate heated tungsten filament instead. Now the filament temperature sets how many electrons cross, and the voltage sets how hard they arrive — two independent controls where there had been one unreliable one.
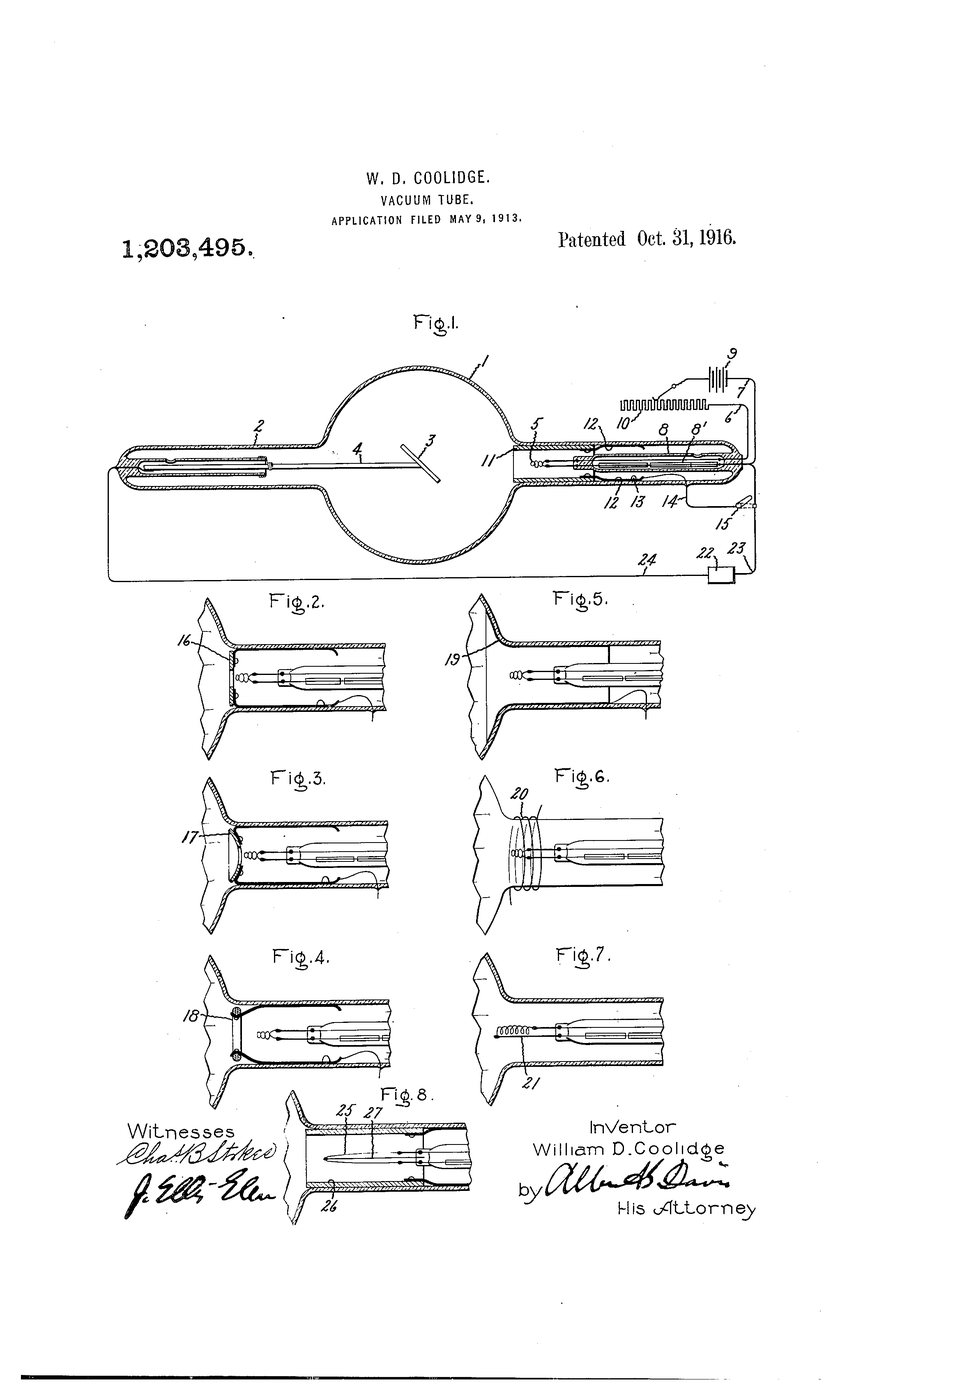
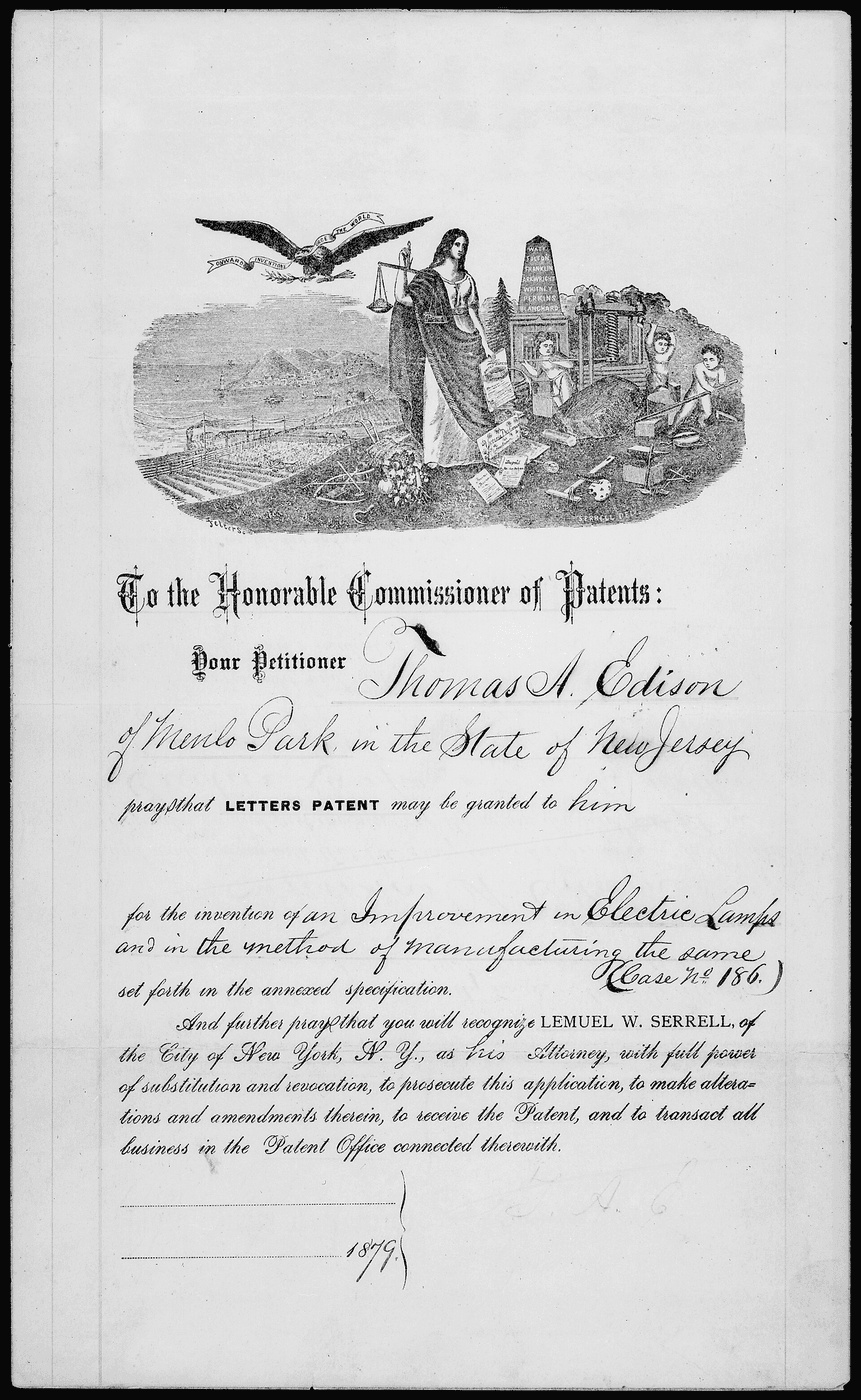
US Patent 1,203,495, plainly titled "Vacuum-tube", filed 9 May 1913 and granted 31 October 1916 to William D. Coolidge. He claimed it as no mere improvement: the tube "differs so radically from the tubes of the prior art ... as to amount not so much to an improvement on prior tubes as to an entirely new variety of tube."
This blueprint models the tube. It does not make X-rays.
안내
Do not attempt to generate X-rays
Do not attempt to generate X-rays
X-rays are ionising radiation and cause real, cumulative harm. Never apply high voltage to any vacuum tube to try to produce them, and never modify this model toward that. Everything here runs at 24 V or less and emits nothing.
Read US 1,203,495 and note the two controls
Read US 1,203,495 and note the two controls
Coolidge separates quantity (set by cathode temperature) from penetration (set by voltage). One knob became two, and that is the invention.
Show why one control is not enough
Show why one control is not enough
Wire a lamp to a single variable supply. Brightness and current move together — you cannot ask for more light at the same current. That coupling is the old tube's flaw.
Set up a low-voltage vacuum diode
Set up a low-voltage vacuum diode
Use the same small vacuum diode as the Fleming valve build: heater on its own supply, anode on a second. Two supplies, two controls — the Coolidge arrangement in miniature.
이 단계의 재료:
 Vacuum Tube Diode Valve1 개
필요한 도구:
 Bench Power Supply (30V/5A)
Fix the anode voltage and vary the heater
Fix the anode voltage and vary the heater
Hold the anode at 12 V. Step the heater across its safe range and record current. Current changes while the accelerating voltage never moves.
필요한 도구:
 Digital Multimeter (Auto-Range, True RMS)
Fix the heater and vary the anode voltage
Fix the heater and vary the anode voltage
Now hold the heater steady and sweep the anode. Current rises, then plateaus. Past the plateau, voltage adds energy per electron but no extra electrons.
Plot both curves together
Plot both curves together
Put step 5 and step 6 on one sheet. In a real tube these are the two radiographic settings: filament current sets dose, kilovoltage sets penetration.
Model the tube envelope
Model the tube envelope
Cut a clear tube or bottle and mount a filament stand-in at one end, a target plate at the other. Build it as a cutaway so the geometry stays visible.
이 단계의 재료:
 Clean Glass Jars with Lids1 개
Add a focusing cup around the cathode
Add a focusing cup around the cathode
Form a shallow metal cup behind the filament. Coolidge focuses the stream onto a small area — without it the beam sprays and the image blurs.
이 단계의 재료:
 Galvanised Steel Wire1 미터
필요한 도구:
 Flat-Nose Pliers
Model focusing with light
Model focusing with light
Shine a torch through a card aperture onto paper, then narrow the aperture. A smaller source casts a sharper shadow — the same reason the focal spot must be small.
Angle the target and look at it end-on
Angle the target and look at it end-on
Set the target plate at about 20° to the beam axis. Viewed from the side, the hot area is large; viewed along the beam, it looks tiny. Heat spreads over a big spot, the image sees a small one.
Work out why the target must be tungsten
Work out why the target must be tungsten
Nearly all the arriving energy becomes heat, not X-rays. Tungsten melts near 3,422 °C — the highest of any metal — which is why the target and the filament are both made of it.
Test what a hot filament does to a poor vacuum
Test what a hot filament does to a poor vacuum
Run your diode's heater a little high and watch the current wander. Coolidge needed a vacuum far harder than earlier tubes precisely so leftover gas could not take part.
Label the finished model
Label the finished model
Mark cathode, focusing cup, anode target, target angle and envelope. Add the two control paths. This diagram is the deliverable, not a working tube.
History & Context — tungsten twice over
History & Context — tungsten twice over
The patent. US 1,203,495, "Vacuum-tube", filed 9 May 1913 and granted 31 October 1916 to William D. Coolidge at General Electric. The granted title says nothing about X-rays, which is a good reminder that patent titles are often the broadest defensible term rather than the useful one.
The same man solved the materials problem first. Coolidge's earlier and arguably larger achievement was ductile tungsten — working the most refractory metal known into drawable wire, which is what made long-lived incandescent lamp filaments possible. That work is the precondition for this tube: it needs tungsten in both the hottest places, as a filament that can run at emission temperature for thousands of hours and as a target that can absorb a beam whose energy is over 99 % waste heat. An invention is often a materials advance wearing a device's clothes.
Why separating the two controls mattered clinically. In a gas tube, asking for a brighter image also changed how penetrating the beam was, and the gas was being consumed as you worked, so the tube's behaviour drifted mid-session and differed from every other tube in the hospital. Exposures were guesswork, repeat exposures were routine, and repeat exposures mean repeated dose to the patient and the operator. The Coolidge tube made an exposure reproducible: set the filament current for the quantity you want and the kilovoltage for the penetration you want, and get the same result tomorrow. Reproducibility is what turned radiography from a demonstration into a diagnostic discipline — and, because it cut wasted exposures, it was also a safety advance.
The anode angle is a genuinely elegant trick. Two requirements conflict: the beam's apparent source must be tiny for a sharp image, and the heated area must be large or the target melts. Tilting the target resolves them geometrically. The electron beam lands on a long ellipse — plenty of area to absorb heat — but seen from the direction the X-rays leave, that ellipse foreshortens to a small square. One angle, both requirements, no moving parts. Rotating anodes later took the same idea further by moving fresh metal through the beam.
Why this build stops where it does. Everything above is the physics and the geometry, and all of it can be understood at 24 V with a small diode, a torch and a piece of card. Producing X-rays requires tens of kilovolts, and an unshielded source is dangerous in a way that gives no warning at the time — the harm from ionising radiation is cumulative and largely invisible until much later. Early radiology workers, including many of the field's pioneers, were injured and killed learning this. The model is the honest place to stop.
재료
3- 플레이스홀더
- 플레이스홀더
- 플레이스홀더
필요 도구
3- 플레이스홀더
CC0 퍼블릭 도메인
이 블루프린트는 CC0로 공개되었습니다. 어떤 목적으로든 자유롭게 복사, 수정, 배포 및 사용할 수 있습니다.
제품 구매를 통해 메이커를 지원하세요. 판매자가 설정한 메이커 커미션 을 받거나, 이 블루프린트의 새로운 반복을 만들어 연결로 포함시킬 수 있습니다.