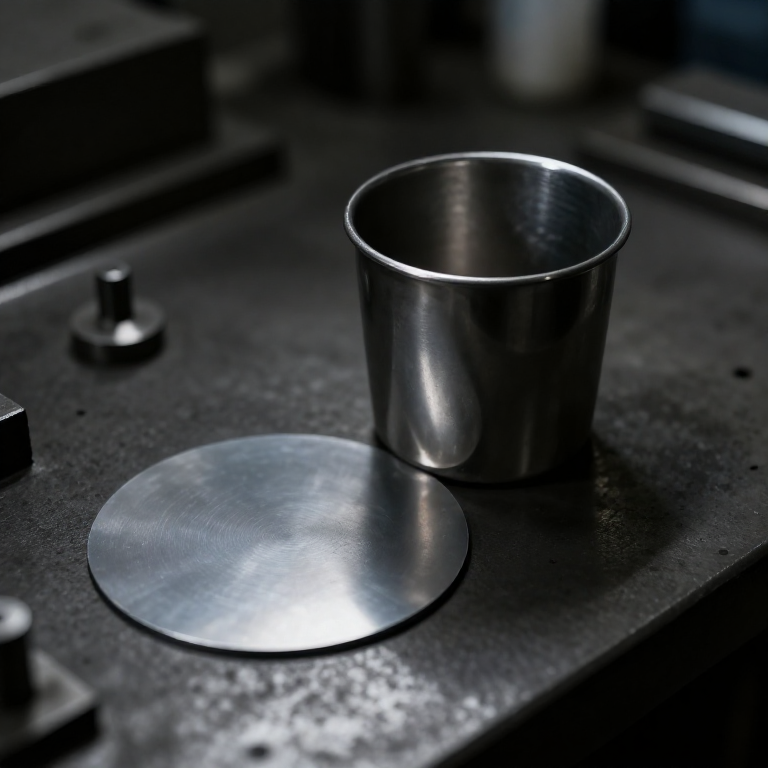


Deep Drawing
안내
Make punch, die and blank holder
Make punch, die and blank holder
Three parts, and the radii on two of them decide whether it works.
- Turn a punch 40 mm diameter from aluminium round bar, with a generous 6 mm radius on its nose.
- Bore a die with an opening of punch diameter plus twice the sheet thickness plus a small clearance.
- Round the die's entry edge to a 6 mm radius as well — a sharp edge will shear the blank instead of drawing it.
- Make a flat blank holder ring that sits on the sheet around the die opening.
Both radii must be generous. The metal has to bend over the die entry, travel, and bend back straight — a sharp radius concentrates the strain into a narrow band and tears it. The punch nose radius does the same job at the bottom of the cup. Almost every failed draw is a radius that was too tight.
Clearance between punch and die should be slightly MORE than the sheet thickness. Less and you are ironing the wall thinner as well as drawing it, which raises the force sharply and often tears the base out.이 단계의 재료:
 알루미늄 환봉1 개
 알루미늄 판2 개
필요한 도구:
 무선 드릴
무선 드릴 드릴 비트 세트
 줄 세트
줄 세트 바이스(만력)
 디지털 캘리퍼스 6인치
 카운터싱크 드릴 비트 세트
Make the blank holder adjustable
Make the blank holder adjustable
Holder pressure is the process variable, so build it to be changed.
- Guide the blank holder on three or four posts around the die.
- Load it with compression springs whose preload can be set by nuts.
- Use M8 studs with M8 hex nuts × 4 and M8 flat washers × 8 to set spring compression.
- Mark the nut positions so a setting can be recorded and repeated.
Two failure modes, one dial between them. Too little holder pressure and the rim buckles into wrinkles as it is drawn in — visible as radial folds around the cup's mouth. Too much and the blank cannot slide inward at all, so the punch simply tears the base out and leaves the rim behind. The correct setting is the narrow band where the rim flows without folding.
Record the setting that works for your material and thickness. It changes with both, which is why press shops keep setup sheets rather than relying on the operator's memory.이 단계의 재료:
 압축 스프링 세트1 세트
 평와셔8 개
 육각 너트4 개알루미늄 환봉1 개
필요한 도구:
무선 드릴드릴 비트 세트 육각 렌치 세트줄 세트디지털 캘리퍼스 6인치
Draw a cup and find the limiting draw ratio
Draw a cup and find the limiting draw ratio
There is a hard limit on how deep one draw can go. Find yours.
- Cut annealed aluminium blanks of 60, 70, 80 and 90 mm diameter.
- Lubricate each and draw it over the 40 mm punch.
- Record which succeed and which tear.
- Compute the draw ratio for each: blank diameter ÷ punch diameter.
- Note the largest ratio that survived.
이 단계의 재료:
알루미늄 판1 개 끓인 아마인유1 병
필요한 도구:
 실톱(코핑 소)디지털 캘리퍼스 6인치줄 세트바이스(만력)
Measure earing and understand why it happens
Measure earing and understand why it happens
The cup's rim comes out wavy, and the waves are not random.
- Draw a cup and measure its height at eight points around the rim.
- Plot height against angle.
- Look for a regular pattern — typically four peaks, sometimes six.
- Note the orientation of those peaks relative to the sheet's rolling direction.
필요한 도구:
디지털 캘리퍼스 6인치 조합 직각자
One stroke, no joint, and history
One stroke, no joint, and history
Deep drawing became an industrial process through the nineteenth century and exploded in the twentieth with the cartridge case and then the motor body panel. The drawn brass cartridge case is a particularly demanding example — several draws with anneals between, holding a wall thickness that varies deliberately along its length so the case grips the chamber at the mouth and stays stiff at the base.
What it does that the alternatives cannot. Cut-and-solder makes a vessel with a seam. Machining from solid wastes most of the metal and cuts the grain. Casting gives a coarse structure and thick walls. Deep drawing produces a seamless, thin-walled vessel with the grain following the wall, in one stroke, from a flat blank — and the tooling then repeats it indefinitely. The modern drinks can is the extreme case: drawn, redrawn and ironed to a wall thinner than a human hair.
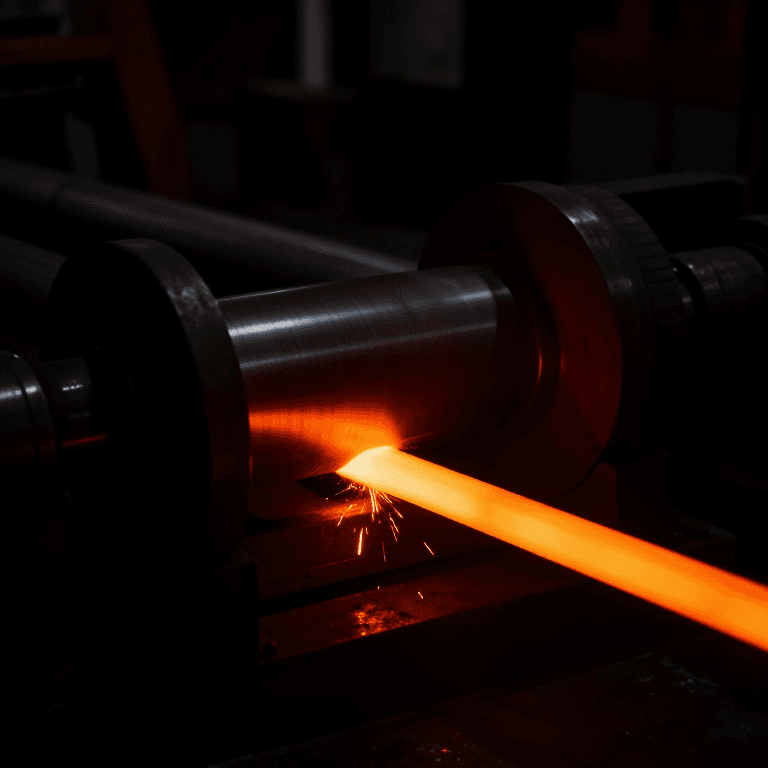
Its dependencies run right back through this batch. It needs sheet of consistent thickness and properties, which is the rolling mill; it needs a press with a controlled stroke, which is the drop forging lineage; and it needs to understand the anisotropy the rolling left behind. It is the last process in the chain and it inherits from all of them.
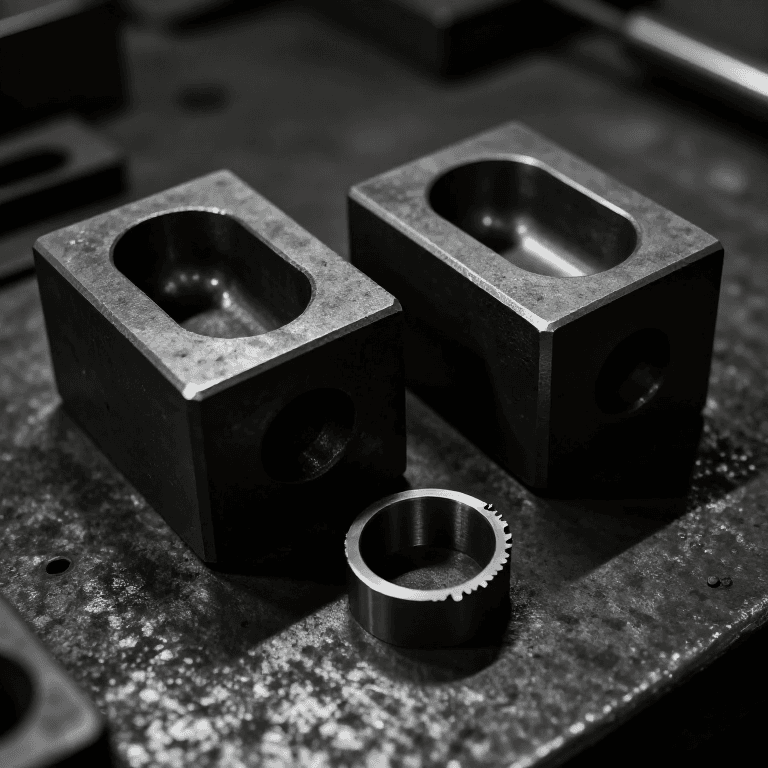
Its honest limits: the draw ratio limit, so deep parts need multiple operations and intermediate annealing; earing, so blanks must be oversized and trimmed; springback, so dies are cut to compensate rather than to the nominal shape; and expensive tooling that suits only high volume — the same economics as every die-based process in these two batches.
재료
6- 1 개플레이스홀더
- 3 개플레이스홀더
- 1 세트플레이스홀더
- 8 개플레이스홀더
- 4 개플레이스홀더
- 1 병플레이스홀더
관련 블루프린트
이 블루프린트들은 지식을 공유합니다 — 기술, 재료 또는 원리

CC0 퍼블릭 도메인
이 블루프린트는 CC0로 공개되었습니다. 어떤 목적으로든 자유롭게 복사, 수정, 배포 및 사용할 수 있습니다.
제품 구매를 통해 메이커를 지원하세요. 판매자가 설정한 메이커 커미션 을 받거나, 이 블루프린트의 새로운 반복을 만들어 연결로 포함시킬 수 있습니다.