협업
예술
뷰티 및 웰니스
공예
문화 및 역사
엔터테인먼트
환경
음식 및 음료
역공학
과학
스포츠
기술
웨어러블
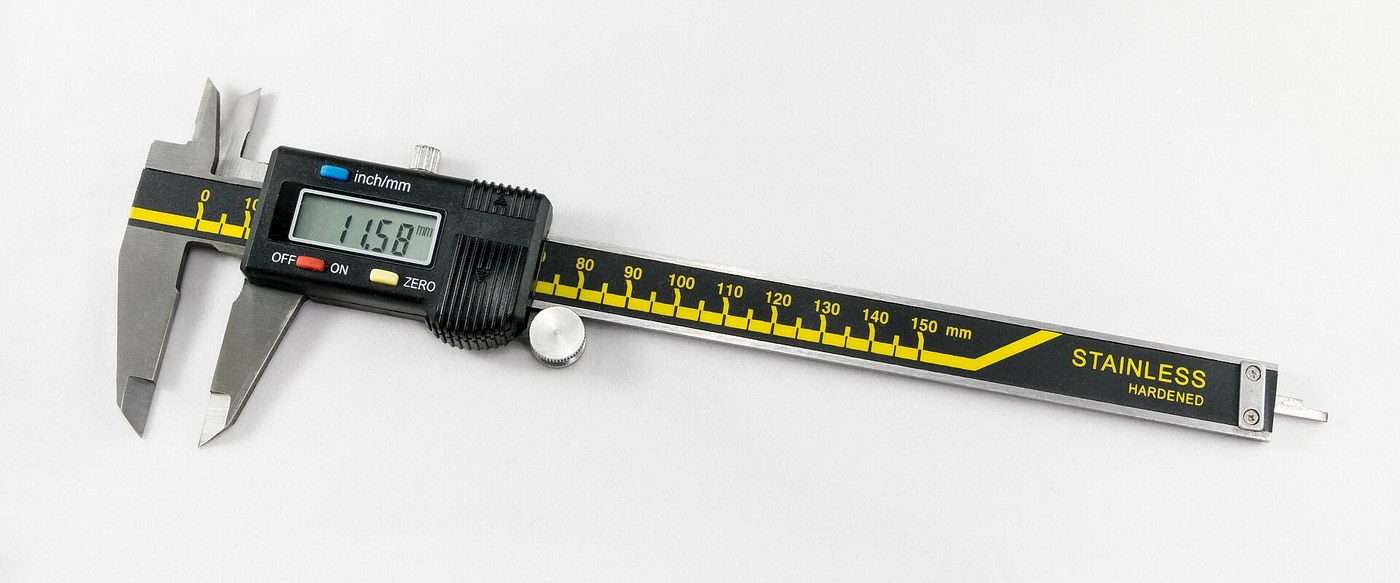


Digital Caliper: Capacitive Scale and Slider with Two-Chip Electronics (Baxter and Buehler, Starrett, 1986)
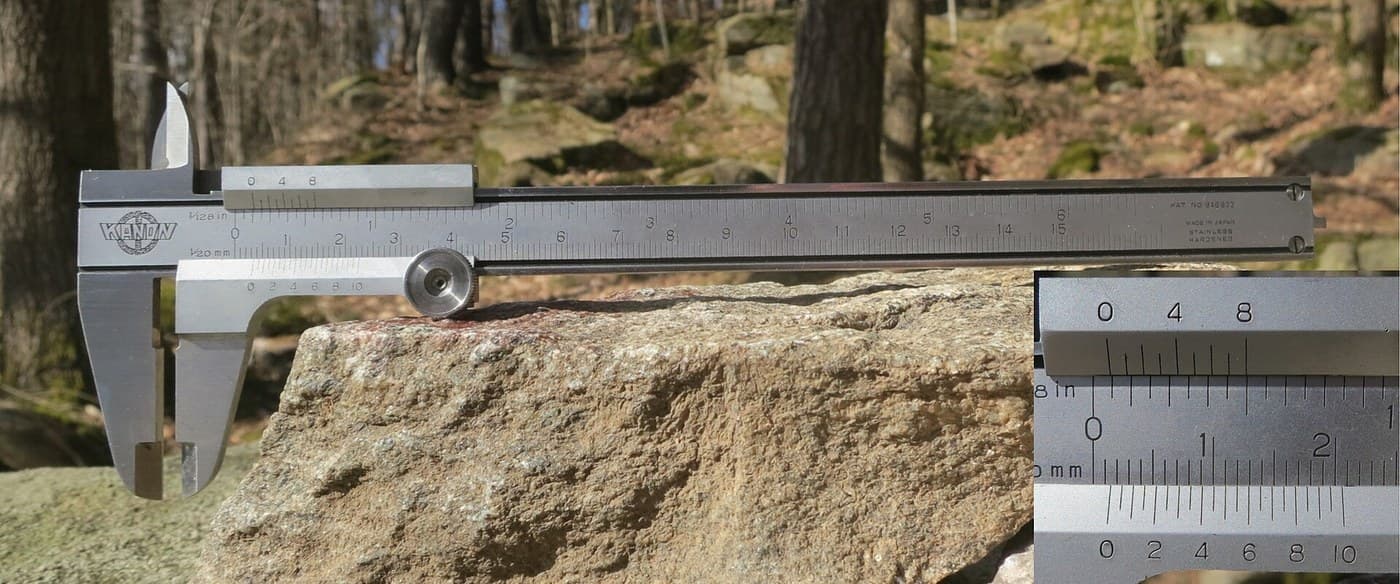
A six-inch caliper that reads out on a display. Under the slide, a strip of etched copper bars runs along the beam. Electrodes on the slider pass a signal through the bars by capacitance, and the slider's electronics count the bars crossed and work out the position in between.
Result: a digital caliper reading in inches or millimetres, repeatable to a ten-thousandth of an inch, with floating zero, peak hold and high/low limits. It runs on two 1.5 V cells at 10-50 microamps.
Source: L. K. Baxter and R. J. Buehler (L. S. Starrett Co.), US Patent 4,586,260 (1986). Unknown: the metal of the beam, slide and rod, their dimensions, the processor's program, and how the chips and display are made. Ours: the etchant, photoresist and glue. Picture: Wikimedia Commons.
고급
2 days
안내
1
1
Etch the scale
Etch the scale
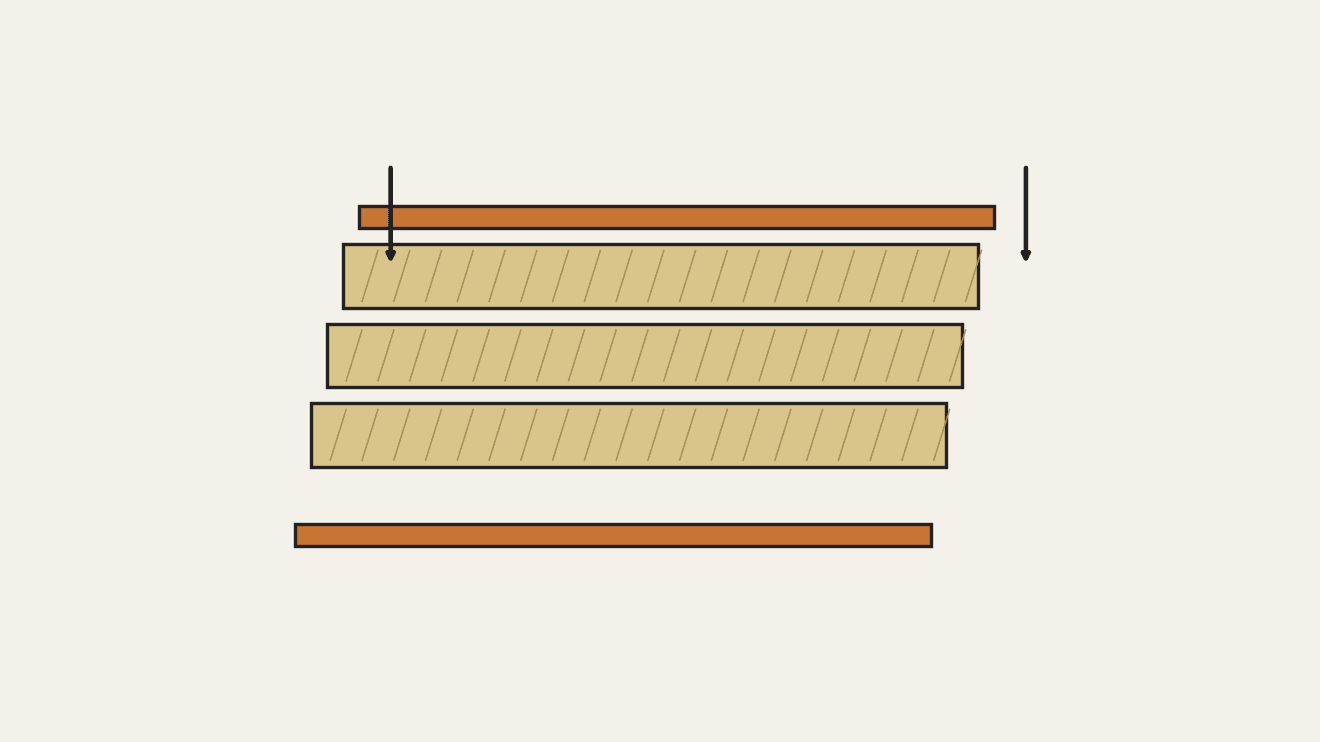
Etch the scale pattern onto a strip of copper-clad epoxy fibreglass with photoresist and etchant. Each copper bar is 0.40 inch long, with a wider centre 0.12 inch long and two ends 0.14 inch long. Space the bars on 0.05 inch centres: the centres sit 0.004 inch apart, the ends 0.025 inch apart. Run the pattern the full length of the scale. Ours: dry film resist and ferric chloride.
이 단계의 재료:
 동박 적층 생기판1 strip, length of the beam
필요한 도구:
 드라이 필름 포토레지스트
 염화제이철 용액
 내화학 장갑
2
2
Fix the scale into the beam
Fix the scale into the beam
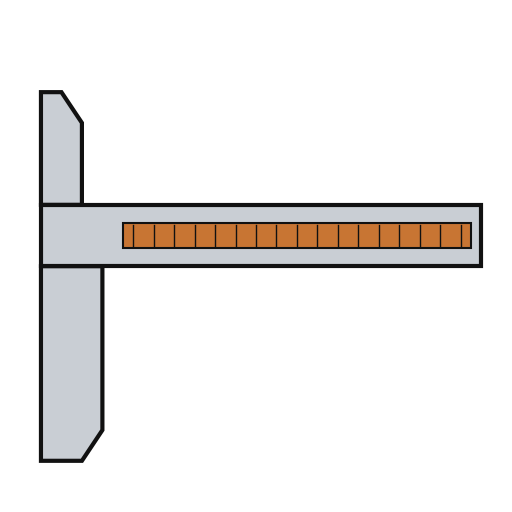
The beam is a metal bar with the fixed outside and inside jaws at one end, a wide shallow channel in its face and a second channel along its back. Fix the scale permanently into the face channel, copper up. The patent allows etching before or after this step. Not given: the metal, the dimensions and how the scale is fixed. Ours: epoxy.
이 단계의 재료:
 캘리퍼스 본척1 with integral jaws
 2액형 에폭시1 a little
필요한 도구:
 알 수 없는 치수
3
3
Fit the parts to the circuit
Fit the parts to the circuit
The circuit is one folded piece: a double-sided slider board joined by a flexible hinge to a circuit board. Its bottom face has two pickup electrodes, 0.750 x 0.110 inch and 0.0625 inch apart. On each side of them is an interdigitated transmitter array: fingers 0.115 inch long on 0.025 inch spacing, opening to 0.0375 inch at the centre. On the circuit board, solder or wire-bond the two chips: an NEC uPD7503 3 V processor (768 bits RAM, 2 kB ROM) and a CMOS gate array. Then fit the LCD, the 100 kHz crystal, the integrating capacitor and the MODE and SET buttons. Not given: the processor's program. Ours: a capacitor from a kit.
이 단계의 재료:
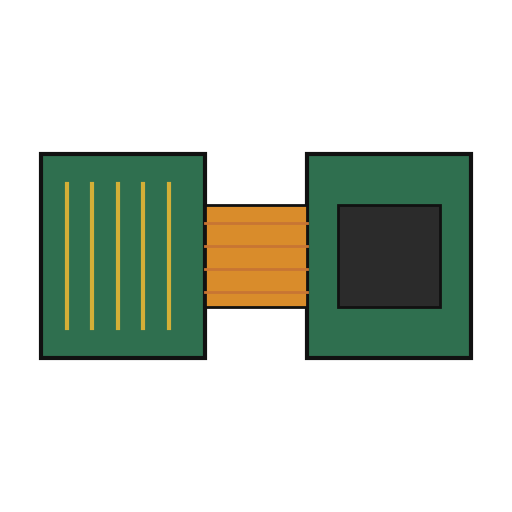 경연성 회로 기판1 slider board + circuit board
 집적 회로(IC)2 uPD7503 CPU, CMOS gate array
 세그먼트 액정 패널1 5 digits
 수정 진동자1 100 kHz
 커패시터 키트1 one integrating capacitor
 푸시 버튼2 MODE, SET
 땜납 선1 a little
필요한 도구:
 인두
4
4
Build the slide
Build the slide
The slide frame wraps the back and edges of the beam and carries the movable jaws. Fix it to the depth rod, which runs in the back channel of the beam; the rod's free end is the depth gauge. Put the moulded plastic housing between the frame ends. Fasten two metal wear strips under the slider board, one on each side of the scale. They ride on the beam and connect the board's copper to it. Not given: the metal and sizes.
이 단계의 재료:
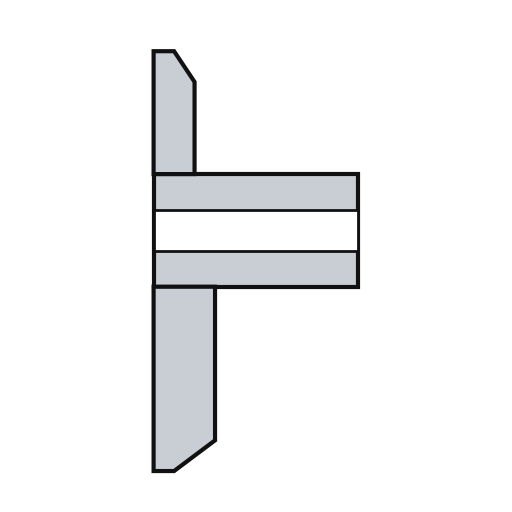 슬라이더 프레임1 with jaws
 알 수 없는 금속1 depth rod and two wear strips
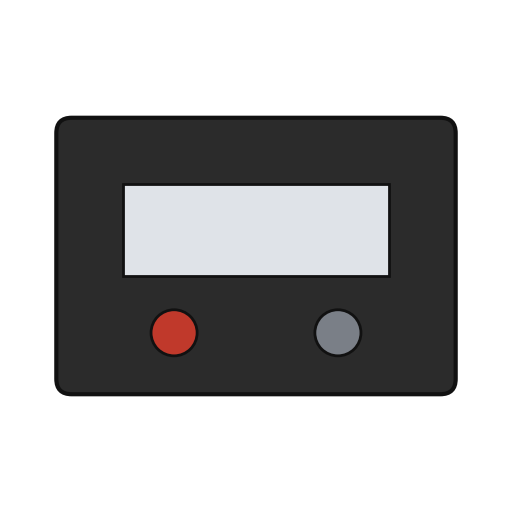 슬라이더 하우징1 개
필요한 도구:
알 수 없는 치수 정밀 드라이버 세트
5
5
Assemble and check
Assemble and check
Fold the circuit into the housing recess, slider board facing the scale, and screw it to the frame. The electrodes must lie parallel to the scale bars at every point of travel. Put the two 1.5 V cells (the patent says 'zinc oxide') in the battery pockets of the circuit. The display shows five digits, a ten-thousandths bar graph, a minus sign and 'mm', plus PEAK, LOW, HIGH and LIMIT. Ours: check the reading against a vernier caliper.
이 단계의 재료:
 기계 나사2 개
 1.5볼트 버튼 전지2 개
필요한 도구:
정밀 드라이버 세트 버니어 캘리퍼스
재료
15- 1 strip, length of the beam플레이스홀더
- 1 with integral jaws플레이스홀더
- 1 a little플레이스홀더
- 1 slider board + circuit board플레이스홀더
- 2 uPD7503 CPU, CMOS gate array플레이스홀더
- 1 5 digits플레이스홀더
- 1 100 kHz플레이스홀더
- 1 one integrating capacitor플레이스홀더
- 플레이스홀더
- 1 a little플레이스홀더
- 1 with jaws플레이스홀더
- 1 depth rod and two wear strips플레이스홀더
- 1 개플레이스홀더
- 2 개플레이스홀더
- 2 개플레이스홀더
연결된 블루프린트 재료

이 블루프린트로 만드는 것

관련 블루프린트
이 블루프린트들은 지식을 공유합니다 — 기술, 재료 또는 원리

CC0 퍼블릭 도메인
이 블루프린트는 CC0로 공개되었습니다. 어떤 목적으로든 자유롭게 복사, 수정, 배포 및 사용할 수 있습니다.
제품 구매를 통해 메이커를 지원하세요. 판매자가 설정한 메이커 커미션 을 받거나, 이 블루프린트의 새로운 반복을 만들어 연결로 포함시킬 수 있습니다.