협업
예술
뷰티 및 웰니스
공예
문화 및 역사
엔터테인먼트
환경
음식 및 음료
역공학
과학
스포츠
기술
웨어러블
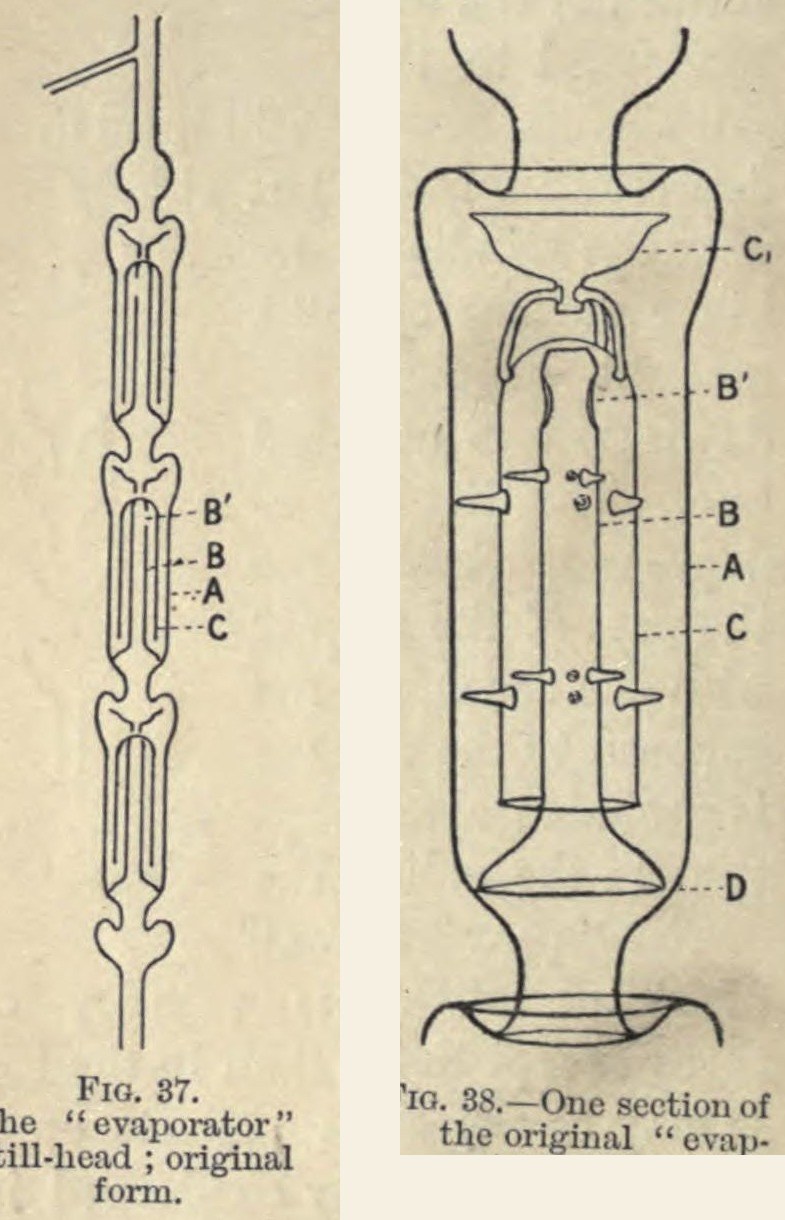


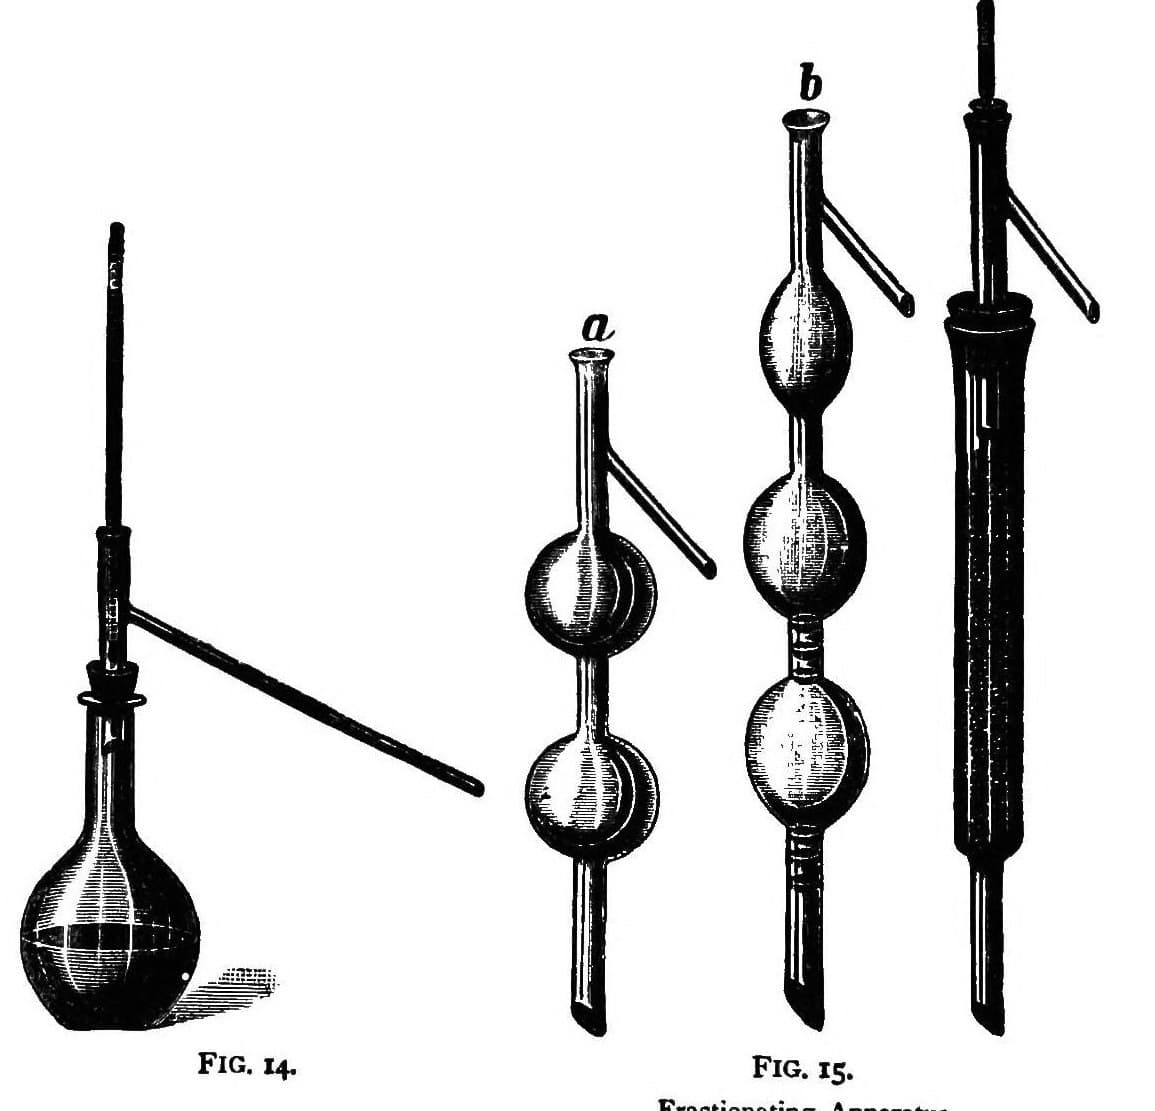
Distillation Column Assembly: Flask, "Evaporator" Still-Head, Liebig Condenser and Receivers (Young, 1903)
A complete fractional distillation set: a globular flask, Young and Thomas's 'evaporator' still-head built of stacked glass sections, a Liebig condenser and a row of receivers. In each section the rising vapour is forced through the liquid running back down, so the mixture separates better at each step.
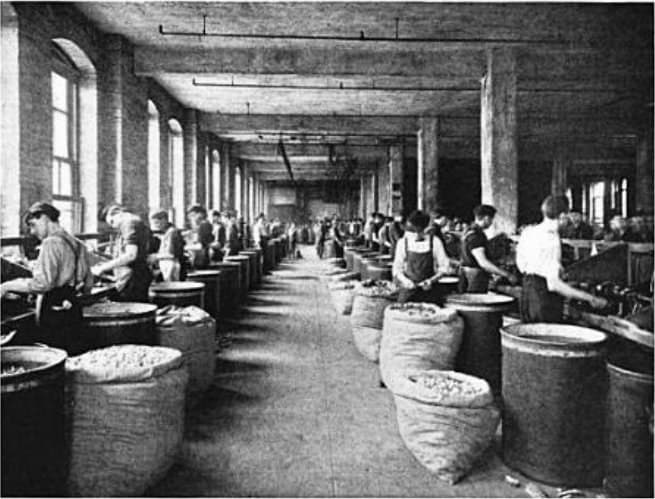
Result: a fractionating apparatus for separating liquids by boiling point, the fractions caught in receivers changed at set temperatures.
Source: S. Young, Fractional Distillation (1903), pp. 4-7, 115-116, 166-168. Picture: Figs. 37 and 38 of the book.
고급
Unknown
안내
1
1
Choose the still
Choose the still
Use a globular flask, since a flat-bottomed one may crack over a naked flame, no larger than the amount of liquid needs. Fit it with a cork for the still-head. Ours: a round-bottom flask.
이 단계의 재료:
 둥근바닥 플라스크1 still
 코르크1 still cork
필요한 도구:
 분젠 버너
2
2
Blow the evaporator still-head
Blow the evaporator still-head
Build the still-head of sections joined end to end. Each outer tube is 22 to 24 mm inside and about 10 to 10.5 cm long, constricted at the bottom. In it stands a thin inner tube, 7.5 to 8 mm inside and 60 mm long, open at both ends, with two large holes near its top. Its lower end widens into a funnel resting on the constriction, with three or four tiny glass beads fused to the rim so it does not fit too tightly. Over it stands an intermediate tube about 14 mm inside and 50 mm long, like a small inverted test tube. A small funnel, slightly wider than the dip in the outer tube above, sits on top of it on three glass legs. Small glass projections centre the tubes. Make the head long enough that the thermometer's bulb and stem both sit in the vapour, with a side delivery tube at the top.
이 단계의 재료:
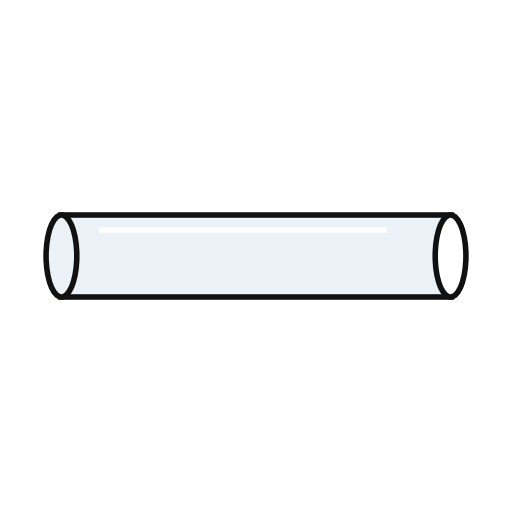 유리관1 sections, inner and intermediate tubes, delivery tube
필요한 도구:
 탁상 유리 불기 토치
3
3
Fit the condenser
Fit the condenser
Use a Liebig condenser, about 7 or 8 mm inside for the inner tube and 15 mm for the outer, cooled by running water. Pass the delivery tube through a cork into it. Draw out the joint where the wide inlet meets the narrow tube so no pool of liquid lies there. Bend the narrow tube so the condenser can stand upright. Above about 170 °C use a long tube cooled by air instead of water.
이 단계의 재료:
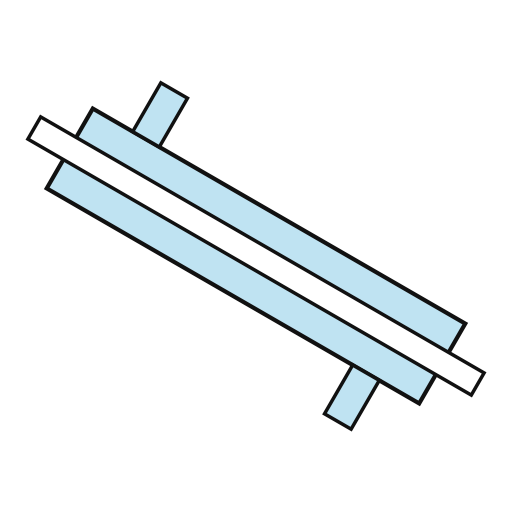 수랭식 냉각관1 condenser코르크1 condenser cork
필요한 도구:
탁상 유리 불기 토치 물
4
4
Set the heat and the receivers
Set the heat and the receivers
Heat with a Bunsen burner, its top about 2 mm below the flask so the small flame touches the glass, shielded from draughts. Add a few pieces of porous porcelain (a broken clay pipe will do) or pumice if the liquid bumps. Set a thermometer in the still-head and a row of small flasks as receivers.
이 단계의 재료:
 온도계1 still-head thermometer
 수집 플라스크10 receivers
필요한 도구:
분젠 버너 알 수 없는 재료
5
5
Distil in fractions
Distil in fractions
Read the barometer and correct the set temperatures for it. Distil steadily. In each section, condensed liquid seals the narrow passage, so the vapour rises up the inner tube, down between the tubes and up again, while liquid drips from section to section back to the still. Collect the distillate in fractions, changing the receiver each time the temperature reaches one of the values fixed beforehand.
필요한 도구:
 수은 기압계분젠 버너물
재료
6- 1 still플레이스홀더
- 1 condenser cork플레이스홀더
- 1 sections, inner and intermediate tubes, delivery tube플레이스홀더
- 1 condenser플레이스홀더
- 1 still-head thermometer플레이스홀더
- 10 receivers플레이스홀더

이 블루프린트로 만드는 것

관련 블루프린트
이 블루프린트들은 지식을 공유합니다 — 기술, 재료 또는 원리
CC0 퍼블릭 도메인
이 블루프린트는 CC0로 공개되었습니다. 어떤 목적으로든 자유롭게 복사, 수정, 배포 및 사용할 수 있습니다.
제품 구매를 통해 메이커를 지원하세요. 판매자가 설정한 메이커 커미션 을 받거나, 이 블루프린트의 새로운 반복을 만들어 연결로 포함시킬 수 있습니다.