예술
뷰티 및 웰니스
공예
문화 및 역사
엔터테인먼트
환경
음식 및 음료
역공학
과학
스포츠
기술
웨어러블



Distortion and Sequence: The Weld Pulls, So Decide Where It Pulls To
Every weld shrinks as it cools, and it drags the parts with it. A frame that was square when it was tacked comes out of the jig as a parallelogram; two plates butted flat come out as a shallow roof; a long seam in sheet makes the sheet ripple.
None of that is a beginner's fault. Steel expands about twelve micrometres per metre per degree, the weld metal is restrained while it is hot, and it therefore ends up shorter than it started.
Since the pull cannot be prevented, the work is to predict it, balance it, and use less heat. This rung puts numbers on all three.
중급
4 hours
안내
1
1
Three shrinkages, in three directions
Three shrinkages, in three directions
**Transverse shrinkage** closes the joint across the seam. Two plates tacked with a 3 mm gap end up with less. It follows the amount of metal deposited, so it is worst in thick multi-pass joints.
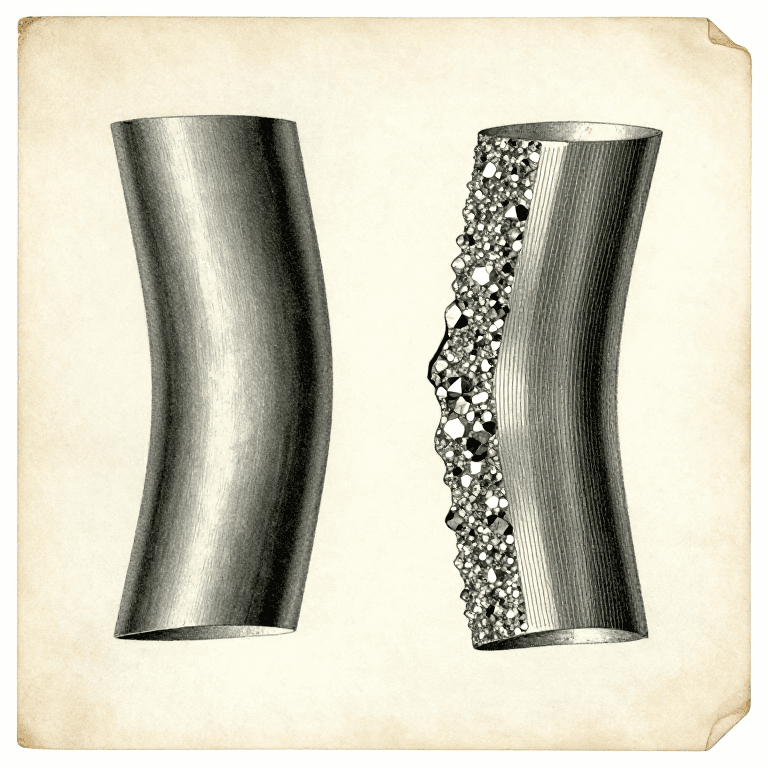
**Longitudinal shrinkage** shortens the seam along its length. It is much smaller than the transverse figure, but on a long member it bows the whole piece towards the weld — which is why a beam welded on one flange only ends up curved.
**Angular distortion** is the fold along the seam. It happens because a single-sided weld has more metal near one face, so that face shrinks more. This is the one that ruins frames, and it is the one the sequence can actually cancel.
All three are worse with more heat, and heat per unit length is the number the bead rung worked out.
이 단계의 재료:
 연강판2 개
 연강 평강2 개
필요한 도구:
 조합 직각자
 자
자2
2
How far it moves
How far it moves
Jupyter 노트북 불러오는 중…
필요한 도구:
 데스크톱 컴퓨터
3
3
Tack, then think about the order
Tack, then think about the order
**Tack from the middle outwards**, not from one end. Tacking from one end pushes the accumulated shrinkage ahead of you and the far end closes up before you get there.
**Back-step.** Weld short lengths, each one laid in the opposite direction to the overall progress: start 100 mm along and weld back to the start, then start 200 mm along and weld back to 100, and so on. Each short run shrinks into metal already welded instead of into the open joint.
**Balance across the neutral axis.** On a tee, weld one side then the other. On a box, weld opposite corners alternately. Never finish one whole side before starting the other.
**Skip around.** On a frame with many joints, never weld two adjacent joints one after the other. Move to the far side and let the first cool.
**Pre-set.** For a distortion you cannot cancel, set the parts up bent the opposite way by the amount the notebook predicts and let the weld pull them straight. That is how a fabricator makes a straight beam out of a process that always bends one.
이 단계의 재료:
연강판2 개 연강 앵글2 개
 용접봉1 팩
필요한 도구:
 아크 용접기
 자동 차광 용접면
 용접 장갑
용접 장갑 C형 클램프조합 직각자
 동석 블록
동석 블록4
4
Clamping helps less than you think, and costs something
Clamping helps less than you think, and costs something
The obvious answer to distortion is to hold the work rigidly. It works, but only while the clamps are on.
Restraint does not remove the shrinkage — it converts it into **residual stress** locked into the joint. Release the clamps and some of the movement happens anyway. Worse, a heavily restrained joint in a thick or hardenable steel can crack as it cools, because the contracting weld has nowhere to go.
So use clamps and jigs to hold **alignment** — to keep the gap and the angle where you set them — and control distortion with sequence, balance and less heat instead. Those work by reducing the shrinkage rather than fighting it.
If a piece still comes out bent, it can be pulled back by flame straightening: heating a small wedge-shaped area, letting the surrounding cold metal upset it, and letting it shrink on cooling. That is the same physics used deliberately — and it puts yet more residual stress in, so it is a repair, not a plan.
이 단계의 재료:
연강판2 개필요한 도구:
C형 클램프 바 클램프조합 직각자
 디지털 각도계
관련 블루프린트
이 블루프린트들은 지식을 공유합니다 — 기술, 재료 또는 원리

CC0 퍼블릭 도메인
이 블루프린트는 CC0로 공개되었습니다. 어떤 목적으로든 자유롭게 복사, 수정, 배포 및 사용할 수 있습니다.
제품 구매를 통해 메이커를 지원하세요. 판매자가 설정한 메이커 커미션 을 받거나, 이 블루프린트의 새로운 반복을 만들어 연결로 포함시킬 수 있습니다.