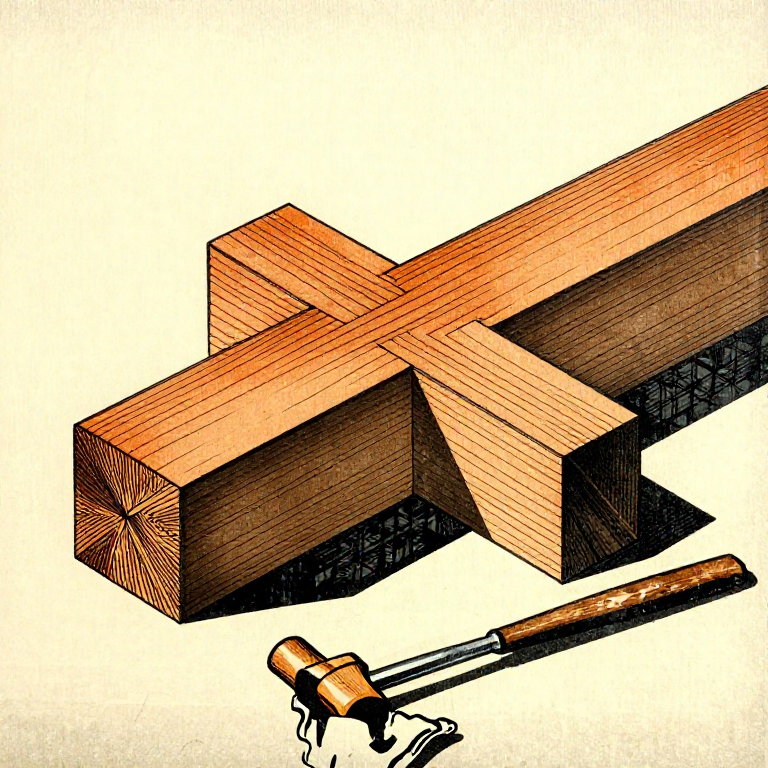


Cutting a Kanawa-Tsugi Timber Splice Joint — Traditional Japanese Joinery
안내
Mark Out the Joint on Both Timbers
Mark Out the Joint on Both Timbers
The kanawa-tsugi consists of two mirror-image halves that interlock with stepped faces and a central mortise that accepts a locking wedge. Using a marking gauge and square, lay out the joint on both timber ends simultaneously to ensure they match precisely. The joint length is typically 1.5-2 times the timber width. Mark the centre line on all four faces, then mark the stepped profile: each half has a hook-shaped projection that fits into a corresponding recess in the other half. The stepped faces create mechanical resistance against pulling apart, while the wedge slot runs through both halves at the centre. Every line must be scored with a marking knife — pencil lines are not precise enough for joints that must fit within fractions of a millimetre.
이 단계의 재료:
 더글러스퍼 대들보2 pieces, each ~60cm x 10cm x 10cm cm
 경목 쐐기1 small wedge 개
필요한 도구:
 일본 당김 톱
 쇠끌
쇠끌 나무 망치
나무 망치 그므개(마킹 게이지)
 직각자
직각자Saw the Shoulder Cuts
Saw the Shoulder Cuts
Using a ryoba saw (the crosscut side for cuts across the grain, the rip side for cuts along the grain), make the shoulder cuts that define the stepped faces. Saw precisely to the marked lines, stopping at the correct depth. Japanese pull saws cut on the pull stroke, which keeps the blade in tension and produces a thinner, more accurate kerf than Western push saws. For the angled faces of the hook, saw carefully along the marked angle lines. Each cut must be straight and square — a wandering saw cut means the faces will not meet flush, and the joint will rock or have gaps. Saw all shoulder cuts on both halves before proceeding to chiseling.
Chisel the Waste and Mortise
Chisel the Waste and Mortise
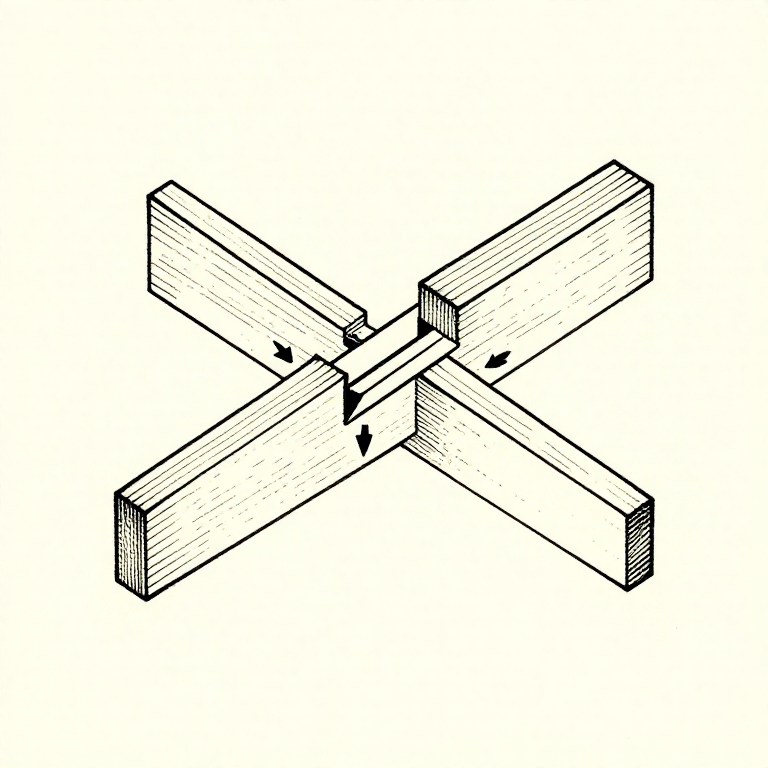
Remove the waste wood between the saw cuts using sharp chisels. Work from both sides toward the centre to prevent breakout. For the recesses, pare the bottom flat using a wide chisel with the bevel down, taking thin shavings. The mortise for the locking wedge runs through the joint at the centre — chop it using a mortise chisel, working from both sides to meet in the middle. The mortise walls must be clean and parallel. Test-fit the two halves frequently as you work, marking any high spots with chalk or pencil and paring them down. Japanese joinery depends on perfect surface-to-surface contact: gaps indicate that load is being carried by points rather than distributed across the full face.
Test-Fit and Adjust
Test-Fit and Adjust
Slide the two halves together dry (without the wedge). The joint should engage smoothly with firm hand pressure — if you need a mallet to drive it home, the fit is too tight and the wood will split under stress. If it slides freely with no resistance, the faces are not meeting properly. Mark contact points by rubbing chalk on one face and pressing the halves together — chalk transfer shows where contact is occurring. Pare away any chalk marks that indicate a high spot preventing full-face contact. The joint should close with the stepped faces meeting flush on all surfaces and the end grain alignment clean. When the fit is correct, the joint feels solid and will not rack or twist under hand pressure.
Drive the Locking Wedge
Drive the Locking Wedge
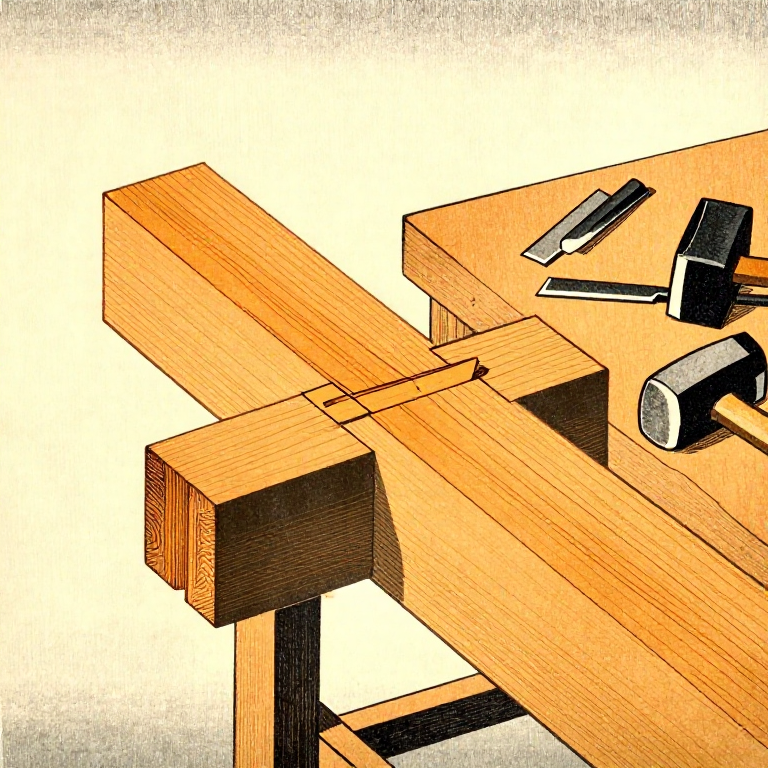
Assemble the joint fully and insert a hardwood wedge (traditionally oak, which is harder than the softwood beam) into the through-mortise. Tap the wedge in with a mallet until the joint draws tight and the faces are under slight compression. The wedge transforms the joint from a friction fit to a mechanically locked connection — it cannot be pulled apart without first driving the wedge back out. Trim the wedge flush with the timber surface using a sharp chisel. A properly made kanawa-tsugi transmits tension and compression loads across the splice almost as effectively as continuous timber, and has been used in Japanese temple construction to create beams longer than any single tree could provide. The joint requires no glue, no nails, and no metal — only precise geometry.
재료
3- 2 pieces, each ~60cm x 10cm x 10cm cm플레이스홀더
- 1 small wedge 개플레이스홀더
- 2 pieces, each ~60cm x 10cm x 10cm 개플레이스홀더
CC0 퍼블릭 도메인
이 블루프린트는 CC0로 공개되었습니다. 어떤 목적으로든 자유롭게 복사, 수정, 배포 및 사용할 수 있습니다.
제품 구매를 통해 메이커를 지원하세요. 판매자가 설정한 메이커 커미션 을 받거나, 이 블루프린트의 새로운 반복을 만들어 연결로 포함시킬 수 있습니다.