Egyptian Grain Silo — Constructing a Beehive-Shaped Grain Silo
안내
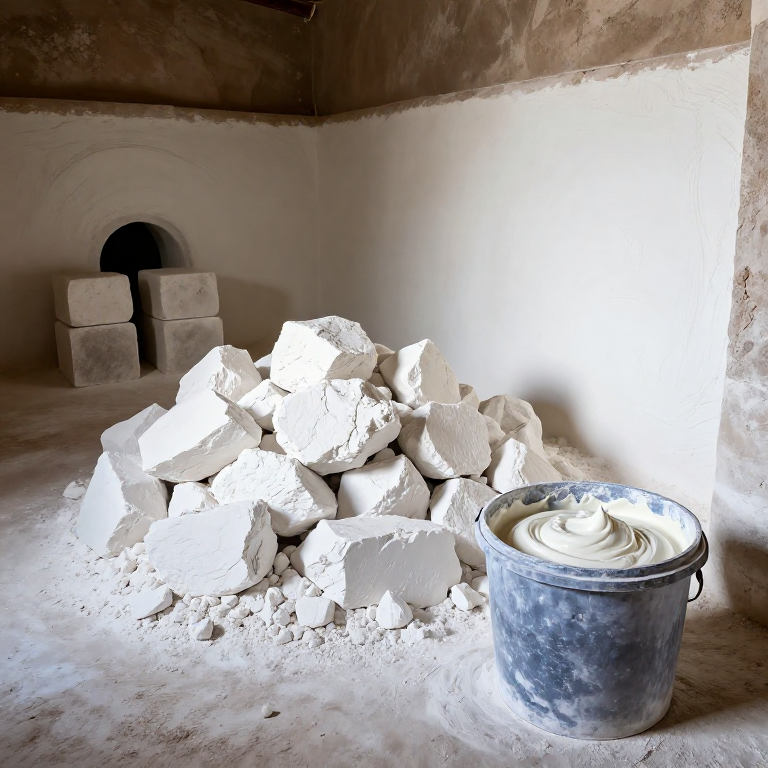
Prepare the Foundation and Base
Prepare the Foundation and Base
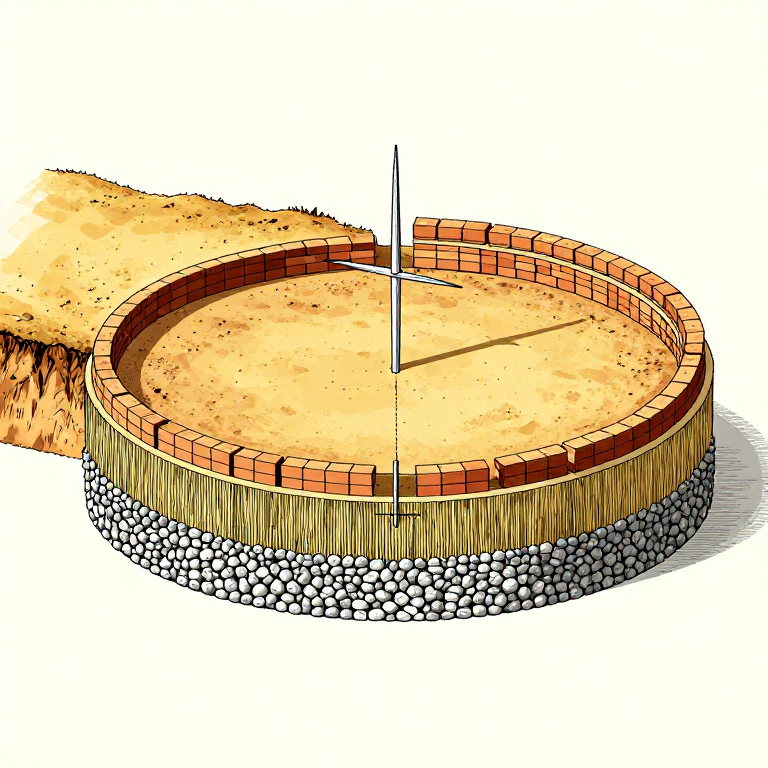
Select a dry, elevated location to minimize moisture contact with stored grain. Mark a circle on the ground using a stake and string compass — typical Egyptian farm silos ranged from 1.5 to 3 meters in diameter. Excavate the foundation circle to 15-20 cm depth and fill with tamped rubble, gravel, or broken pottery to create a drainage base preventing ground moisture from wicking into the grain. Lay a mat of straw or reeds over the drainage layer as additional moisture barrier. Ancient Egyptian silos at the Ramesseum were substantial structures up to 5 meters in diameter and 5 meters tall, capable of storing tons of grain for temple redistribution.
이 단계의 재료:
필요한 도구:
 Box Level
Lay the Circular Mud-Brick Walls
Lay the Circular Mud-Brick Walls
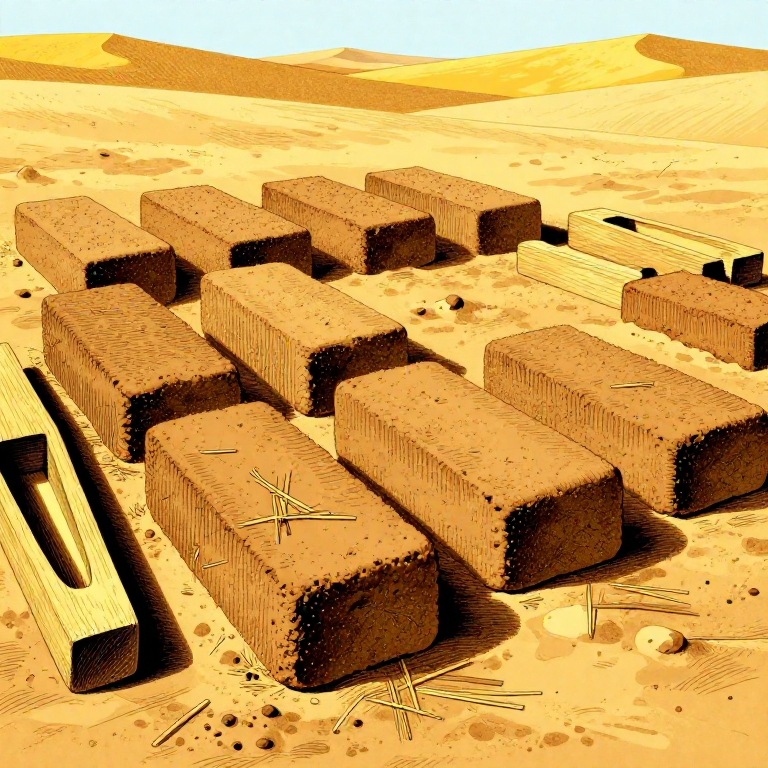
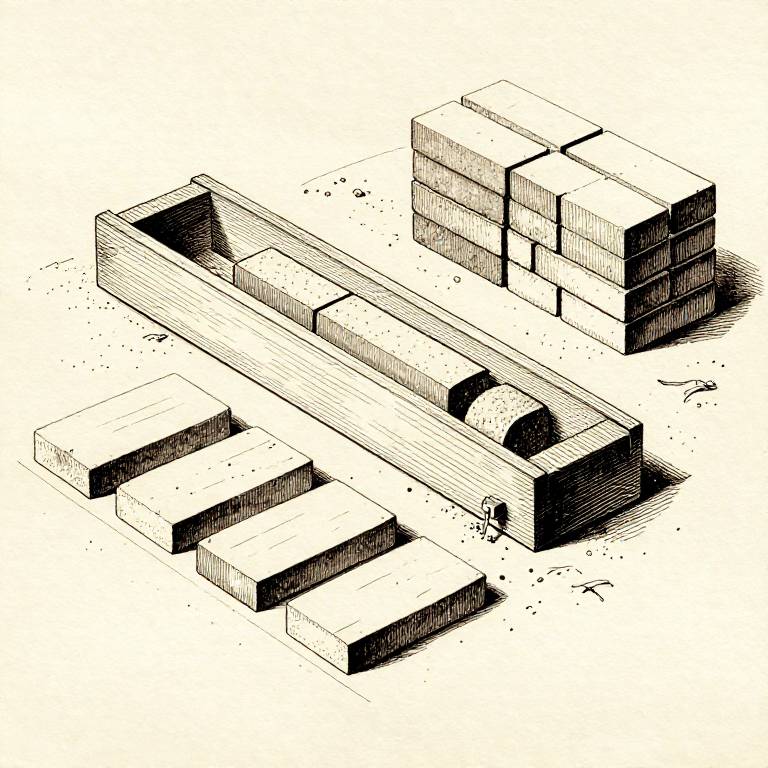
Begin laying mud bricks in a circular pattern on the foundation, using mud mortar between each brick. The wall should be one brick thick (approximately 15 cm) for small silos up to 2 meters in diameter, or two bricks for larger structures. Stagger joints between courses by offsetting each row half a brick length for strong bonding. Use a plumb line to keep walls vertical and check each course with a level. Build walls to approximately 1.5-2 meters height. Near the base, leave a small opening approximately 20x20 cm as the grain discharge port — sealed with a mud plug after filling and opened to withdraw grain as needed.
Corbel the Dome Roof
Corbel the Dome Roof
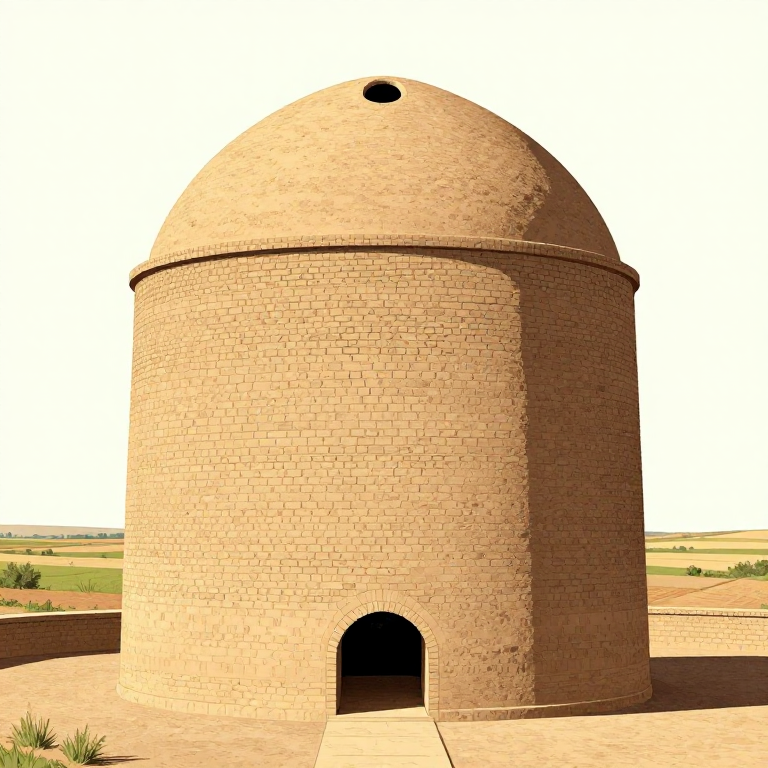
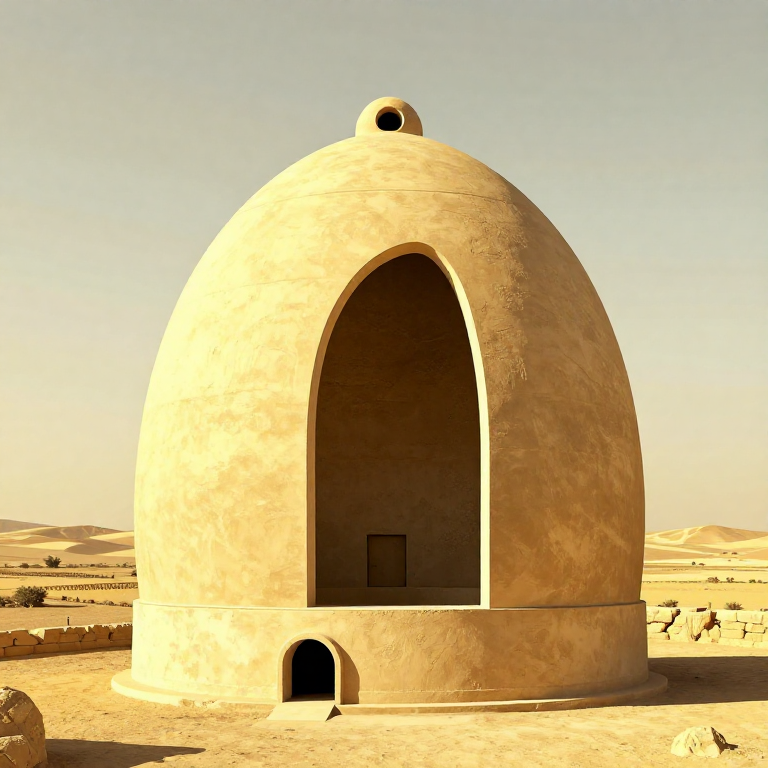
At the top of the cylindrical wall, begin corbelling the dome by laying each successive course slightly inward (toward the center), reducing the circle diameter by approximately 3-5 cm per course. Each brick overhangs the one below by just enough to be stable without tipping. This inward lean creates a dome shape that closes over the silo. Corbelling does not require temporary support (centering) unlike a true arch, making it well-suited for mud brick construction. Leave a small opening (30-40 cm wide) at the apex for filling the silo from above. Tomb models and archaeological remains confirm this beehive dome shape was standard for Egyptian grain silos.
Plaster the Interior and Exterior
Plaster the Interior and Exterior
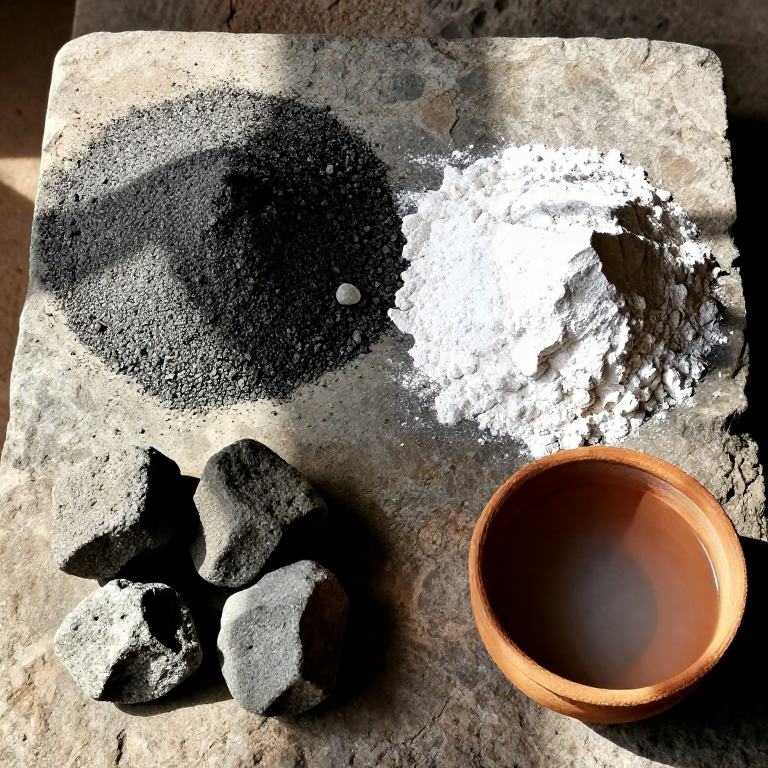
Allow mortar to dry for several days, then apply smooth mud plaster to both interior and exterior surfaces. The interior plaster should be as smooth as possible to prevent grain from catching in crevices where insects could breed. Some Egyptian silos show traces of limewash (calcium hydroxide) over the interior plaster, acting as a mild insecticide and antifungal. The exterior plaster protects mud bricks from erosion. Apply in two coats: a rough base coat to fill gaps, then a smooth finish coat. The exterior can be whitewashed with limestone plaster for weather protection and to reflect heat, keeping the interior cooler.
Fill and Seal the Silo
Fill and Seal the Silo
Once plaster is fully dry, pour dried, winnowed grain through the top opening, shaking or tapping walls periodically to settle contents and eliminate air pockets. Fill to approximately 90% capacity, leaving space below the dome. Seal the top opening with a fitted clay cap or flat stone mortared in place. Seal the base discharge port with a mud plug. The sealed silo creates an airtight environment where the grain's own respiration gradually depletes oxygen and elevates carbon dioxide, suppressing insect activity and mold growth — a principle the Egyptians discovered empirically thousands of years before modern controlled atmosphere storage was scientifically developed. Grain can be stored safely for months or even years under these conditions.
재료
4- 1-2 square meters 개플레이스홀더
필요 도구
4- 플레이스홀더
- 플레이스홀더
Related blueprints
Other builds that share materials, tools, or techniques with this one.

CC0 퍼블릭 도메인
이 블루프린트는 CC0로 공개되었습니다. 어떤 목적으로든 자유롭게 복사, 수정, 배포 및 사용할 수 있습니다.
제품 구매를 통해 메이커를 지원하세요. 판매자가 설정한 메이커 커미션 을 받거나, 이 블루프린트의 새로운 반복을 만들어 연결로 포함시킬 수 있습니다.