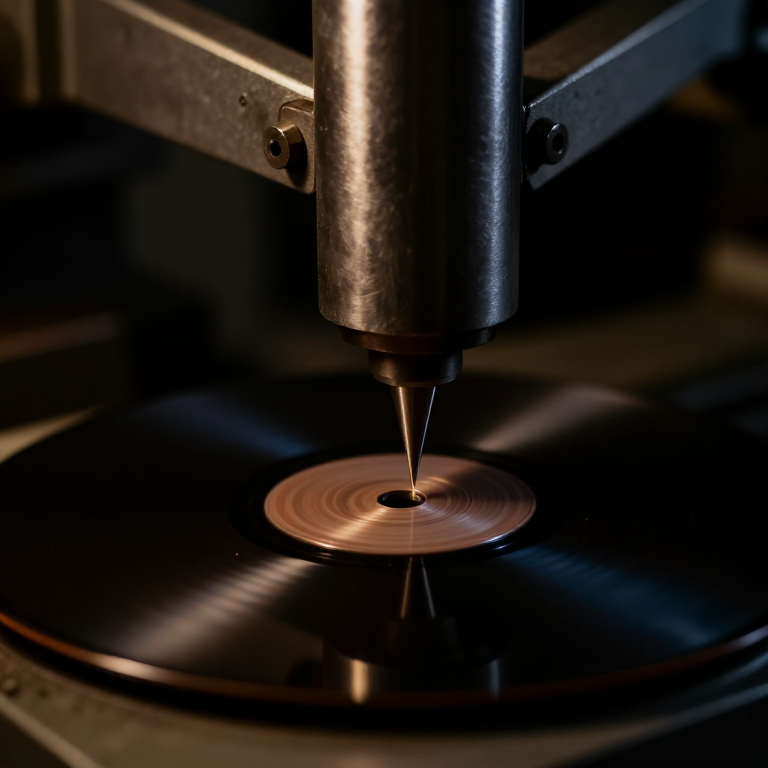


Electrical Recording
안내
Record acoustically first, to feel the problem
Record acoustically first, to feel the problem
You cannot appreciate what electrical recording fixed without meeting the constraint.
- Build a simple acoustic recorder: a horn ending in a diaphragm with a stylus attached.
- Cut a groove in a soft wax or acetate disc rotating on a turntable.
- Try recording a loud voice close to the horn, then a quiet one further away.
- Try recording two people at once.
Only the loudest source close to the horn registers at all. The sound's own energy has to move the stylus through the medium, so there is no gain anywhere in the system and no way to balance sources. Performers were arranged by loudness rather than by musical sense, brass players stood at the back, and string sections were replaced by a Stroh violin with its own horn because a normal violin simply did not record.
This is why pre-1925 records sound the way they do. The limitation was never the disc — it was that no amplification existed anywhere in the chain.이 단계의 재료:
 아크릴 판1 장
 비상용 마일러 담요1 개
 알루미늄 환봉1 개
필요한 도구:
 줄 세트
줄 세트 디지털 캘리퍼스 6인치
 무선 드릴
무선 드릴 스톱워치
스톱워치Build an electromagnetic cutter head
Build an electromagnetic cutter head
A moving-coil motor again, now driving a stylus instead of a cone.
- Mount a small coil in a magnetic gap, as in the moving-coil microphone.
- Attach a cutting stylus rigidly to the coil.
- Provide a compliant suspension that centres the stylus but allows lateral movement.
- Add mechanical damping — a rubber or felt element bearing on the moving assembly.
Damping is what separates a cutter head from a loudspeaker motor. An undamped moving system rings at its resonance, and a resonance in a cutter head is carved permanently into the groove. Maxfield and Harrison's contribution was as much about applying electrical filter theory to the mechanical system — treating springs and masses as circuit elements — as about adding amplification.
That analogy, mechanical systems analysed as electrical networks, was new in 1925 and is now standard in loudspeaker and transducer design. The batch's underlying idea is that the chain became electrical in its thinking as well as its signal path.이 단계의 재료:
 에나멜 피복 구리선1 롤
 페라이트 비드 세트1 키트
 황동 환봉1 개
필요한 도구:
디지털 캘리퍼스 6인치줄 세트 실험실급 디지털 멀티미터
 바이스(만력)
Insert the amplifier and take control of the level
Insert the amplifier and take control of the level
Gain is the thing acoustic recording never had.
- Connect microphone, amplifier and cutter head in a chain.
- Record the quiet source that failed acoustically, turning the gain up.
- Record two sources at different distances and balance them by moving the microphone rather than the performers.
- Record with the gain deliberately too high and inspect the groove.
이 단계의 재료:
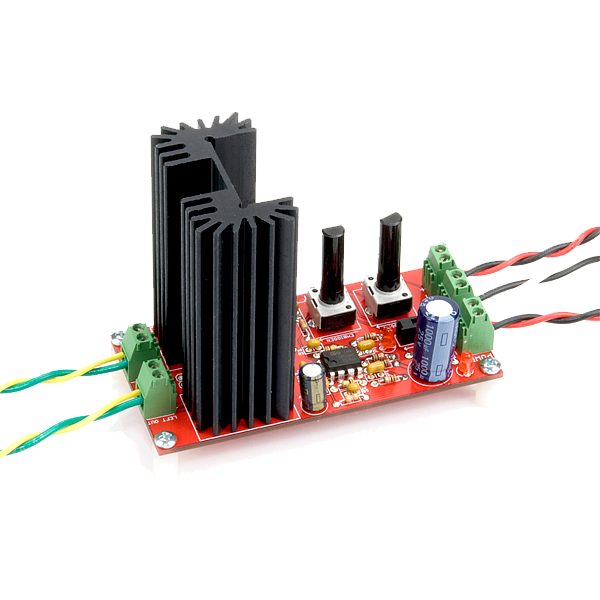 Audio Amplifier Kit - STA5401 키트
 전해 커패시터 키트1 키트
필요한 도구:
 디지털 오실로스코프실험실급 디지털 멀티미터디지털 캘리퍼스 6인치
Measure the frequency range you gained
Measure the frequency range you gained
Put a number on the improvement rather than asserting it.
- Feed a swept tone through the electrical chain and cut a test groove.
- Play it back and record the level at each frequency.
- Do the same acoustically, driving the horn from a loudspeaker at constant level.
- Plot both curves together.
이 단계의 재료:
 모눈종이1 pad
필요한 도구:
 DDS 신호 발생기디지털 오실로스코프실험실급 디지털 멀티미터
The chain becomes electrical, and history
The chain becomes electrical, and history
Joseph Maxfield and Henry Harrison at Bell Telephone Laboratories developed the electrical recording system, licensed to Victor and Columbia in 1925. The industry converted within about a year, and the change was so audible that record companies advertised it directly — Victor’s “Orthophonic” and Columbia’s “Viva-tonal” were marketing names for the same underlying Bell system.
It is a systems achievement rather than a single invention. The condenser microphone existed from 1916, the valve amplifier from the 1910s, the electromagnetic cutter was straightforward. What Bell Labs contributed was analysing the whole chain — including the mechanical parts — as one electrical network with a designed response, and the discipline of matching each stage to the next.
What it did to the recording business. Acoustic recording could not capture an orchestra, a piano, or a soft voice. Electrical recording could, and within a few years the entire classical repertoire was being recorded, crooning became possible as a vocal style because a singer no longer had to shout into a horn, and the microphone became an instrument in its own right.
Its honest limits at the time: the disc was still a disc, so playing time stayed at around four minutes, surface noise remained high, and the frequency range, though doubled, was still modest. Those three problems drive the rest of this batch — magnetic tape solves duration and editing, the LP solves playing time and noise, and stereo adds a dimension none of them had.
재료
9- 1 장플레이스홀더
- 1 개플레이스홀더
- 1 개플레이스홀더
- 1 롤플레이스홀더
- 1 키트플레이스홀더
- 1 개플레이스홀더
- Audio Amplifier Kit - STA54010% 수수료1 키트₩361
- 1 키트플레이스홀더
- 1 pad플레이스홀더
필요 도구
8- 플레이스홀더
- 플레이스홀더
- 1 vendor sell this, none ship to you yet플레이스홀더
- 플레이스홀더
- 플레이스홀더
- 플레이스홀더
- 1 vendor sell this, none ship to you yet플레이스홀더
- 플레이스홀더
관련 블루프린트
이 블루프린트들은 지식을 공유합니다 — 기술, 재료 또는 원리


CC0 퍼블릭 도메인
이 블루프린트는 CC0로 공개되었습니다. 어떤 목적으로든 자유롭게 복사, 수정, 배포 및 사용할 수 있습니다.
제품 구매를 통해 메이커를 지원하세요. 판매자가 설정한 메이커 커미션 을 받거나, 이 블루프린트의 새로운 반복을 만들어 연결로 포함시킬 수 있습니다.