협업
예술
뷰티 및 웰니스
공예
문화 및 역사
엔터테인먼트
환경
음식 및 음료
역공학
과학
스포츠
기술
웨어러블
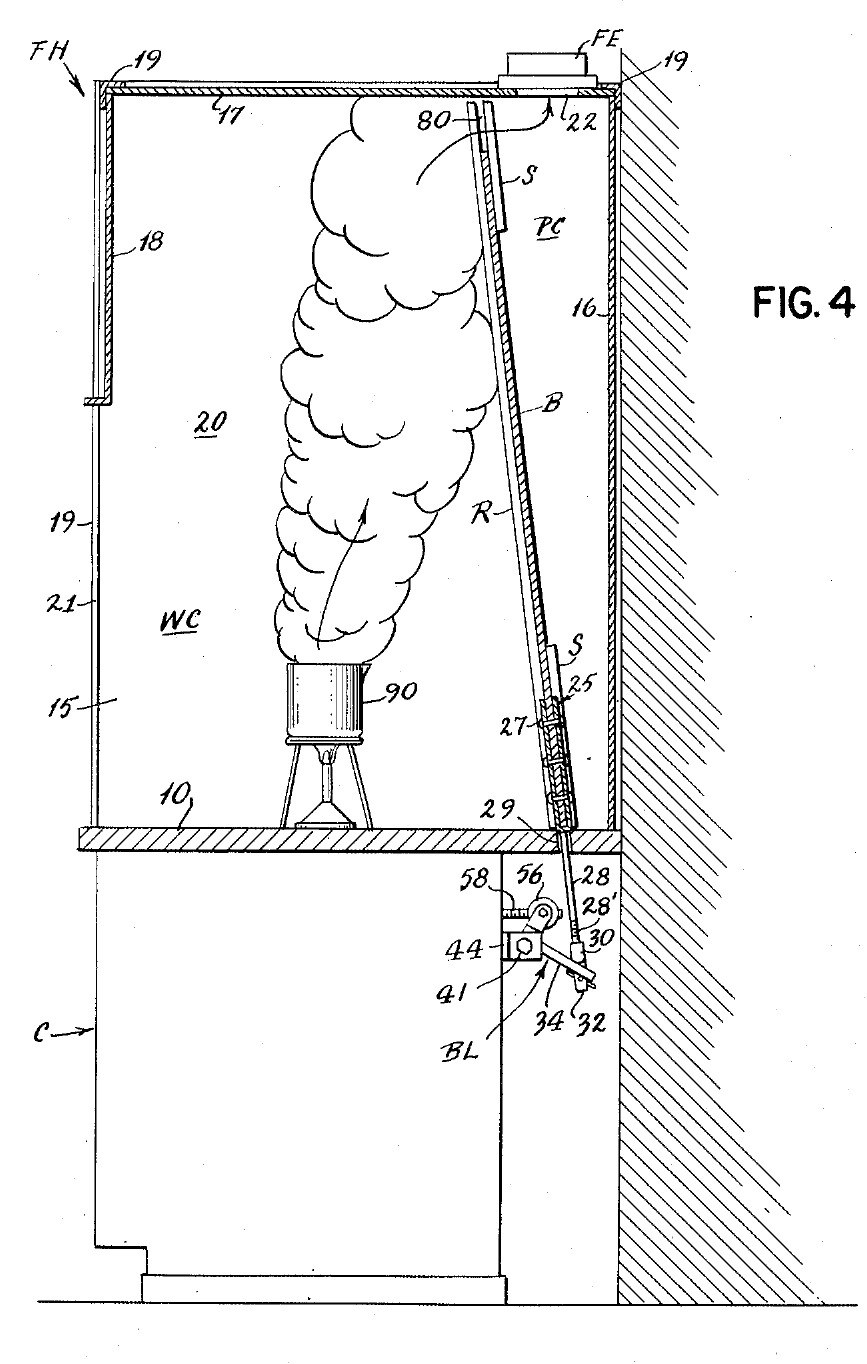


Fume Hood (Ducted): Sloping Stone Baffle Set from Outside by a Crank (Liptay, US 2,779,265, 1957)
A bench fume hood on a stone counter, drawn off through a duct with a fan. Inside, a sloping stone baffle leaves a gap at the top and one at the bottom. A crank under the counter slides the baffle: one gap grows as the other shrinks, so the air sweeps light fumes out at the top or heavy fumes out at the bottom, with no one reaching inside.
Result: a ducted hood whose air flow can be set for light or heavy fumes during work.
Source: J. M. Liptay, US 2,779,265 (1957). Unknown: sizes, air flow, the fan and most materials. Picture: the patent drawing.
고급
Unknown
안내
1
1
Build the cabinet and stone counter
Build the cabinet and stone counter
Build a sheet metal cabinet. Fix spaced sheet metal channels to its front panel and rear wall, and lay a stone slab on them as the counter. Bore a hole through the slab near the back, at the middle, for the baffle's lifting rod. Not given: sizes, the metal.
이 단계의 재료:
 알 수 없는 금속1 cabinet and channels
 평평한 돌판1 counter
필요한 도구:
 판금 가위
 탁상 드릴
 알 수 없는 치수
2
2
Build the hood
Build the hood
On the counter, make a frame of corner angle irons. Fix to it two sides, a rear wall, a roof and a front panel. Leave the front open below the front panel: this is the large opening where you work and where air comes in. Cut the fume outlet in the roof, towards the back. Not given: the panel material, sizes.
이 단계의 재료:
 연강 앵글1 corner frame
 알 수 없는 재료1 sides, rear wall, roof, front panel
필요한 도구:
 쇠톱(핵소)알 수 없는 치수
3
3
Fit the exhaust pipe and fan
Fit the exhaust pipe and fan
Fix an exhaust pipe over the roof outlet, with a fan in it, to draw the fumes out. Not given: the pipe, the fan, the air flow.
이 단계의 재료:
 공기 관1 exhaust pipe
 송풍기1 fan
필요한 도구:
 멍키스패너
4
4
Fit the sloping baffle
Fit the sloping baffle
Make a solid stone baffle almost as wide as the hood. Set it sloping up and forward from the rear wall, so it splits the inside into the work space in front and a duct behind that widens upward to the outlet. Guide it on sloping rails in front and strips behind, fixed to the sides, so it can slide. Leave a gap between its top and the roof, and one between its bottom and the counter. Not given: the rails' metal, sizes.
이 단계의 재료:
평평한 돌판1 baffle알 수 없는 금속1 rails and strips필요한 도구:
알 수 없는 치수5
5
Make the lifting rod
Make the lifting rod
Cut a notch in the middle of the baffle's lower edge. Make a V-shaped yoke whose legs straddle the baffle front and back, rivet the legs to it, and give the yoke a rod that hangs down through the hole in the counter. Thread the rod's lower end. Not given: the metal.
이 단계의 재료:
알 수 없는 금속1 yoke, rod, rivets필요한 도구:
 리벳 공구 한 벌
 나사내기 탭·다이스 세트
6
6
Fit the bell crank
Fit the bell crank
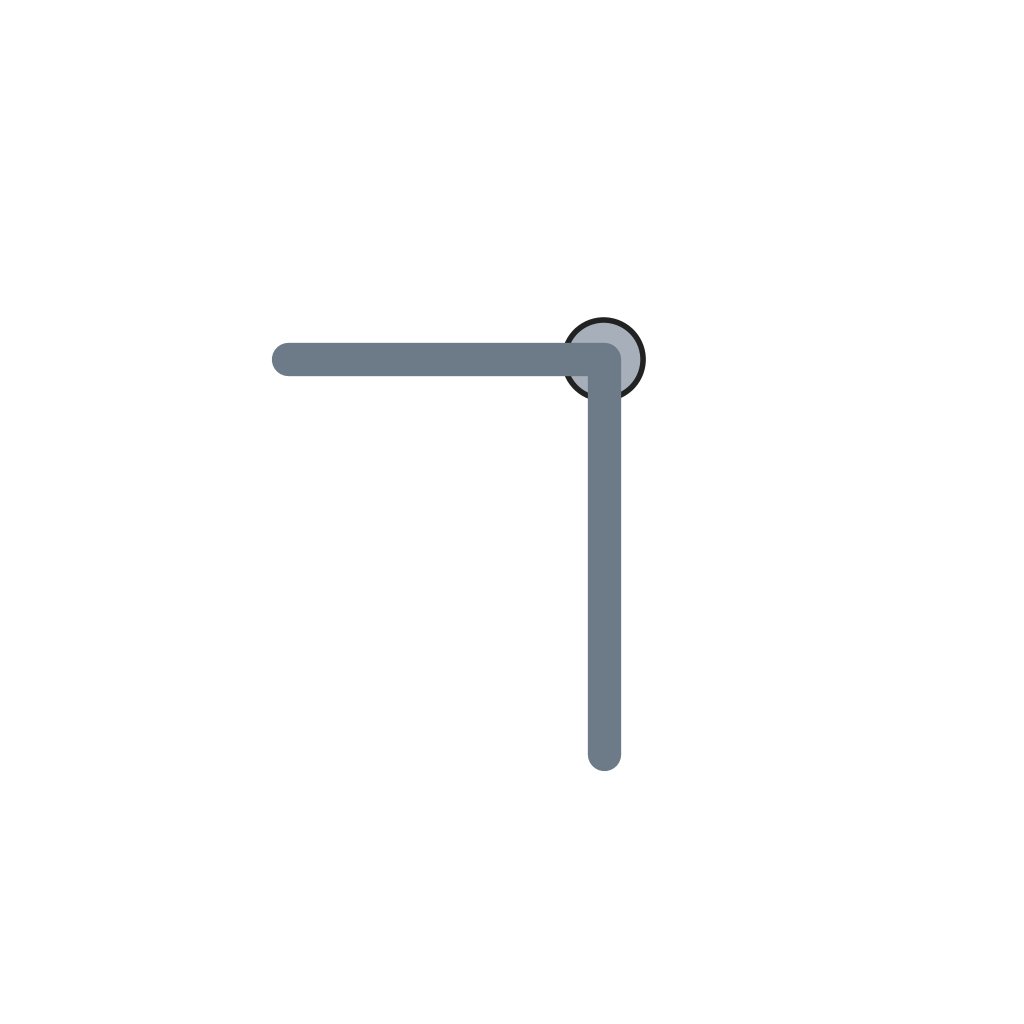
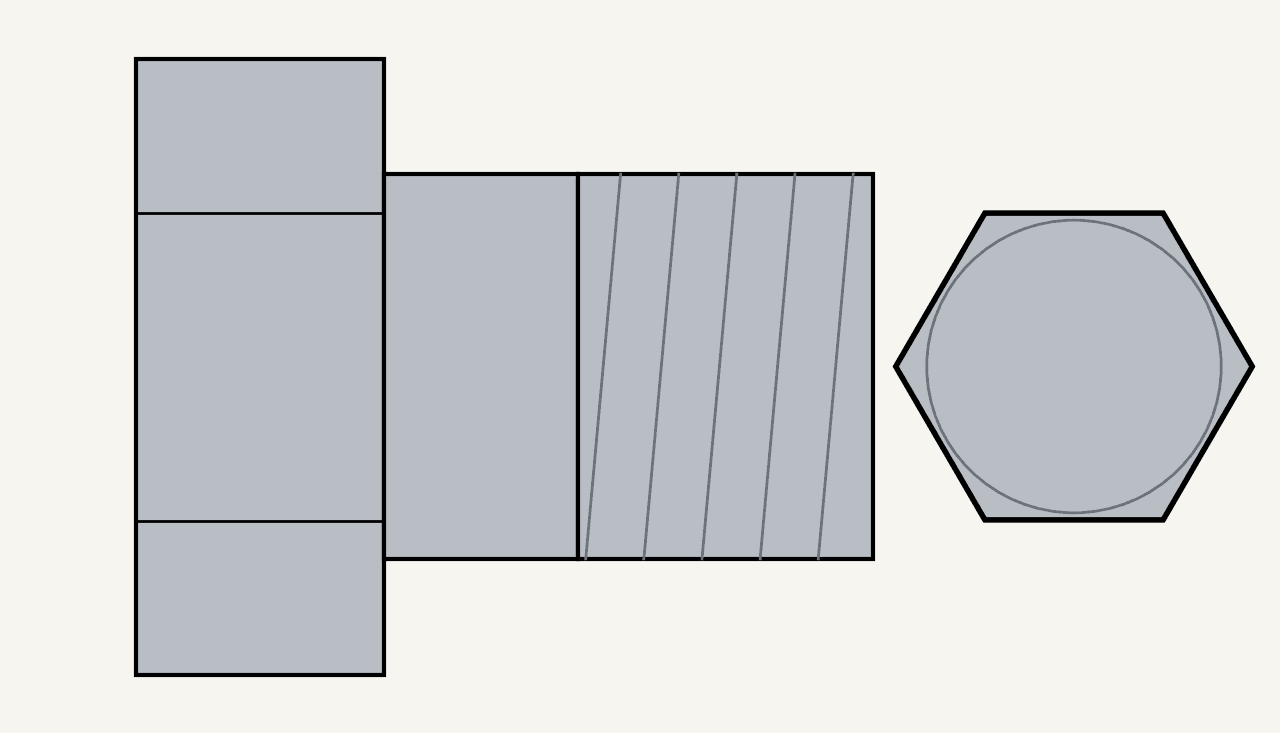
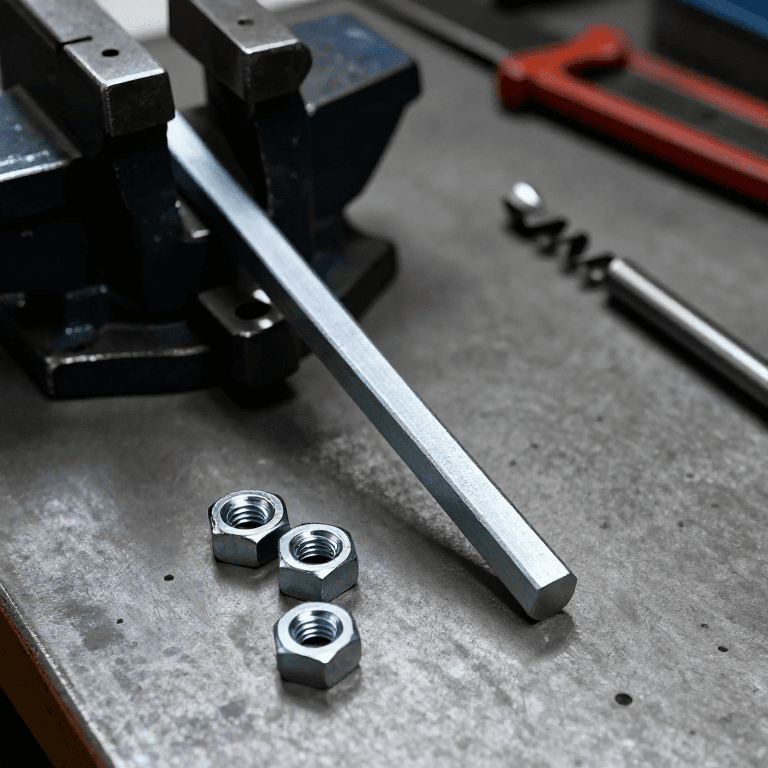
Under the counter, pivot a bell crank lever on a bolt through the lugs of a bracket fixed to the cabinet's rear channel. Screw a coupling onto the rod's threaded end. The coupling's two curved lips rock on the lever's long arm, and its tongue hangs through a slot in the arm, held by a cotter pin. On the short arm, a yoke turns on two bolts set fast in the threaded cross-holes of a round nut. Ours: hex bolts and nuts.
이 단계의 재료:
 직각 레버1 bell crank알 수 없는 금속1 bracket, coupling, round nut
 육각 볼트 모음3 개
 육각 너트1 개
 분할 핀1 개
필요한 도구:
나사내기 탭·다이스 세트멍키스패너7
7
Fit the crank and set the baffle
Fit the crank and set the baffle
Screw a metal operating rod through the round nut and run it forward to the cabinet front. Screw its front socket onto the shaft of a hand crank and pin it with a cotter pin. Weld an angle iron to the inside of the front panel to stiffen it. Clamp a bushing through the panel with a nut, and set a ball bearing between two rings on the shaft, between the bushing and the crank. Turning the crank tips the bell crank, which raises the rod and baffle or lets them slide down by their own weight: as one gap grows the other shrinks. Air comes in at the front; the upper stream carries light fumes to the top gap, the lower stream heavy fumes to the bottom gap. Open the top fully for light fumes, the bottom fully for heavy ones, or set any point between, without reaching inside. A sliding safety sash may be fitted over the front opening, to watch dangerous reactions safely.
이 단계의 재료:
알 수 없는 금속1 operating rod, crank, bushing분할 핀1 개육각 너트1 개연강 앵글1 stiffener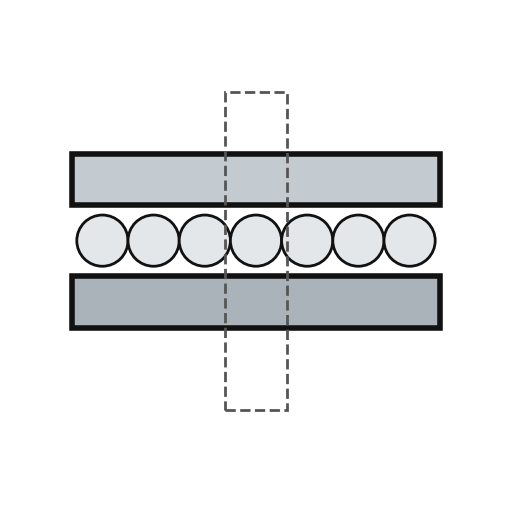 스러스트 볼 베어링1 개
필요한 도구:
 아크 용접기나사내기 탭·다이스 세트멍키스패너
재료
11- 1 operating rod, crank, bushing플레이스홀더
- 1 baffle플레이스홀더
- 1 stiffener플레이스홀더
- 1 sides, rear wall, roof, front panel플레이스홀더
- 1 exhaust pipe플레이스홀더
- 1 fan플레이스홀더
- 1 bell crank플레이스홀더
- 3 개플레이스홀더
- 2 개플레이스홀더
- 2 개플레이스홀더
- 1 개플레이스홀더
연결된 블루프린트 재료

이 블루프린트로 만드는 것

관련 블루프린트
이 블루프린트들은 지식을 공유합니다 — 기술, 재료 또는 원리

CC0 퍼블릭 도메인
이 블루프린트는 CC0로 공개되었습니다. 어떤 목적으로든 자유롭게 복사, 수정, 배포 및 사용할 수 있습니다.
제품 구매를 통해 메이커를 지원하세요. 판매자가 설정한 메이커 커미션 을 받거나, 이 블루프린트의 새로운 반복을 만들어 연결로 포함시킬 수 있습니다.