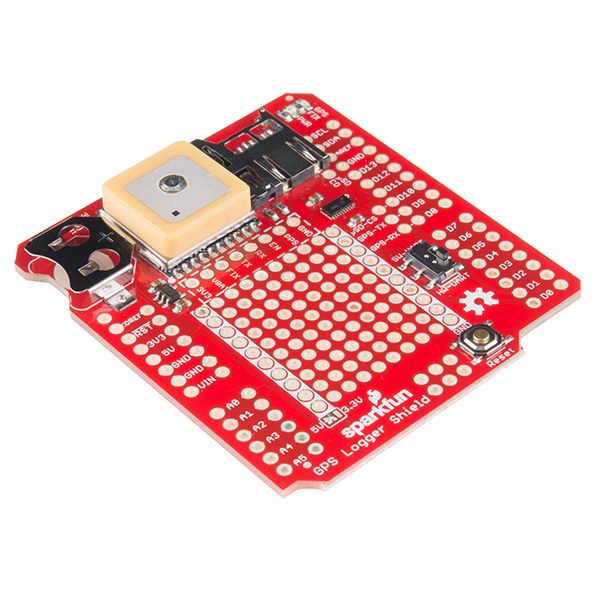


GPS Position Logger
안내
Solder the GPS shield headers
Solder the GPS shield headers
The kit contains the shield, an EM-506 receiver with its interface cable, and R3 headers. Solder the headers to the shield.
이 단계의 재료:
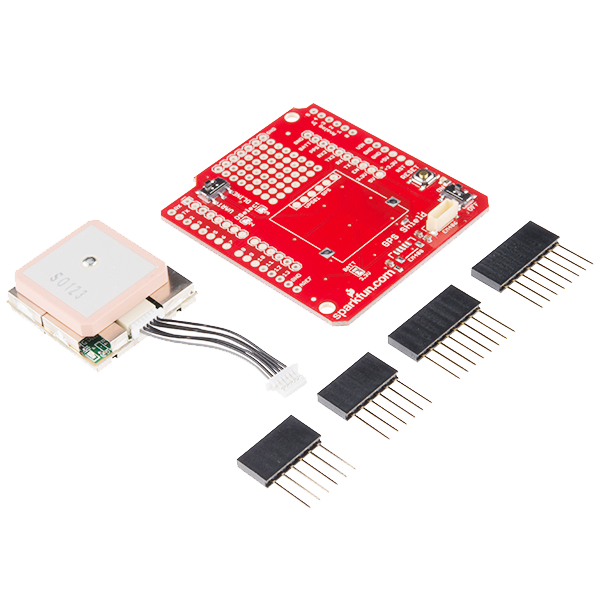 SparkFun GPS Shield Kit1 키트
필요한 도구:
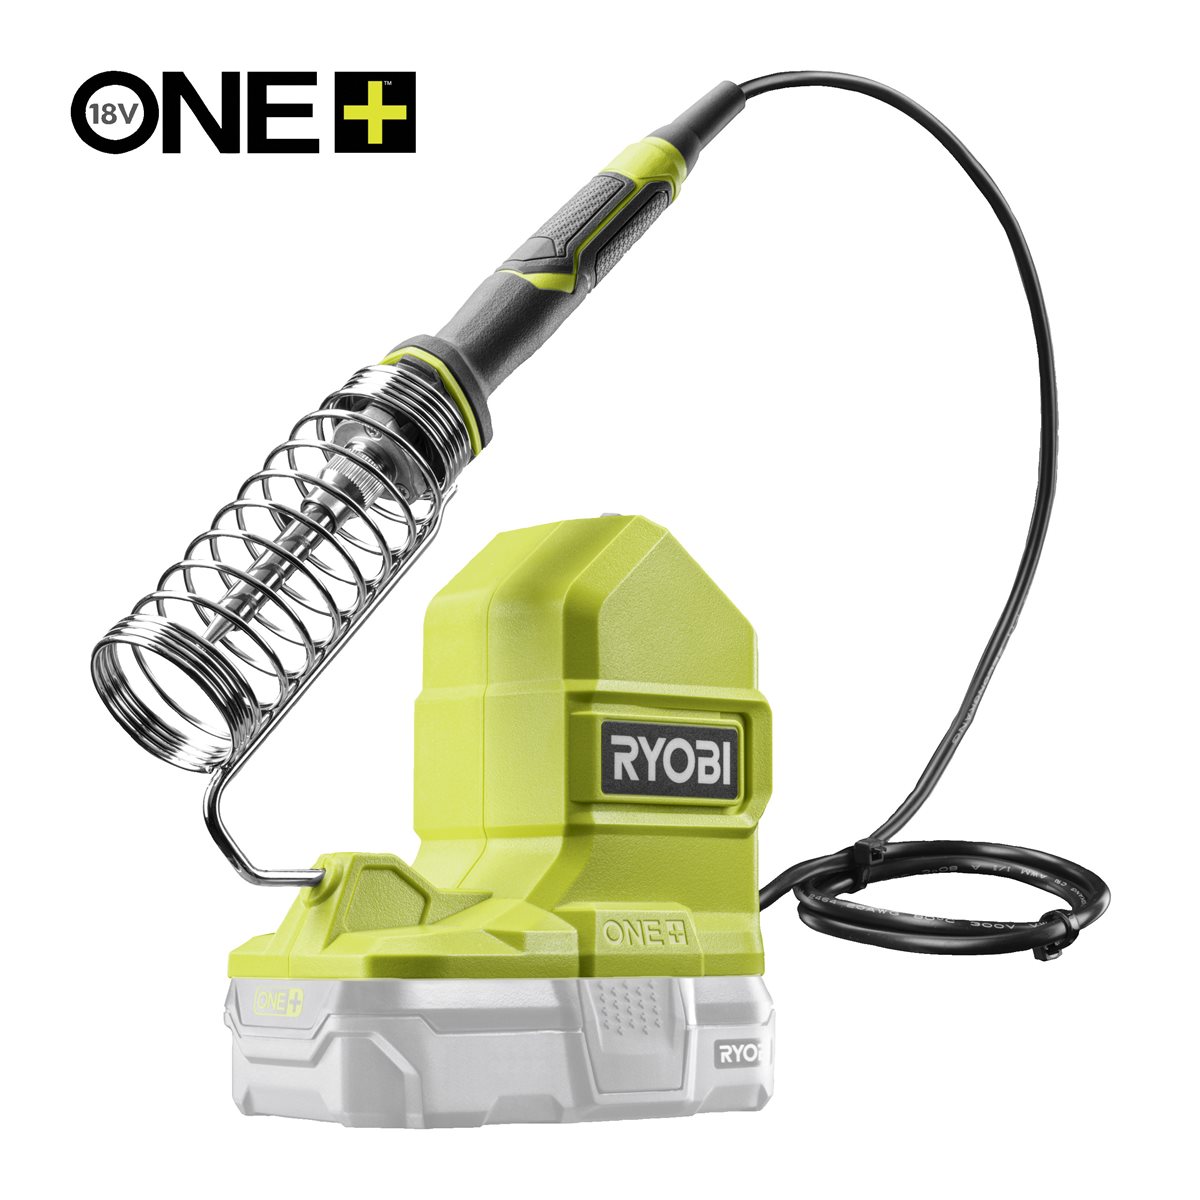 Ryobi ONE+ RSI18-0 Cordless Soldering Iron
Stack both shields and check for pin clashes
Stack both shields and check for pin clashes
Plug the EM-506 into the shield's connector, then stack GPS shield and microSD shield on the Uno.
- GPS shield: receiver on D2/D3 with its switch in the DLINE position.
- microSD shield: SPI on D11/D12/D13, card select on D8.
이 단계의 재료:
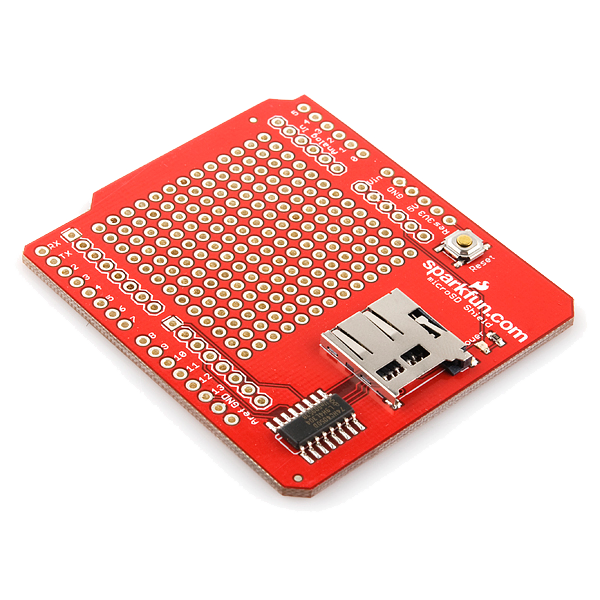 microSD Shield1 개
 Arduino Uno R31 개
Power, and read raw NMEA before parsing anything
Power, and read raw NMEA before parsing anything
USB-B from the computer while testing; 7–12 V on the barrel jack once it runs standalone.
Before writing any parser, print the receiver's output straight through and look at it. You should see comma-separated sentences beginning with $.
Sentences arriving with empty position fields mean the receiver is alive and talking but has no fix yet. That is the normal cold-start state — not a fault.필요한 도구:
 USB-B 케이블
Upload the logging sketch
Upload the logging sketch
No GPS library needed — the sketch reads NMEA directly, so nothing is hidden behind an abstraction. SD and SPI ship with the IDE. Format the card FAT32 first.
Take it outside for the first fix
Take it outside for the first fix
Put the unit under open sky, powered, and leave it. Watch for the fix indicator before judging the build.
Testing a GPS receiver indoors and concluding it is broken is the single most common failure in this project. A cold start with no stored almanac legitimately takes minutes.재료
4- SparkFun GPS Shield Kit10% 수수료1 키트₩730
- microSD Shield10% 수수료1 개₩190
- 플레이스홀더
- 플레이스홀더
필요 도구
2- ₩1,244
- 1 vendor sell this, none ship to you yet플레이스홀더
이 블루프린트로 만드는 것
CC0 퍼블릭 도메인
이 블루프린트는 CC0로 공개되었습니다. 어떤 목적으로든 자유롭게 복사, 수정, 배포 및 사용할 수 있습니다.
제품 구매를 통해 메이커를 지원하세요. 판매자가 설정한 메이커 커미션 을 받거나, 이 블루프린트의 새로운 반복을 만들어 연결로 포함시킬 수 있습니다.