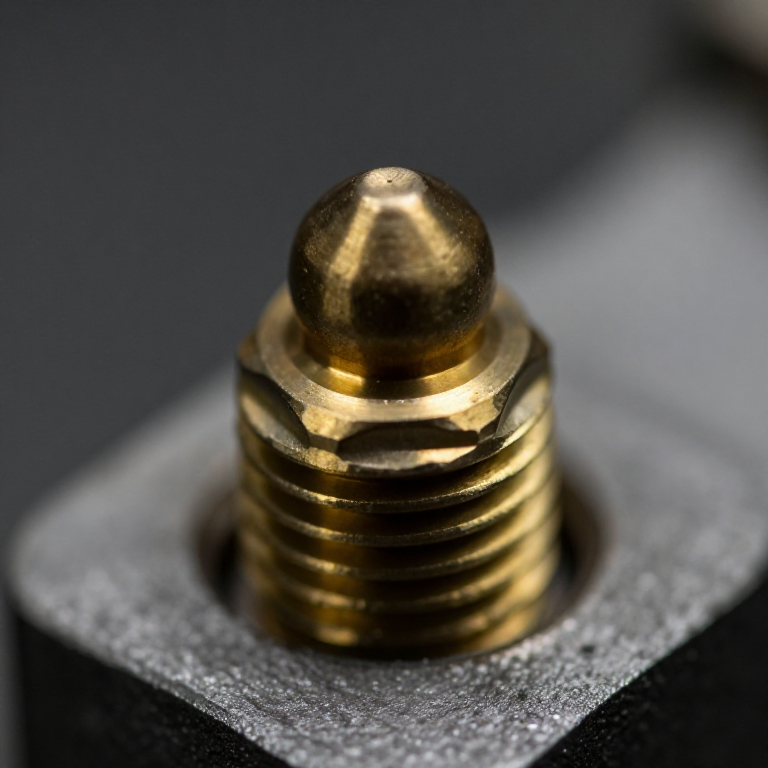


Grease Nipple and Gun
안내
Make the nipple body and ball seat
Make the nipple body and ball seat
A tiny check valve with a rounded head for the gun to grip.
- Turn a body from 10 mm brass round bar, 20 mm long, threaded M6 at one end.
- Drill it through at 2.5 mm.
- At the head end, counterbore 4 mm to take a ball, and form a conical seat at the bottom of that bore.
- Shape the head into a hemisphere so a gun coupler can snap over it and grip.
The hemispherical head is a coupling, not decoration. The gun's coupler has spring jaws that grip behind the ball of the head, sealing under pressure and letting the gun be pulled off sideways. That shape is why one gun fits nearly every machine in the world — an early and very successful standardisation, in the same family as the Whitworth thread.
The seat must be concentric and clean. A ball on a lopsided seat leaks grease back out as soon as the gun comes off, and then admits dirt straight into the bearing.이 단계의 재료:
 황동 환봉1 개
필요한 도구:
 쇠톱 프레임과 톱날
 바이스(만력)
 무선 드릴
무선 드릴 드릴 비트 세트
 카운터싱크 드릴 비트 세트
 줄 세트
줄 세트 디지털 캘리퍼스 6인치
Fit the ball and spring
Fit the ball and spring
The lightest spring that reliably closes the ball.
- Drop a 4 mm steel ball onto the seat — a ball from a scrap bearing is ideal.
- Fit a very light compression spring above it.
- Retain the spring by peening the counterbore's rim slightly inward, or with a drilled retaining washer.
- Test: blow through from the thread end — it should pass. Blow from the head end — it should not.
Spring force is a genuine balance. Too strong and the gun cannot open it without excessive pressure. Too weak and grease creeps back out under bearing pressure and heat. The spring only has to overcome the ball's weight and any residual pressure, so it is much lighter than people expect.
The blow test is the complete functional check of a check valve, and it takes two seconds. Any one-way device — this, the sprag clutch, a pump valve — can be verified the same way.이 단계의 재료:
 압축 스프링 세트1 세트
 Ball Bearing - Non-Flanged (8mm Bore, 22mm OD)1 개
필요한 도구:
바이스(만력)줄 세트디지털 캘리퍼스 6인치 센터 펀치
센터 펀치Build a lever gun
Build a lever gun
A piston, a lever and a big mechanical advantage.
- Make a barrel from 30 mm aluminium tube with a follower piston and a spring behind it to feed grease forward.
- Make a small pumping piston, 8 mm diameter, in its own bore at the head.
- Drive it with a lever pivoted so the handle travel is about ten times the piston travel.
- Fit a check valve at the pump inlet and another at the outlet so grease can only go one way.
- Assemble with M5 × 30 socket head cap screws × 4, M5 flat washers × 8 and M5 hex nuts × 4.
Two check valves make a pump. One admits from the reservoir on the return stroke; the other passes to the outlet on the delivery stroke. That pair is the whole principle of every reciprocating pump, and it is the same arrangement as the force pump already in this catalogue — the only difference is what is being pumped.
Small piston, long lever. The pressure is force divided by area, so a small-diameter pumping piston is what turns a modest hand force into the very high pressure grease needs.이 단계의 재료:
 알루미늄 환봉1 개압축 스프링 세트1 세트
 평와셔8 개
 육각 너트4 개
 알루미늄 평각봉1 개
필요한 도구:
쇠톱 프레임과 톱날무선 드릴드릴 비트 세트 육각 렌치 세트줄 세트바이스(만력)
Work out the pressure you are generating
Work out the pressure you are generating
The numbers are larger than most people realise, and that matters for safety.
- Measure your pumping piston's diameter and compute its area.
- Measure the lever ratio: handle travel divided by piston travel.
- Estimate a hand force of about 200 newtons on the handle.
- Pressure = force × lever ratio ÷ piston area. Work it out.
- Grease the nipple and watch grease emerge at the bearing.
필요한 도구:
디지털 캘리퍼스 6인치 조합 직각자
Why grease at all, and history
Why grease at all, and history
Oscar Zerk developed the compact grease fitting that carries his name around 1929, and the design displaced a zoo of earlier incompatible fittings — grease cups you screwed down by hand, Alemite pin fittings, and various proprietary couplers. Its success was standardisation as much as design: one gun, one fitting, every machine.
Grease is oil with a thickener — traditionally a metallic soap — which holds the oil in place and releases it slowly under working shear and heat. That is why grease suits bearings that are open, oscillating, slow, vertical, or simply impossible to seal well enough to hold oil. It also means grease ages: the oil separates and migrates out over time, leaving a hard soap residue that lubricates nothing.
Against the other feeders: the wick and the sight-feed both deliver continuously and need a reservoir and a sealed housing. The grease nipple delivers a charge on demand and then keeps dirt out until next time — no reservoir, no drips, no housing needed, but total dependence on somebody actually doing it. It converts lubrication from a mechanical system into a maintenance schedule.
The most common mistake is over-greasing. More is not better: a bearing packed completely full has no space for grease to move out of the rolling path, so it churns, heats and fails — and the pressure can burst the seals. Correct practice is a specified number of pumps at a specified interval, which is exactly the sort of instruction that gets ignored because the failure it prevents is invisible.
재료
7- 1 개플레이스홀더
- 1 세트플레이스홀더
- ₩17
- 1 개플레이스홀더
- 8 개플레이스홀더
- 4 개플레이스홀더
- 1 개플레이스홀더
필요 도구
10- 플레이스홀더
- 플레이스홀더
- 1 vendor sell this, none ship to you yet플레이스홀더
- 플레이스홀더
- 플레이스홀더
- 플레이스홀더
- 플레이스홀더
- 플레이스홀더
- 플레이스홀더
- 플레이스홀더
이 블루프린트로 만드는 것
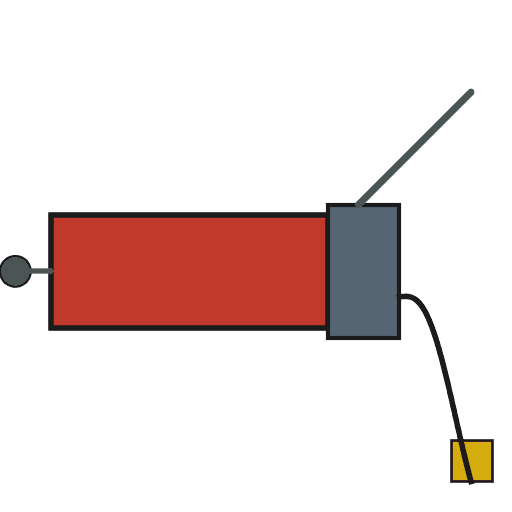
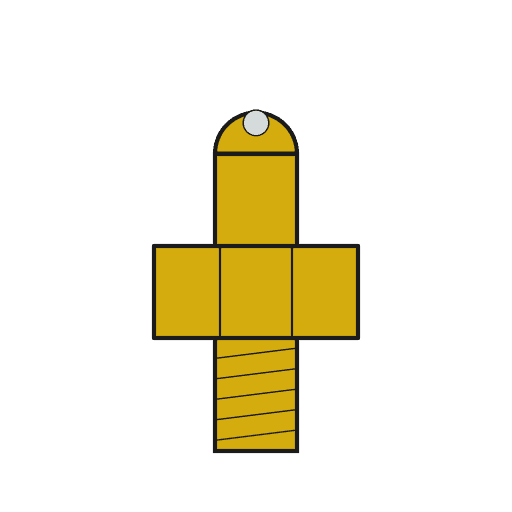
관련 블루프린트
이 블루프린트들은 지식을 공유합니다 — 기술, 재료 또는 원리
CC0 퍼블릭 도메인
이 블루프린트는 CC0로 공개되었습니다. 어떤 목적으로든 자유롭게 복사, 수정, 배포 및 사용할 수 있습니다.
제품 구매를 통해 메이커를 지원하세요. 판매자가 설정한 메이커 커미션 을 받거나, 이 블루프린트의 새로운 반복을 만들어 연결로 포함시킬 수 있습니다.