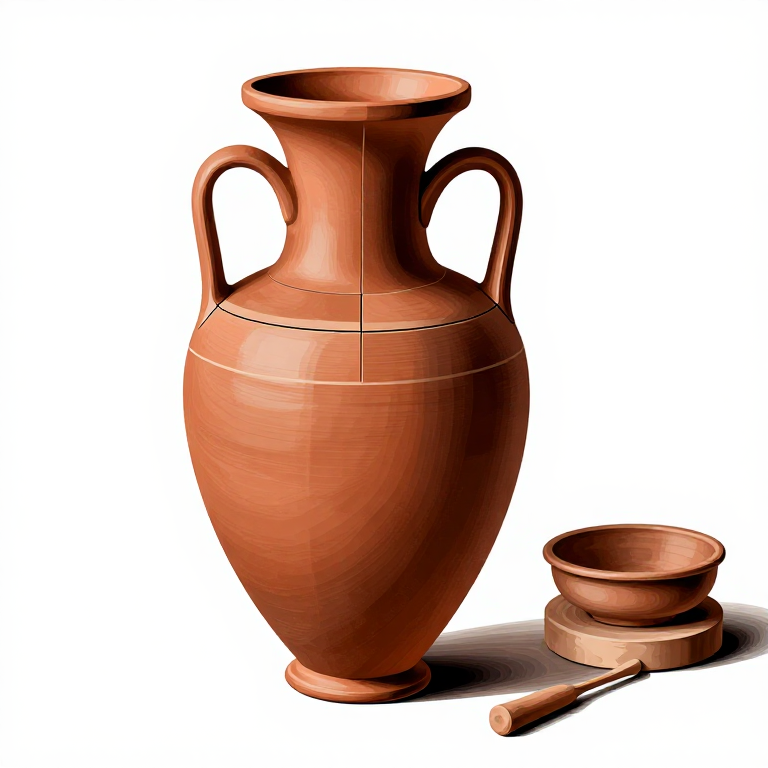
Greek Amphora — Throwing a Transport Amphora on the Wheel
안내
Throw the Lower Body Section
Throw the Lower Body Section
Large Greek amphorae were too big to throw in a single piece and were constructed in sections that were joined while the clay was leather-hard. Begin by centering a large ball of clay (2-3 kg) on the wheel and throwing the lower body section — a deep, thick-walled cylinder that tapers toward what will become the pointed base. Greek transport amphorae typically had a pointed or knobbed base rather than a flat one, as they were designed to be stacked in sand ballast in the holds of merchant ships. The walls should be approximately 8-12 mm thick to withstand the weight of liquid contents (a full amphora held approximately 25-35 liters and weighed 40-50 kg when full). Leave the rim of this section thick and slightly flared for later joining to the upper section.
이 단계의 재료:
 Pottery Slip (Liquid Clay)5-10 kg kg
 Wild Claysmall amount 개
 Waterfor throwing 개
필요한 도구:
 Hot Wire Foam Cutter
 Kiln
KilnThrow the Upper Body and Neck
Throw the Upper Body and Neck
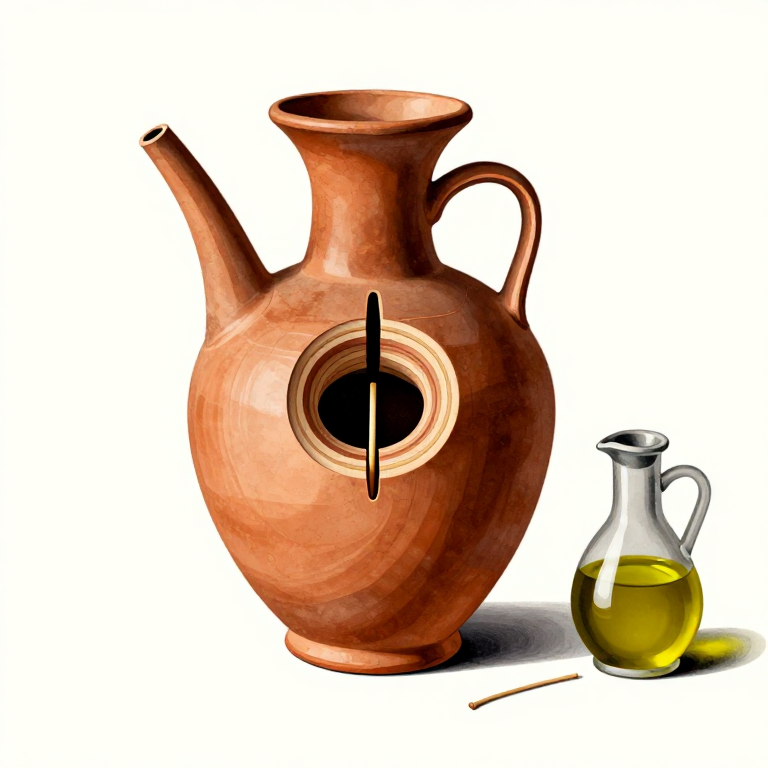
Throw the upper body as a separate section — a wide-shouldered form that narrows into a cylindrical neck terminating in a flared rim. The shoulder profile is one of the key identifying features of amphora types — different Greek city-states produced amphorae with distinctive shapes. Corinthian amphorae had a more cylindrical body, while Rhodian types were wider with a sharp shoulder angle. The neck should be narrow enough to be sealed with a clay or cork stopper, typically 8-12 cm in diameter. The rim should flare slightly outward with a rolled lip that facilitates pouring and provides a grip surface for sealing. Allow both sections to dry to leather-hard consistency before joining.

Join the Sections and Attach Handles
Join the Sections and Attach Handles
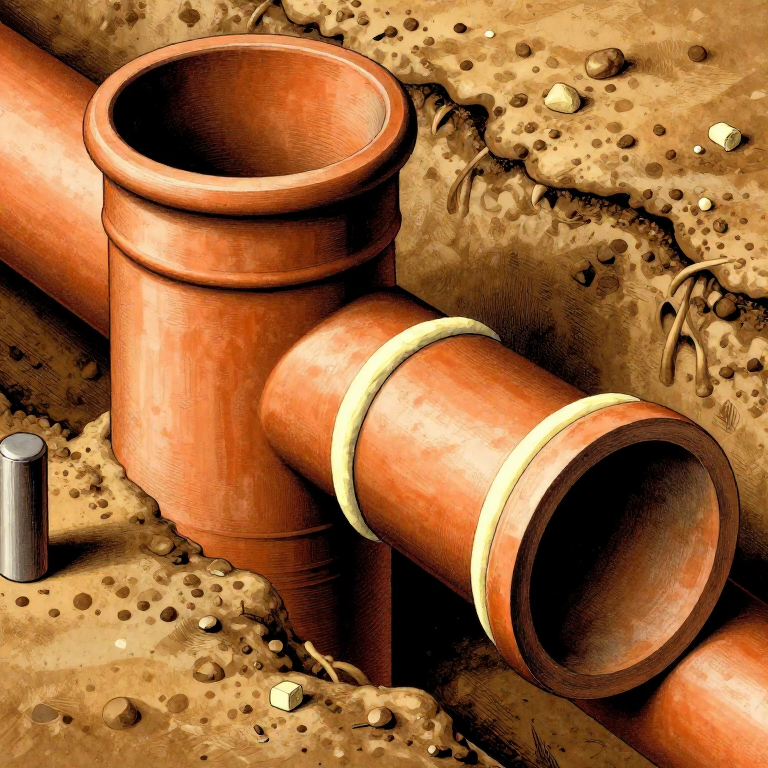
Score the mating surfaces of both sections with a crosshatch pattern and apply clay slip to both surfaces. Carefully invert the upper section onto the lower section, aligning them precisely. Smooth the joint thoroughly on both the interior and exterior using fingers and a rib tool, blending the clay so the joint is invisible and structurally sound. Then form two handles by rolling thick coils of clay approximately 2 cm in diameter and 30-40 cm long. Attach the handles from the neck to the shoulder, scoring and slipping all contact points. Greek amphora handles were typically round or oval in cross-section and positioned symmetrically. The handles must be firmly attached, as they bore the full weight of the vessel when lifted.
Refine the Form and Add Details
Refine the Form and Add Details
Once the joined vessel has stiffened slightly, place it back on the wheel (supported in a chuck or sand bed) and turn the exterior smooth using a rib tool. Refine the profile, thin any thick areas, and ensure the vessel is symmetrical. Some Greek amphorae bore stamps or inscriptions on their handles identifying the producing workshop, magistrate, and date — press any stamps or inscriptions into the leather-hard handle clay at this stage. Commercial amphorae were typically undecorated, relying on their shape and stamps for identification, though Panathenaic prize amphorae (awarded at the Athens games) were lavishly painted in black-figure style even after red-figure became standard for other vessels.
Dry and Fire the Amphora
Dry and Fire the Amphora
Allow the completed amphora to dry very slowly over 1-2 weeks, as the thick walls and sectional joints are prone to cracking if dried too quickly. Turn the vessel periodically and cover loosely with plastic during the first few days to slow evaporation. Once bone-dry, fire in a kiln to approximately 900-1000 degrees Celsius. For a simple utilitarian amphora, a single oxidation firing produces a warm red-orange color. The fired vessel should ring clearly when tapped, indicating complete vitrification of the clay. Archaeological evidence from shipwrecks like the Uluburun wreck (circa 1300 BCE) and the Kyrenia wreck (circa 300 BCE) shows that amphorae were produced in enormous quantities — a single merchant ship could carry over 2,000 amphorae, making them the standardized shipping containers of the ancient Mediterranean economy.

재료
3- 5-10 kg 개플레이스홀더
필요 도구
5- 플레이스홀더
- 플레이스홀더
- 플레이스홀더
- 플레이스홀더
Related blueprints
Other builds that share materials, tools, or techniques with this one.
CC0 퍼블릭 도메인
이 블루프린트는 CC0로 공개되었습니다. 어떤 목적으로든 자유롭게 복사, 수정, 배포 및 사용할 수 있습니다.
제품 구매를 통해 메이커를 지원하세요. 판매자가 설정한 메이커 커미션 을 받거나, 이 블루프린트의 새로운 반복을 만들어 연결로 포함시킬 수 있습니다.