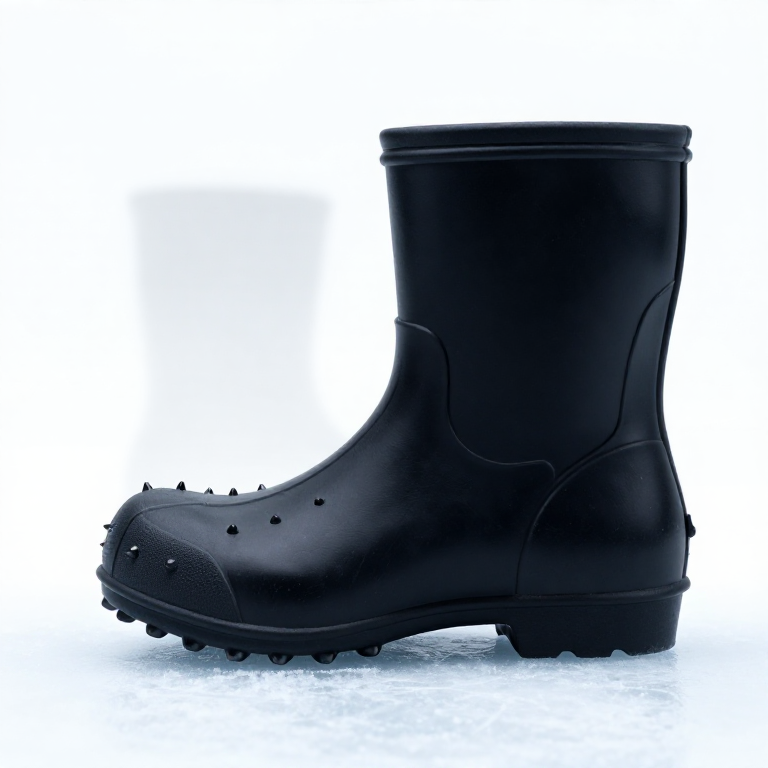


Ice Cleats
Ice is slippery for a specific reason, and it is not the one most people were taught. The old explanation — that pressure from your weight melts a lubricating film — does not survive arithmetic: the pressure a person exerts lowers ice's melting point by a fraction of a degree, nowhere near enough to explain skating at -10 °C. The modern account is that ice carries a quasi-liquid surface layer that exists without any pressure at all, because the topmost molecules have nothing above them to bond to, and friction from sliding adds further local melting.
Either way, a rubber sole cannot grip it. Rubber works by conforming to a rough surface, and ice offers no roughness and a lubricated film on top.
So a cleat abandons friction and uses mechanical interlock instead. A hard point penetrates the ice and takes load against the wall of the hole it made. The design question is entirely about contact pressure: force divided by the total tip area. A few sharp points penetrate; many blunt ones do not, because the same body weight spread over more area never reaches the pressure ice yields at.
Build a set, measure the angle at which you slip, and the trade-off will be a number rather than an opinion.
안내
Measure your baseline slip angle
Measure your baseline slip angle
Freeze a large flat tray of ice. Rest a loaded boot on it and tilt the tray slowly until it slides, measuring the angle.
Repeat five times and average.
The tangent of that angle is the coefficient of friction.
Measure the boot you will actually wear, because sole compound and tread differ enormously and a worn sole is a different instrument from a new one.
필요한 도구:
 각도기 / 각도 측정기
 힘 측정기(스프링 저울)
Build the harness before the spikes
Build the harness before the spikes
Cut a neoprene or rubber over-sole that stretches over the boot toe and heel, with an elastic cord retaining it around the instep.
Fit it and walk before adding any studs.
The harness is what fails in the field, not the spikes. A cleat that rotates on the sole puts its points where they are useless, and one that comes off in deep snow is worse than none.
이 단계의 재료:
 네오프렌 원단1 미터
 고무줄 끈2 미터
Set the studs where the load is
Set the studs where the load is
Fit hardened self-tapping studs through the over-sole, concentrated under the heel strike and the ball of the foot, with none under the arch.
Set them proud by only 3-4 mm.
Points longer than that lever the foot on hard ground and are actively dangerous indoors or on tarmac — which is where most cleat injuries actually happen.
이 단계의 재료:
 #8 셀프태핑 판금 나사16 개
필요한 도구:
 무선 드릴
무선 드릴Vary the number of points and find the optimum
Vary the number of points and find the optimum
Make three sets with 6, 12 and 24 studs and re-measure the slip angle for each.
Plot slip angle against stud count.
Expect it to rise and then fall back.
Total tip area rises with count, so contact pressure falls, and past a point no stud reaches the pressure needed to bite. More spikes is worse, and the curve shows exactly where it turns.
필요한 도구:
 모눈종이
모눈종이Test on the surfaces that actually hurt people
Test on the surfaces that actually hurt people
Repeat on smooth wet ice, on rough refrozen slush, on packed snow, and on a wet tiled floor.
Expect strong performance on ice, less benefit on packed snow, and a marked loss of grip on smooth wet tile where the studs hold the sole clear of the surface.
Cleats swap one hazard for another. The commonest real-world injury is walking into a building without removing them.
Check the failure modes before winter does
Check the failure modes before winter does
Walk a few kilometres on mixed ground, then inspect: studs backing out, elastic taking a set, rubber tearing at stud holes.
Re-measure the slip angle after the walk.
Expect measurable blunting.
Points wear fastest on the surfaces they help least — every metre of tarmac takes edge off the tips that ice needs, which is the real argument for taking them off between icy sections.
Compendium — grip, pressure and the ice myth
Compendium — grip, pressure and the ice myth
🔴 The pressure-melting explanation for slippery ice is wrong and is still taught. The Clausius-Clapeyron relation does predict that pressure lowers ice's melting point — but by roughly 0.01 °C per atmosphere, so even a skate blade's contact pressure buys a fraction of a degree, and skating works fine at -20 °C. The better-supported account combines a premelted quasi-liquid layer present on ice surfaces well below 0 °C, because surface molecules are less constrained than those in the bulk, with frictional heating from sliding. Both mechanisms are surface effects, and neither needs your weight.
Why rubber fails and steel works. Rubber grip is a combination of adhesion and hysteresis — the compound deforms into surface asperities and loses energy doing so. Ice has almost no asperities and a lubricated surface, so both mechanisms collapse. A steel point does something categorically different: it exceeds the compressive yield strength of ice locally, makes a pit, and then bears against the pit wall. That is interlock, not friction, and it is why the design parameter is pressure rather than compound.
The same reasoning, in other equipment. Mountaineering crampons use fewer, much longer points because they must penetrate hard glacial ice and take load in shear on steep ground. Studded tyres use carbide pins at a carefully limited count per tyre — too many and each stud carries too little load to bite, exactly as in step 4, and the same reasoning caps studs on running spikes. Everywhere in this family the answer is few, sharp and hard rather than many.
Honest limits and real risk. Cleats do not help on black ice under a film of water anything like as much as on dry ice; they are close to useless on wet smooth indoor floors and make them worse; and they encourage the confident, upright, long-strided walking that causes falls. The technique matters as much as the equipment: short steps, feet under the body, hands out of pockets. Self-tapping screws in a boot sole are a genuinely popular home fix and also the classic way to puncture a waterproof membrane and ruin the boot — the removable over-sole in step 2 exists to avoid that. Winter falls are a leading cause of fracture in older adults, and this is one of the few blueprints in the corpus where the object measurably reduces a common serious injury.
연결된 블루프린트 재료
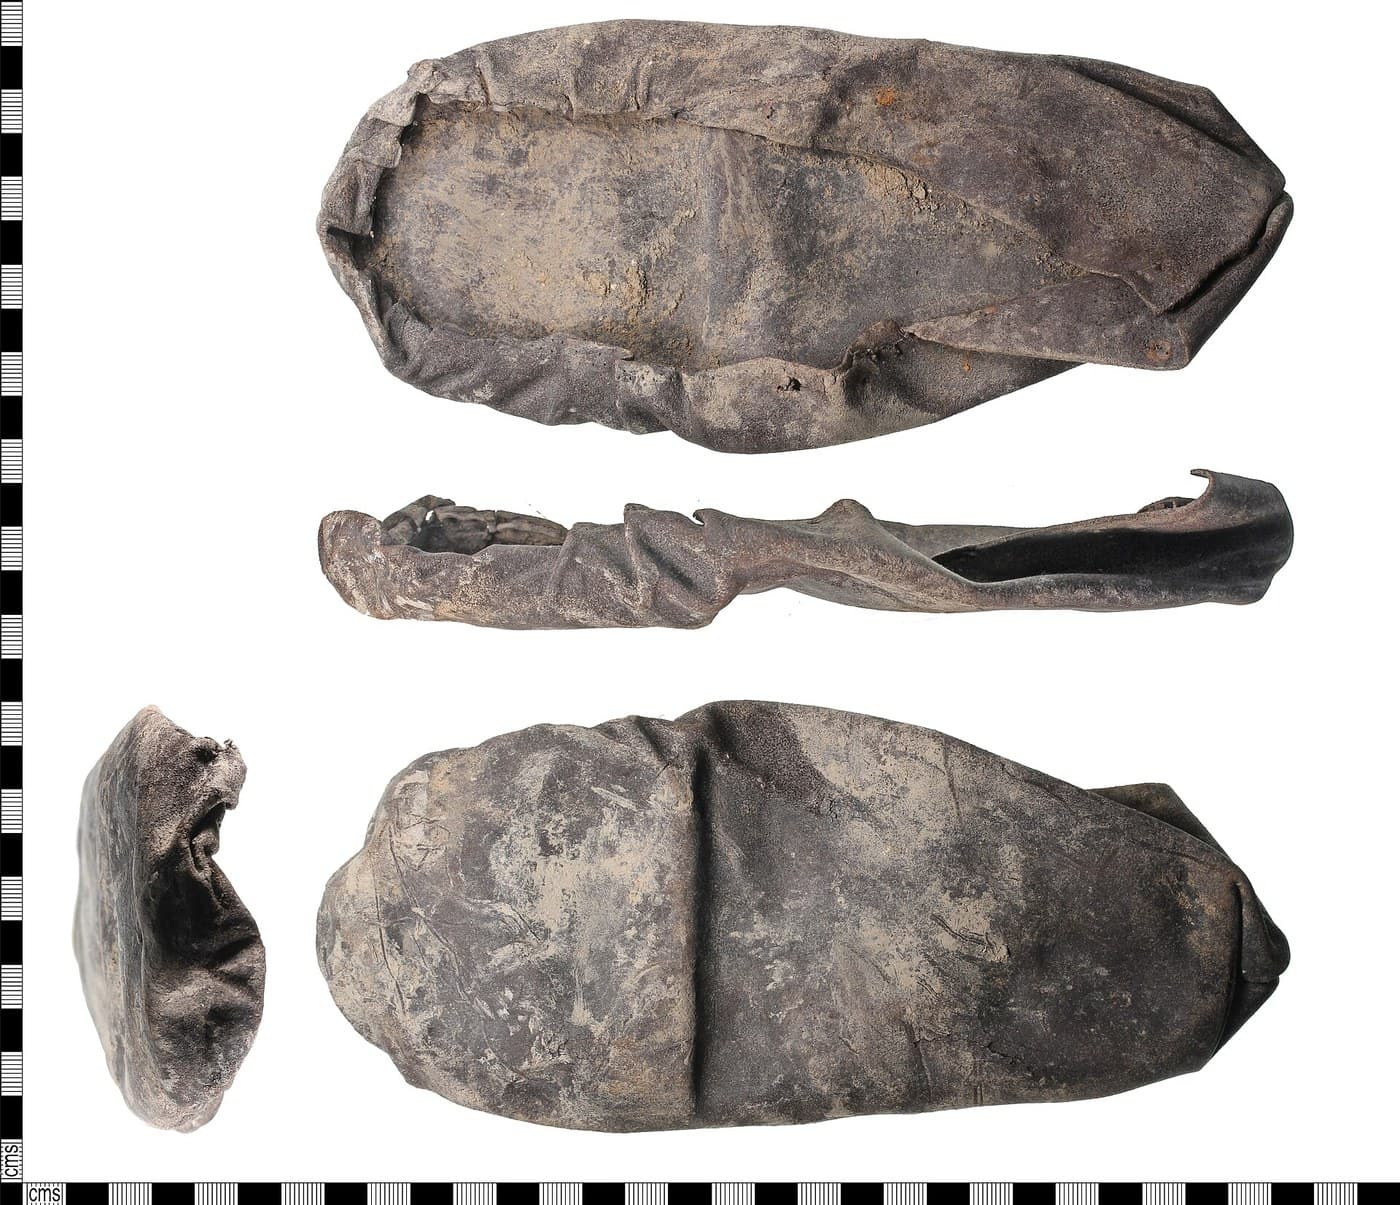

이 블루프린트로 만드는 것

CC0 퍼블릭 도메인
이 블루프린트는 CC0로 공개되었습니다. 어떤 목적으로든 자유롭게 복사, 수정, 배포 및 사용할 수 있습니다.
제품 구매를 통해 메이커를 지원하세요. 판매자가 설정한 메이커 커미션 을 받거나, 이 블루프린트의 새로운 반복을 만들어 연결로 포함시킬 수 있습니다.