협업
예술
뷰티 및 웰니스
공예
문화 및 역사
엔터테인먼트
환경
음식 및 음료
역공학
과학
스포츠
기술
웨어러블
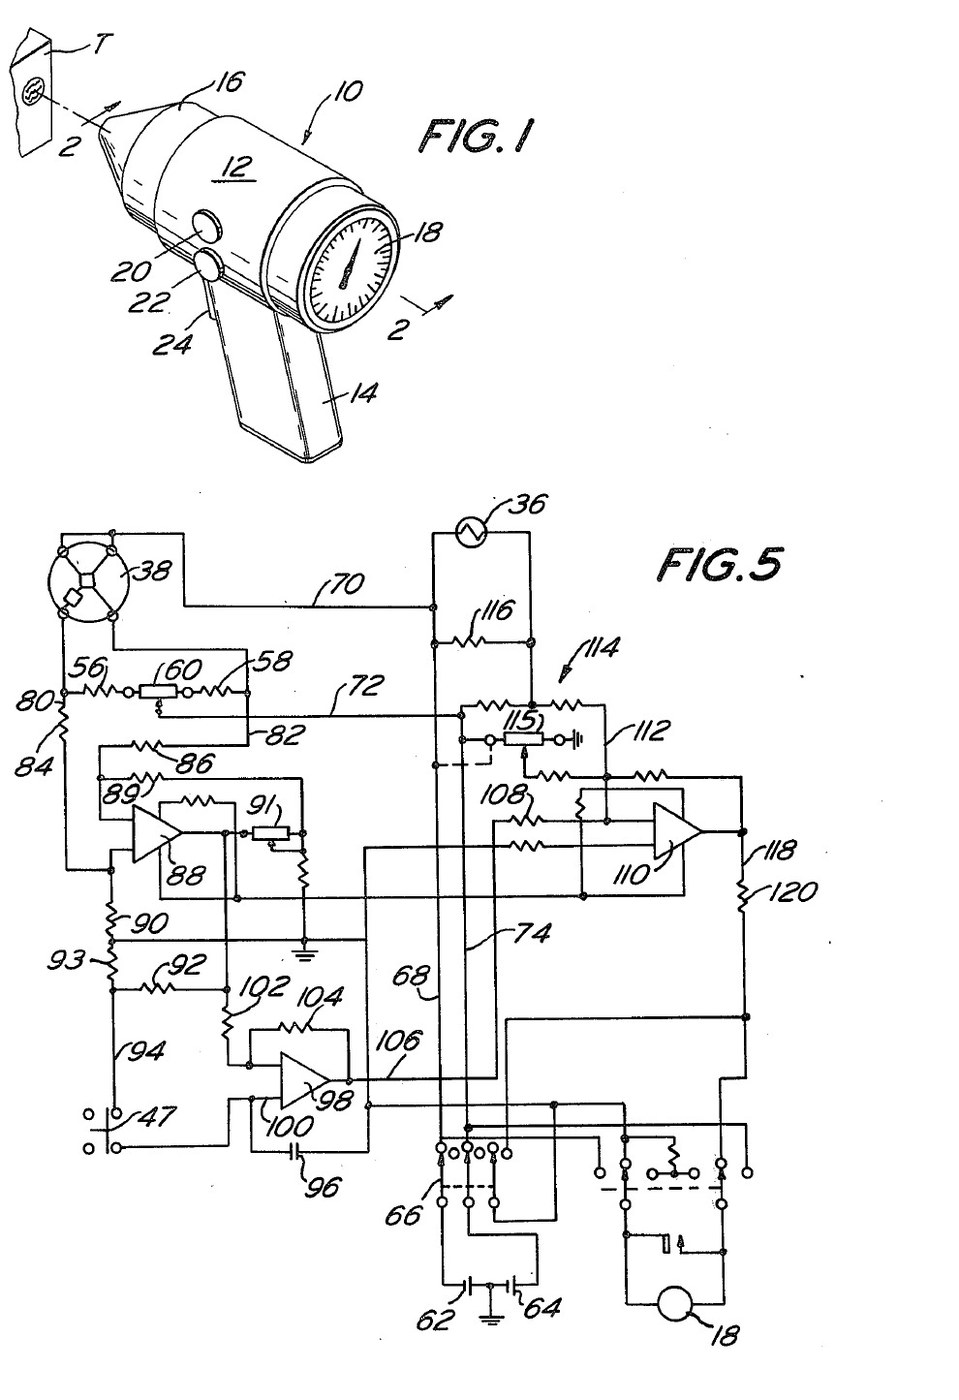


Infrared Thermometer: Pistol Grip with a Trigger-Swung Mirror That Zeroes on the Cavity (Michael, US 4,005,605, 1977)
A pistol-grip thermometer that reads a surface's temperature from its infrared radiation, without touching it. Inside, a concave mirror on a pivot first looks at the instrument's own cavity and a thermistor there, so the circuit stores a zero; pulling the trigger swings the mirror to the nose opening and focuses the target's radiation on a thermistor bolometer. The meter shows the difference, corrected for the cavity's temperature.
Result: a non-contact thermometer reading -20 to 60 °C, built for veterinary use.
Source: D. S. Michael (Mikron Instrument), US 4,005,605 (1977). Unknown: sizes, component values and most materials. Picture: the patent drawing.
고급
Unknown
안내
1
1
Build the housing and nose
Build the housing and nose
Make a housing with a pistol handle, in three pieces for easy assembly. Fix a cone-shaped nose to its front, cut off at the tip to leave a round opening about one tenth of the cavity's inside diameter, so little stray radiation gets in or out. Paint the inside of the nose and cavity flat black. An infrared-transparent sheet may close the nose to keep out dirt and draughts. Not given: sizes, the materials.
이 단계의 재료:
 알 수 없는 재료1 housing, nose, window
 무광 검정 도료1 as needed
필요한 도구:
 넓은 붓
 알 수 없는 치수
2
2
Fit the detector, mirror and ambient thermistor
Fit the detector, mirror and ambient thermistor
Hold the thermistor bolometer on the housing's axis with a spider. Mount a concave mirror in a gimbal ring on two trunnions in bearings in the housing wall, with the detector at its focus when it faces the nose. Put a bead thermistor inside the cone. A leaf spring holds the ring tilted so the mirror faces the thermistor. Not given: the mirror's focal length, the metals.
이 단계의 재료:
 서미스터 볼로미터1 개
 오목 거울1 개
 알 수 없는 금속1 gimbal ring, trunnions, spider
 NTC 서미스터 키트1 bead thermistor
 판 스프링1 개
필요한 도구:
 드라이버 세트알 수 없는 치수
3
3
Fit the trigger
Fit the trigger
Pivot a trigger in the handle. A finger on it pushes the gimbal ring against the spring, so the mirror turns to face the nose opening, and at the same moment opens a small switch beside the trigger. Fit the off-on switch and two control knobs on the housing, and the meter in its back. Ours: a microswitch and a moving-coil meter.
이 단계의 재료:
알 수 없는 금속1 trigger, finger, pivot 마이크로 스위치1 개
 토글 스위치1 multipole off-on
 가동 코일형 패널 계기1 개
필요한 도구:
드라이버 세트4
4
Wire the circuit and measure
Wire the circuit and measure
Wire the bolometer's active and passive elements as two arms of a Wheatstone bridge, with two resistors and a balancing potentiometer as the others; batteries in the handle feed it through the off-on switch. The bridge feeds a differential preamplifier with a gain potentiometer. Through the trigger switch its output charges a capacitor on the + input of a FET-input op-amp whose input bias current is under 1 pA; match the divider resistors to the op-amp's resistors within 0.1 %. Feed that op-amp's output into a summing amplifier together with an ambient correction from the bead thermistor (a fixed resistor across it, and a potentiometer to set the starting reading), and drive the meter from the sum. To use, switch on and balance the bridge; with the trigger released the mirror faces the cavity and the capacitor stores that reading. Aim at the target and pull the trigger: the meter shows the target minus the stored cavity reading, plus the ambient correction, so detector and preamplifier drift cancel. Not given: the component values.
이 단계의 재료:
 인쇄 회로 기판1 개
 연산 증폭기 IC3 preamplifier, FET-input store, summing
 전기 저항1 set, incl. 0.1 % matched pairs
 가변저항기4 개
 커패시터 키트1 storage capacitor
 전지2 개
 땜납 선1 as needed
필요한 도구:
 인두
재료
17- 1 housing, nose, window플레이스홀더
- 1 as needed플레이스홀더
- 1 개플레이스홀더
- 1 개플레이스홀더
- 1 trigger, finger, pivot플레이스홀더
- 1 bead thermistor플레이스홀더
- 1 개플레이스홀더
- 플레이스홀더
- 플레이스홀더
- 1 개플레이스홀더
- 1 개플레이스홀더
- 3 preamplifier, FET-input store, summing플레이스홀더
- 1 set, incl. 0.1 % matched pairs플레이스홀더
- 플레이스홀더
- 1 storage capacitor플레이스홀더
- 2 개플레이스홀더
- 1 as needed플레이스홀더
연결된 블루프린트 재료
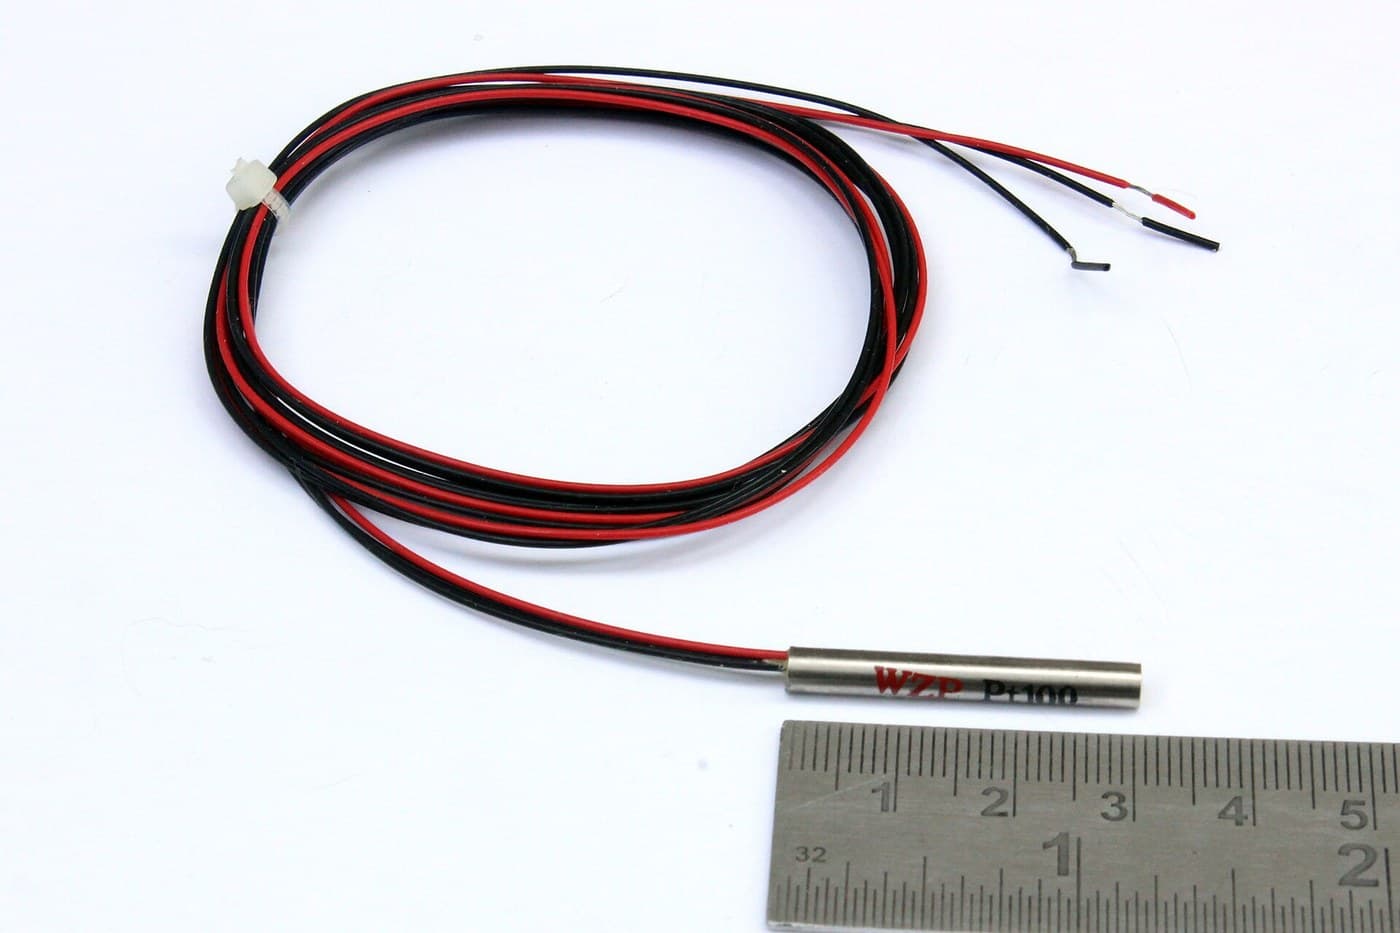

이 블루프린트로 만드는 것

CC0 퍼블릭 도메인
이 블루프린트는 CC0로 공개되었습니다. 어떤 목적으로든 자유롭게 복사, 수정, 배포 및 사용할 수 있습니다.
제품 구매를 통해 메이커를 지원하세요. 판매자가 설정한 메이커 커미션 을 받거나, 이 블루프린트의 새로운 반복을 만들어 연결로 포함시킬 수 있습니다.