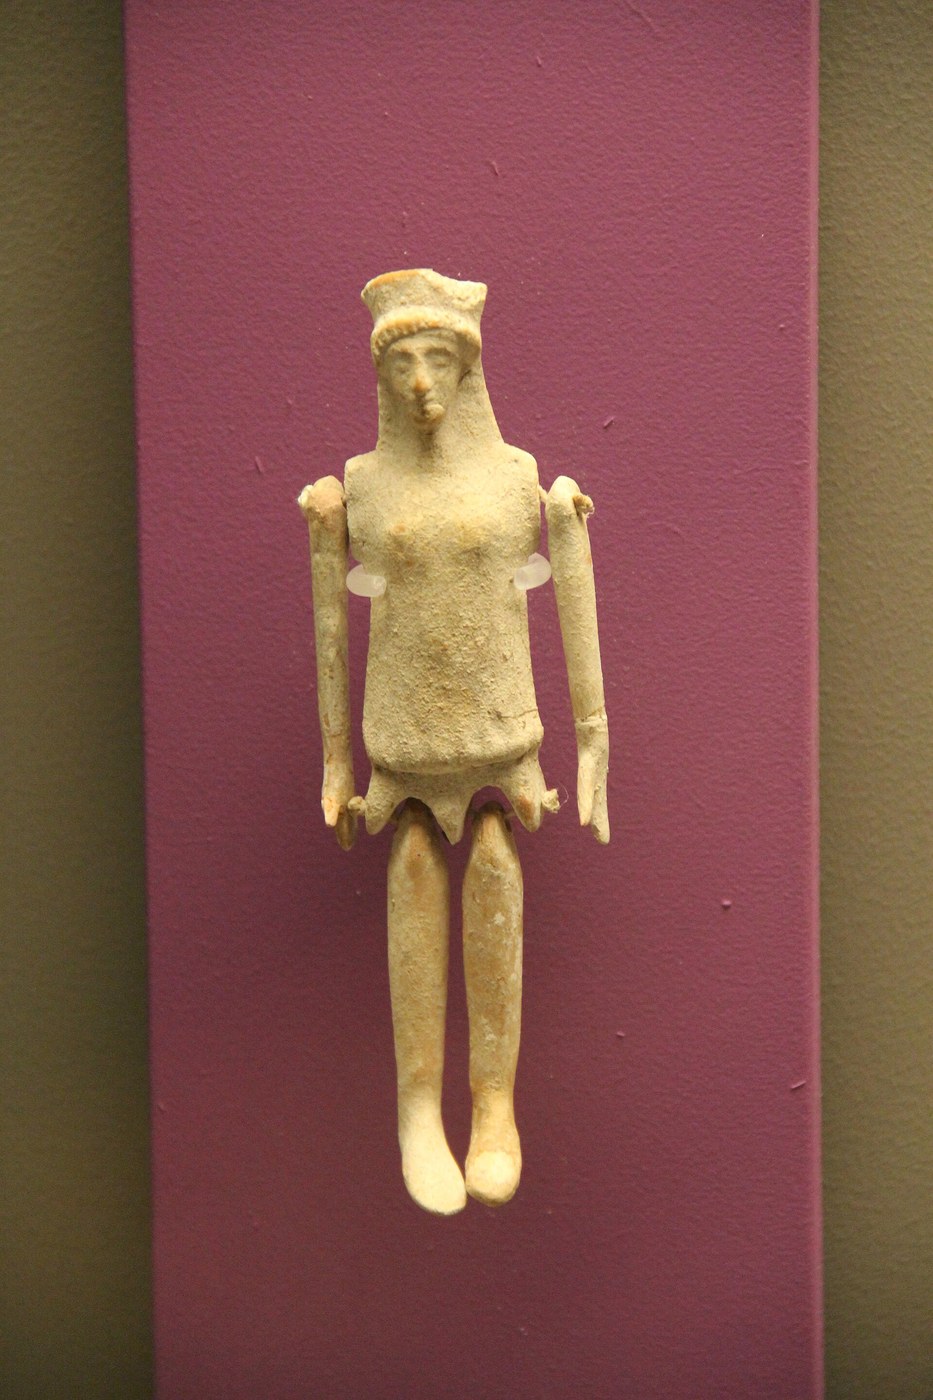


Jointed Wooden Doll
A carved figure is an object. Put a pin through the shoulder and it becomes a body that can be posed — and that single change is the whole difference between a statuette and a doll.
Jointed dolls with movable limbs are found across the ancient Mediterranean, in wood, bone, ivory and terracotta, and the joint is nearly always the same: a hole through the limb, a hole through the body, and a pin or a knotted cord between them. It is the simplest possible mechanism and it has not changed in two and a half thousand years.
The craft is in the fit. Too tight and the limb will not move; too loose and it will not hold a pose. A joint that does both is one that has friction in it — and getting friction right in wood is the entire skill.
안내
Choose a close-grained wood
Choose a close-grained wood
Take lime, boxwood or another fine, even-grained hardwood. Open-grained wood splits at the pin holes, which are exactly where the doll takes its loads.
이 단계의 재료:
 피나무 조각용 목재1 개
Carve the torso as one piece
Carve the torso as one piece
Carve head, neck and torso from a single blank about 150 mm tall, leaving the shoulders and hips as square flats for now. Flats are far easier to drill accurately than curves.
필요한 도구:
 목조각 둥근끌 세트
Carve four limbs slightly oversize
Carve four limbs slightly oversize
Carve two arms and two legs, each a little fatter than finished size. The last shaping happens after the joints work, because fitting always removes material.
Cut a rounded tenon on each limb top
Cut a rounded tenon on each limb top
Shape the top of each limb into a rounded tab that fits into a corresponding slot in the body. Round the end fully — a square-ended tab binds as soon as the limb turns.
Cut matching slots in the body
Cut matching slots in the body
Saw and pare a slot at each shoulder and hip, a fraction wider than the limb tab. Check each limb enters and leaves freely before drilling anything.
이 단계의 재료:
 목공 끌 세트1 세트
Drill the body first, then the limb in place
Drill the body first, then the limb in place
Drill the pin hole through the body slot, then hold the limb in the slot and drill through the existing hole to carry it into the limb. Drilling the two separately guarantees they will not line up.
Position the pivot high in the limb
Position the pivot high in the limb
Put the hole close to the rounded top of the limb, not central. A pivot too low leaves the limb sticking out from the body when it swings.
Make pins that fit the hole snugly
Make pins that fit the hole snugly
Whittle hardwood pins to a light interference fit in the body but a free fit in the limb — or fit them the other way round. One side must grip and the other must turn; if both grip, nothing moves.
이 단계의 재료:
 목재 다월봉1 개
Tune the friction
Tune the friction
Assemble and test: the limb should stay where you put it but move under a gentle push. Too stiff, ease the slot; too floppy, shim it with a sliver of leather or paper. This is the step the whole doll is judged on.
Try a cord joint as well
Try a cord joint as well
Make one limb hung on a knotted cord through the body instead of a pin. Cord joints allow more movement and were widely used; they also loosen with wear in a way pins do not. Compare the two.
이 단계의 재료:
 무명실1 미터
Check the pose actually holds
Check the pose actually holds
Set the doll seated and leave it for an hour. If the limbs have crept, the friction is too low — and a doll that cannot hold a pose is a jointed figure that behaves like an unjointed one.
Finish the carving
Finish the carving
Now take the limbs down to final shape with the joints working, then sand. Doing this before the joints work means recutting them afterward.
필요한 도구:
 사포
사포Paint or leave bare
Paint or leave bare
Paint the features if you want, keeping the paint out of the joints. Paint in a joint dries to a glue and locks the limb solid.
이 단계의 재료:
 아크릴 물감 세트1 세트
History & Context
History & Context
Widespread and very old. Dolls with movable limbs are known from ancient Egypt, Greece and Rome, made in wood, bone, ivory and fired clay. Terracotta ones survive in the greatest numbers simply because fired clay lasts in the ground and wood does not — which almost certainly distorts the picture. Wooden dolls were probably far more common than the surviving evidence suggests, and the material bias is worth stating rather than reading the finds as a fair sample.
The joint barely changed. A hole, a hole, and a pin or a cord. What varies is which joints are articulated — some figures move only at the shoulders, others at shoulders, hips, elbows and knees — and that choice tracks what the figure was for rather than the maker's skill.
Toy, or not. Jointed figures are found in children's graves, which supports the toy reading, and also in temple deposits, where they appear to have been dedicated — girls are recorded as dedicating dolls on reaching adulthood. The same object can be a toy, a votive offering and a grave good, and the archaeological context decides which, not the object. Calling every small jointed figure a doll is a habit worth resisting.
Where it leads. The line runs from these to the wooden lay figure used by painters to pose drapery, to the artist's mannequin still sold today, and to the ball-jointed doll. The mechanism is the same one you have just fitted — a pivot with enough friction to hold a position.
재료
5- 1 개플레이스홀더
- 1 세트플레이스홀더
- 1 개플레이스홀더
- 1 미터플레이스홀더
- 1 세트플레이스홀더
이 블루프린트로 만드는 것

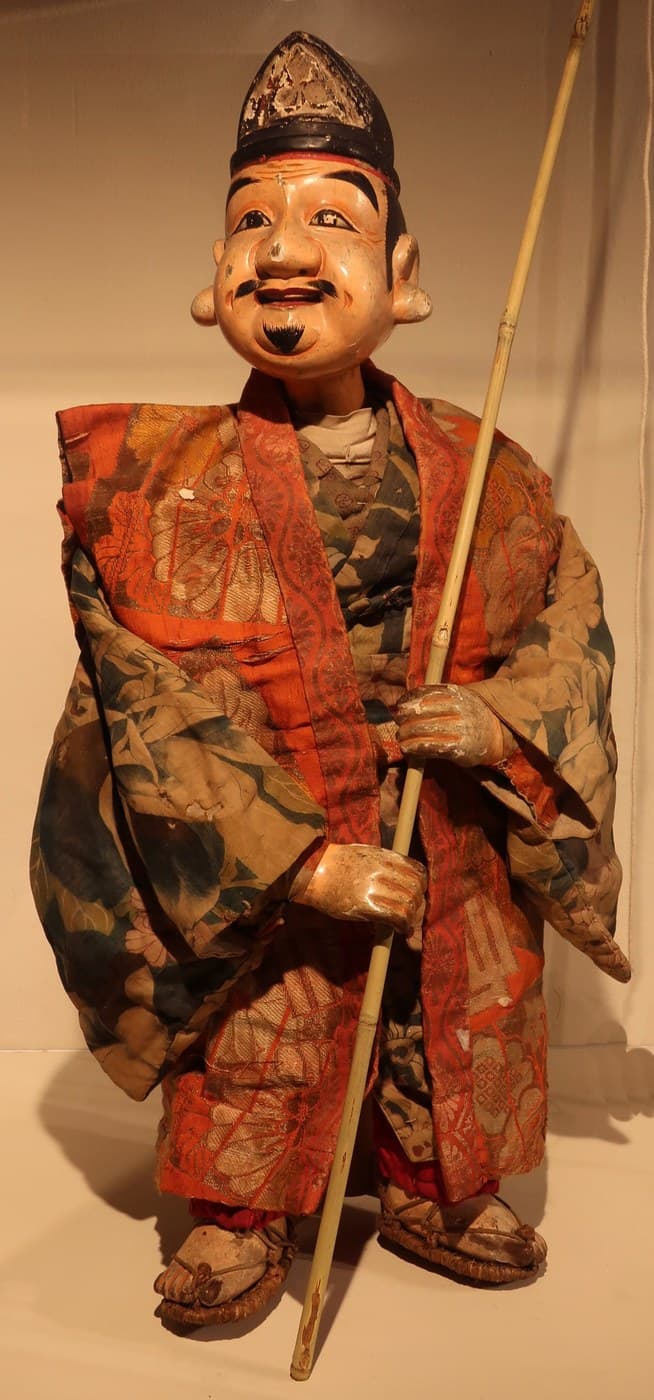

CC0 퍼블릭 도메인
이 블루프린트는 CC0로 공개되었습니다. 어떤 목적으로든 자유롭게 복사, 수정, 배포 및 사용할 수 있습니다.
제품 구매를 통해 메이커를 지원하세요. 판매자가 설정한 메이커 커미션 을 받거나, 이 블루프린트의 새로운 반복을 만들어 연결로 포함시킬 수 있습니다.