Applying Wattle-and-Daub to a Wall Panel — Medieval Wall Construction
안내
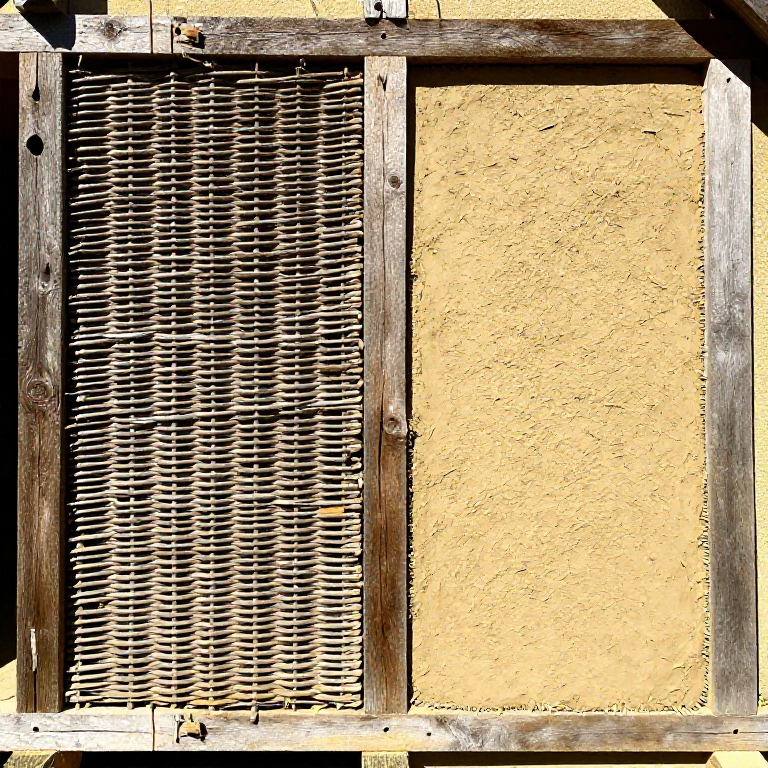
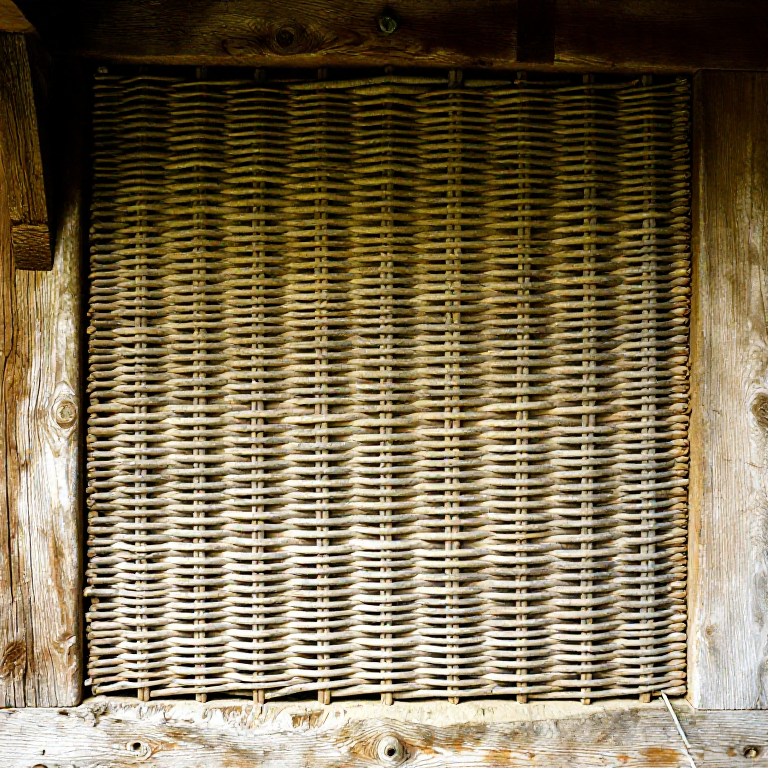
Prepare the Wattle Framework
Prepare the Wattle Framework
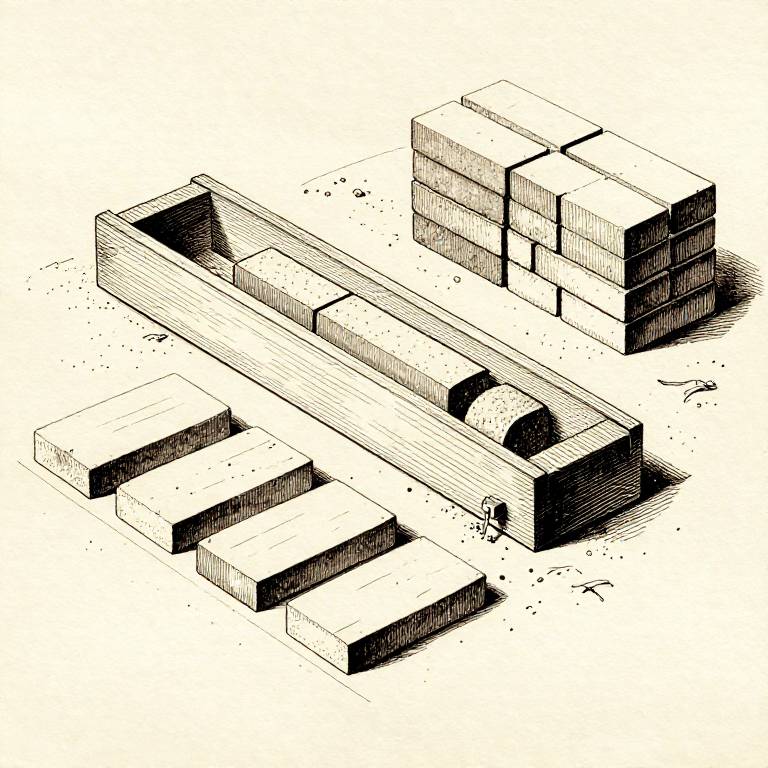
Within the timber frame, drill or chisel holes approximately 3 to 4 cm in diameter into the top and bottom horizontal timbers (rails) at intervals of 15 to 20 cm. Drive vertical staves (stout sticks approximately 2 to 3 cm diameter) into these holes to create an upright framework. Then weave flexible rods (hazel or willow, approximately 1 to 2 cm diameter) horizontally between the staves in a basket-weave pattern — over one stave, under the next, alternating with each row. Pack the horizontal rods tightly together to create a dense lattice. The woven wattle should fill the entire panel area within the timber frame and be sturdy enough to support the weight of the wet daub on both sides without bulging. Soak the rods in water before weaving if they are too stiff to bend without breaking.
이 단계의 재료:
 Hazel Rods (Green, Flexible)enough to weave the panel area 개
 Wild Clayenough to coat both sides 개
 Fine Sandequal volume to clay 개
필요한 도구:
 Billhook
Mix the Daub
Mix the Daub
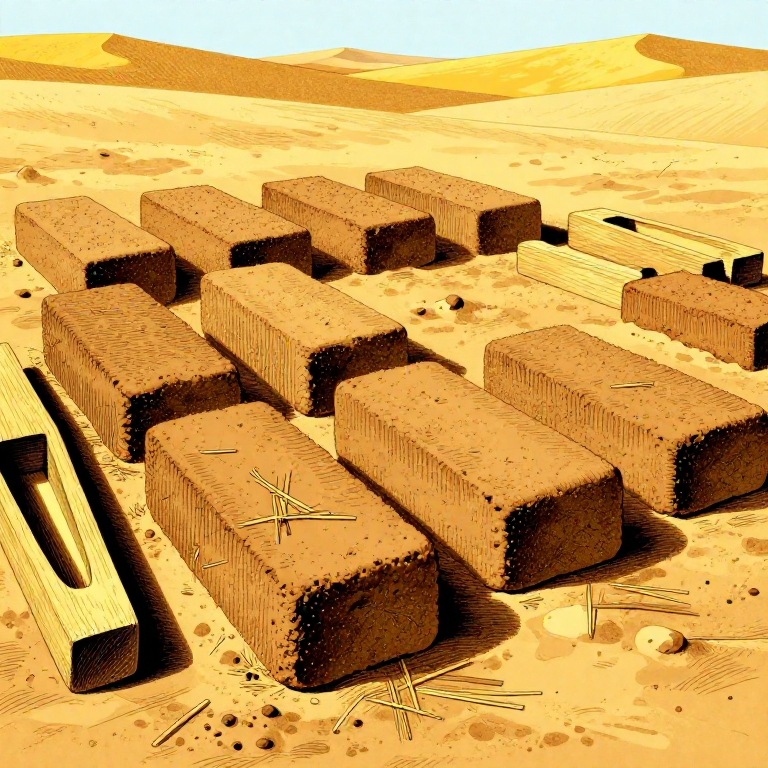
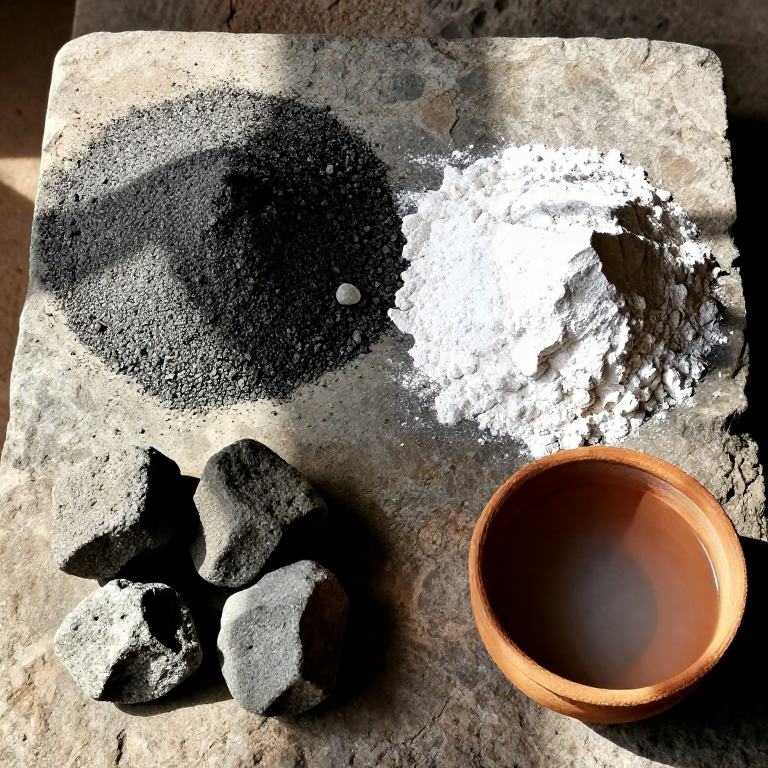
Combine clay subsoil, sand, and chopped straw in a mixing pit or trough. A typical ratio is 1 part clay to 1 part sand to generous handfuls of straw. The clay provides binding strength, the sand reduces shrinkage cracking, and the straw fibres reinforce the mixture like rebar in concrete. If available, add fresh cow or horse dung — the fibres and natural binders in dung significantly improve the workability and crack resistance of the daub. Mix by treading (walking on the mixture) or working with a hoe until thoroughly combined. Add water to achieve a thick, sticky consistency that holds its shape when thrown against the wattle without slumping. Medieval daub-mixers often trod the mixture with bare feet, and the process was sometimes a communal village activity.
Apply the First Coat of Daub
Apply the First Coat of Daub
Working from one side, push the daub firmly through and around the wattle lattice by hand or with a daubing paddle. Force the daub into every gap in the wattle weave so that it keys through to the other side — this mechanical interlocking is what holds the daub to the wattle permanently. Build up a layer approximately 15 to 20 mm thick on this first side. The daub should squeeze through the gaps and form small mushroom-shaped keys on the far side. Do not attempt to smooth the surface at this stage — a rough first coat provides a better key for the finishing coat. Allow this coat to dry partially (firm to the touch but not fully hard) before applying daub to the opposite side.
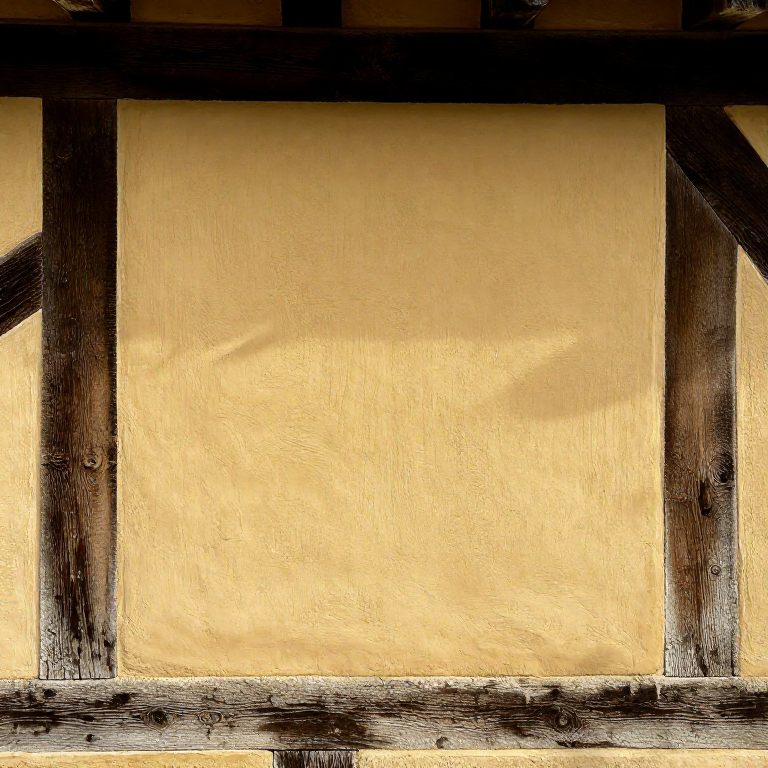
Apply the Second Side and Finishing Coat
Apply the Second Side and Finishing Coat
Apply daub to the opposite side of the wattle, again pressing firmly to bond with the keys protruding from the first coat. Build up to approximately 15 to 20 mm thick on this side as well, so the total wall thickness is approximately 50 to 80 mm including the wattle. Once both sides have stiffened, apply a final smoothing coat of finer daub (with less straw and finer sand) approximately 5 to 10 mm thick. Smooth this coat with a trowel or a wet wooden float to create a reasonably flat surface suitable for limewash. The finished surface will have slight irregularities — this is characteristic and historically correct. Allow each coat to dry slowly to minimise cracking; in hot weather, shade the wall and mist with water to slow the drying process.
Apply Limewash for Protection
Apply Limewash for Protection
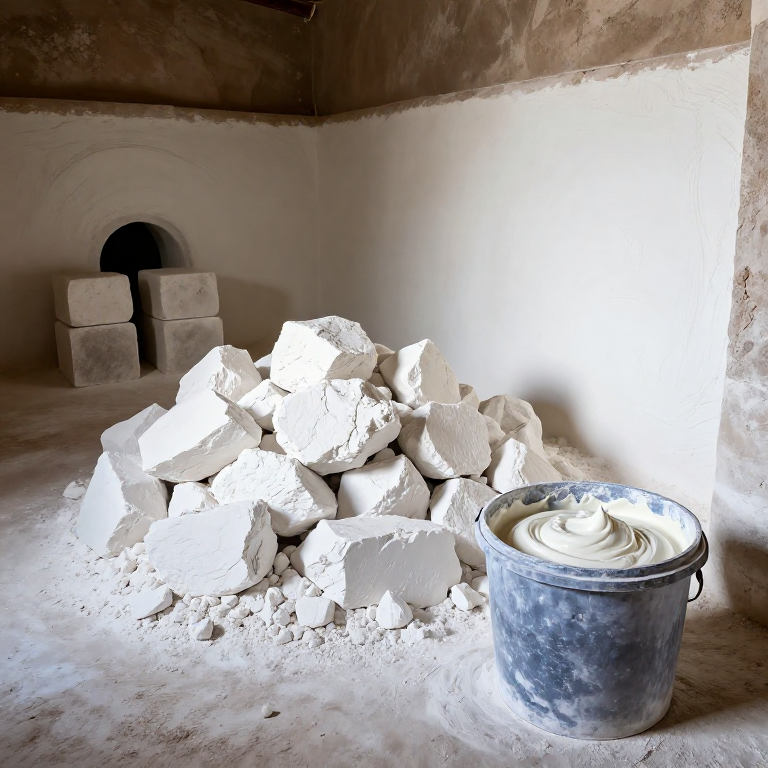
Once the daub is fully dry (which may take one to three weeks depending on climate and wall thickness), apply two to three coats of limewash for weather protection. Limewash is simply slaked lime putty thinned with water to a milk-like consistency. Brush it onto the daub surface with a large limewash brush, working in thin, even coats. Each coat should dry before the next is applied. Limewash serves multiple functions: it seals the porous clay surface against rain, provides a bright white finish that reflects light (important in dark medieval interiors), and has mild antiseptic properties due to its high pH. Limewash must be renewed annually or every few years as it wears, but this maintenance is simple and inexpensive. Well-maintained wattle-and-daub walls in timber-frame buildings have lasted for 500 years or more across England, France, and Germany.
재료
5- enough to weave panel 개플레이스홀더
- large bundle 개플레이스홀더
필요 도구
4- 플레이스홀더
- 플레이스홀더
Related blueprints
Other builds that share materials, tools, or techniques with this one.
CC0 퍼블릭 도메인
이 블루프린트는 CC0로 공개되었습니다. 어떤 목적으로든 자유롭게 복사, 수정, 배포 및 사용할 수 있습니다.
제품 구매를 통해 메이커를 지원하세요. 판매자가 설정한 메이커 커미션 을 받거나, 이 블루프린트의 새로운 반복을 만들어 연결로 포함시킬 수 있습니다.