협업
예술
뷰티 및 웰니스
공예
문화 및 역사
엔터테인먼트
환경
음식 및 음료
역공학
과학
스포츠
기술
웨어러블
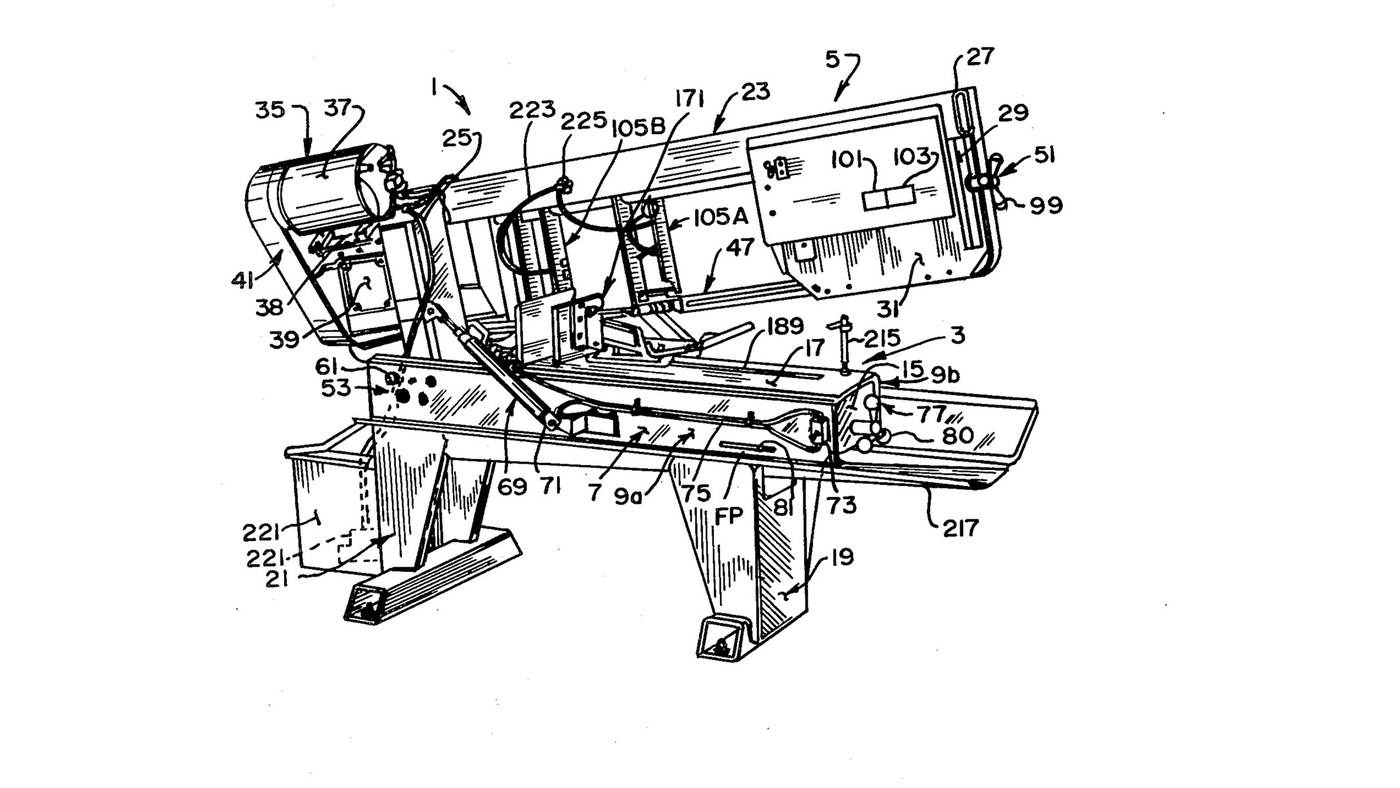


Metal Band Saw: Horizontal Saw on a Welded Steel Frame
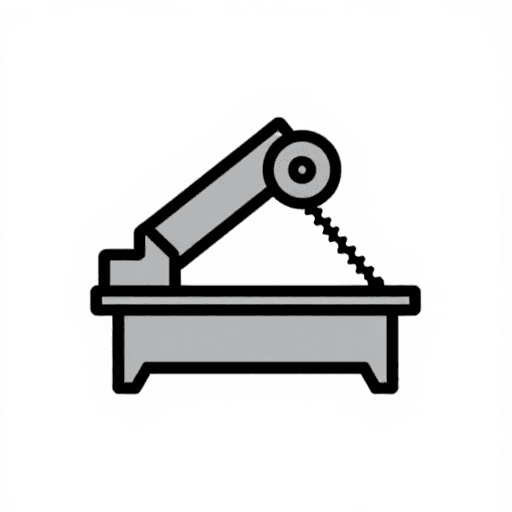
Curtis Eccardt's horizontal power band saw (Emerson Electric, US 4,364,294, 1982), built from welded steel channel and tube instead of iron castings to cut its cost. The saw head swings down on trunnions over the bed; a hydraulic cylinder with a valve sets how fast it feeds, a spring counterbalances it, and a spring tensioner shows the blade tension on a scale. Two guides with rollers twist the blade's lower run 90° so its teeth face down into the work, and carbide inserts hold it there.
The patent gives no sizes, speeds or ratings; the welder and wrenches are ours. The picture: the patent's Fig. 1.
고급
4 days
안내
1
1
Weld the bed
Weld the bed
Stand two steel channels (9a, 9b) parallel, webs upright and flanges facing in, and weld gussets (15) between their webs. Bolt a bed plate (17) across the top flanges as the work surface. Ours: MIG welder, drill press for the bolt holes.
이 단계의 재료:
 ㄷ형강2 개
 연강판1 개
 육각 머리 볼트 - 등급 8.81 개
필요한 도구:
 MIG 용접기
 탁상 드릴
 멍키스패너
2
2
Weld and bolt on the legs
Weld and bolt on the legs
Weld formed sheet-steel legs onto horizontal floor members to make front and rear leg weldments (19, 21), and bolt them under the bed.
이 단계의 재료:
 강판1 개
 구조용 강관1 개육각 머리 볼트 - 등급 8.81 개
필요한 도구:
MIG 용접기멍키스패너3
3
Weld the head
Weld the head
Weld a head post (25) of square or rectangular steel tube square to a head beam (27) of rectangular tube. Weld a bracket leg (29) down from the beam's outer end, and fix support plates at both ends (31, 33).
이 단계의 재료:
구조용 강관1 개연강판1 개필요한 도구:
MIG 용접기4
4
Fit the trunnions and align the pivot
Fit the trunnions and align the pivot
Fix a shaft through the head post with its ends out as trunnions (55a, 55b), in bushings in two bearing blocks (59a, 59b) bolted inside the channel webs. Each block has one close-fit bolt hole and three oversize ones: shift the blocks until the pivot is parallel to the bed plate, then torque the bolts. A set screw (67) takes out end play.
이 단계의 재료:
 강철 샤프트1 개
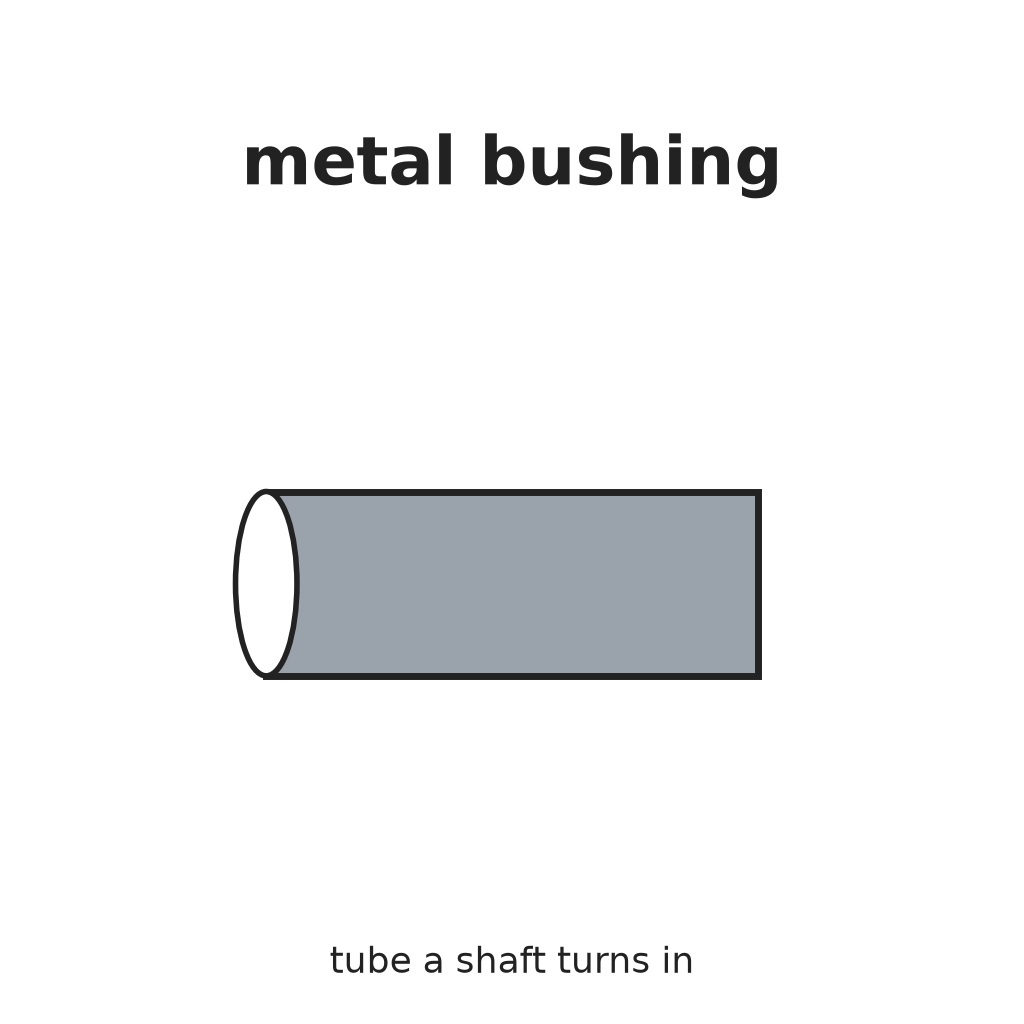 금속 부싱2 개
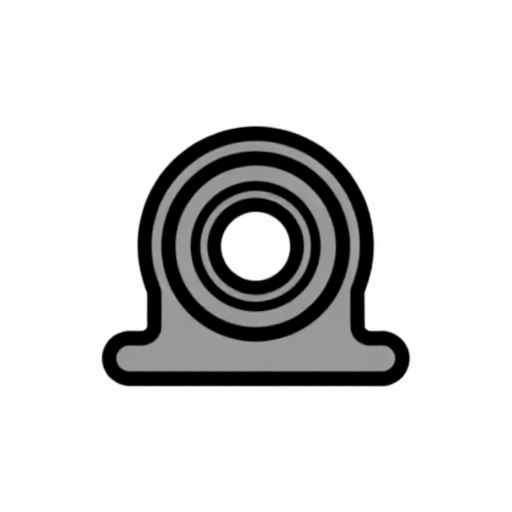 베어링 블록2 개육각 머리 볼트 - 등급 8.88 개
 컵 포인트 멈춤 나사1 개
필요한 도구:
탁상 드릴 토크 렌치
5
5
Mount motor, belt drive and gearbox
Mount motor, belt drive and gearbox
Mount the electric motor (37) on a plate (38) pivoted on the head beam, and couple it by a multi-speed belt and pulleys (41) to a gearbox (39). Fit the drive wheel (43) on the gearbox output shaft.
이 단계의 재료:
 전동기1 개연강판1 개
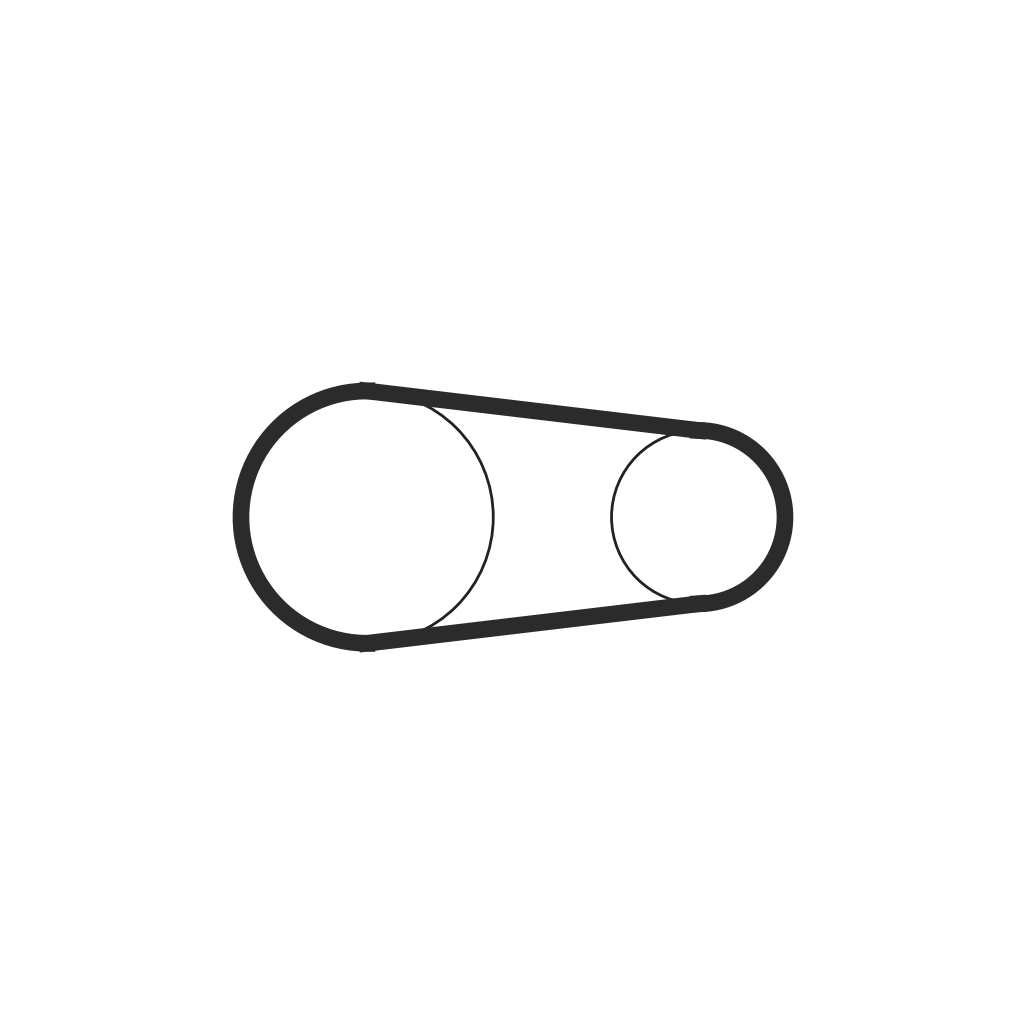 구동 벨트1 개
 도르래1 개
 기어박스1 개
 밴드쏘 휠1 개
필요한 도구:
멍키스패너6
6
Build the idler tensioner
Build the idler tensioner
Weld an idler yoke (87) of rolled steel plate, pivot it on the head beam with a pin (89), and cantilever the idler axle from it with the idler wheel (45) on bearings (85). A threaded rod (91) pulls the yoke through a coil spring (93) held between compression plates and a U-bolt (97); a knob (99) turns the rod. An indicator (101) on the spring reads the tension on a scale (103).
이 단계의 재료:
연강판1 개 강철 핀1 개강철 샤프트1 개밴드쏘 휠1 개
 볼 베어링1 개
 전산 볼트(나사 봉)1 개
 Coil Spring1 개
 U볼트1 개
 컨트롤 노브1 개
필요한 도구:
MIG 용접기멍키스패너7
7
Build the two blade guides
Build the two blade guides
In each guide channel (111) mount two guide rollers (115a, 115b) on ball bearings on eccentric bushings, one fixed and one adjusted to the blade thickness. Add a carbide thrust insert (133) on the blade's back edge and two carbide side inserts (137a fixed, 137b on a sprung swing bracket set by a bolt and knob). Clamp the guides on two bar tracks (107).
이 단계의 재료:
 가이드 롤러4 개볼 베어링4 개
 편심 부싱4 개
 초경 인서트6 개Coil Spring2 개컨트롤 노브2 개구조용 강관1 개
필요한 도구:
멍키스패너8
8
Fit the blade and set the tension
Fit the blade and set the tension
By hand, run the endless blade (47) round the drive and idler wheels and through both guides; the rollers twist its lower run about 90° so the teeth face down. Turn the tension knob until the scale shows the tension you want.
이 단계의 재료:
 띠톱 날1 개
9
9
Fit the feed cylinder and counterbalance
Fit the feed cylinder and counterbalance
Connect a hydraulic cylinder (71) between bed channel and head post above the trunnions, filled with oil and piped through tubing (75) to a control valve (73): the valve sets the feed rate and, closed, holds the head. Fit a coil spring (78) on a threaded linkage (79) between an end gusset and the head post below the trunnions, adjusted by a knob (80), to counterbalance the head.
이 단계의 재료:
 유압 실린더1 개
 유압유1 batch
 유압 튜브1 개
 유량 제어 밸브1 개Coil Spring1 개전산 볼트(나사 봉)1 개컨트롤 노브1 개
필요한 도구:
멍키스패너10
10
Bolt on the vice
Bolt on the vice
Bolt the quick-acting vice to the bed plate to clamp the work square under the blade.
이 단계의 재료:
 머신 바이스1 개육각 머리 볼트 - 등급 8.81 개
필요한 도구:
멍키스패너재료
29- 2 개플레이스홀더
- 1 개플레이스홀더
- 플레이스홀더
- 1 개플레이스홀더
- 1 개플레이스홀더
- 1 개플레이스홀더
- 2 개플레이스홀더
- 2 개플레이스홀더
- 1 개플레이스홀더
- 1 개플레이스홀더
- 1 개플레이스홀더
- 1 개플레이스홀더
- 1 개플레이스홀더
- 1 개플레이스홀더
- 1 개플레이스홀더
- 플레이스홀더
- 1 개플레이스홀더
- 4 개플레이스홀더
- 1 개플레이스홀더
- 플레이스홀더
- 4 개플레이스홀더
- 4 개플레이스홀더
- 6 개플레이스홀더
- 1 개플레이스홀더
- 1 개플레이스홀더
- 1 batch플레이스홀더
- 1 개플레이스홀더
- 1 개플레이스홀더
- 1 개플레이스홀더
이 블루프린트로 만드는 것
CC0 퍼블릭 도메인
이 블루프린트는 CC0로 공개되었습니다. 어떤 목적으로든 자유롭게 복사, 수정, 배포 및 사용할 수 있습니다.
제품 구매를 통해 메이커를 지원하세요. 판매자가 설정한 메이커 커미션 을 받거나, 이 블루프린트의 새로운 반복을 만들어 연결로 포함시킬 수 있습니다.