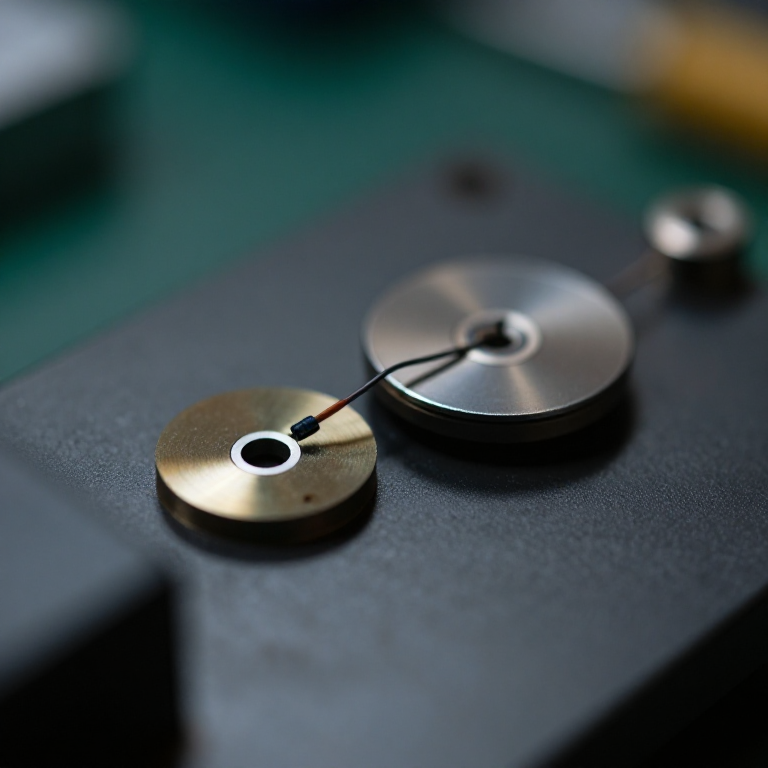


Moving-Coil Microphone
안내
Prove reciprocity with a loudspeaker first
Prove reciprocity with a loudspeaker first
Before building anything, demonstrate that a speaker already IS a microphone.
- Take a small loudspeaker and connect its terminals straight to an oscilloscope.
- Speak into the cone and watch the trace.
- Now connect the same speaker to an amplifier input and listen through headphones.
- Tap the cone and hear the thump.
It works, and it works reasonably well. Intercom systems have used a single speaker as both microphone and earpiece for decades, switching it between the two. The transducer does not know which direction it is being used in — this is electromagnetic reciprocity, and it is the reason this blueprint and the loudspeaker blueprint describe the same machine.
A large speaker makes a poor microphone mainly because its cone is heavy and its resonance is low. Everything that follows is about making the same motor with far less moving mass.이 단계의 재료:
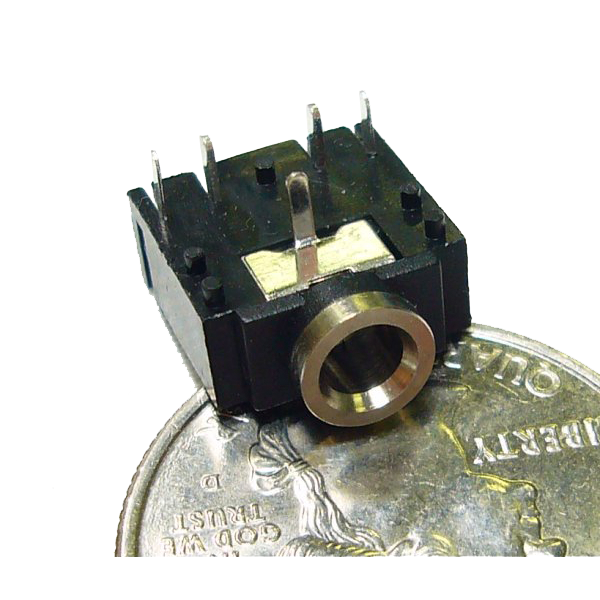 Audio Jack 3.5mm1 개
필요한 도구:
 디지털 오실로스코프
 실험실급 디지털 멀티미터
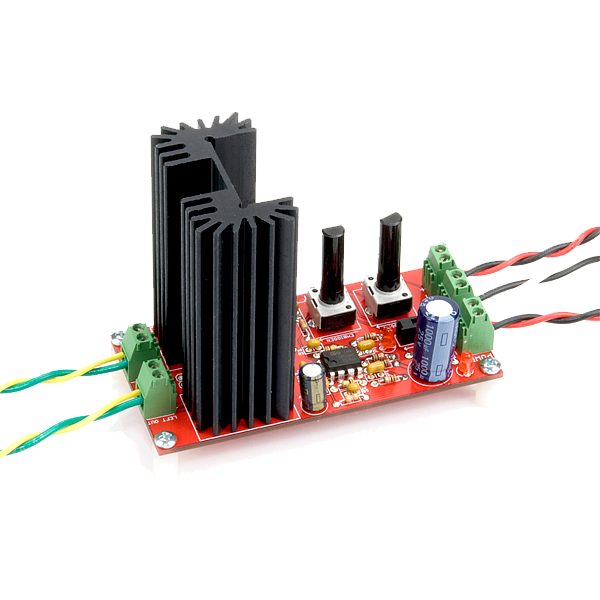 Audio Amplifier Kit - STA540
Wind a light coil and hang it in a magnetic gap
Wind a light coil and hang it in a magnetic gap
Low mass and a strong field are the two things that matter.
- Wind about 40 turns of very fine enamelled wire on a former of 15 mm diameter.
- Slide the former off — the coil should hold together with a spot of adhesive and weigh almost nothing.
- Build a magnetic circuit: a ring magnet with a central pole piece, leaving a narrow annular gap.
- Suspend the coil in that gap so it can move axially without touching either side.
- Attach a light mylar diaphragm to the coil.
The gap must be narrow and the coil must never touch. A narrow gap concentrates the flux, and output is proportional to flux density — but a coil rubbing on the pole piece produces a scraping noise and eventually jams. The suspension has to hold it centred while offering almost no resistance to axial motion, which is the whole mechanical design problem.
Fine wire and few turns. More turns gives more output but more mass, and mass costs treble. Every moving-coil microphone is a compromise struck at that point.이 단계의 재료:
 에나멜 피복 구리선1 롤
 비상용 마일러 담요1 개
 페라이트 비드 세트1 키트
필요한 도구:
 디지털 캘리퍼스 6인치
 줄 세트실험실급 디지털 멀티미터
 디지털 주방 저울
Make it directional by controlling the rear entry
Make it directional by controlling the rear entry
A sealed capsule hears everything equally. Openings at the back create the pattern.
- Seal the capsule's rear completely and measure output as you walk a sound source around it — the response is nearly uniform.
- Now open small ports at the rear of the capsule.
- Repeat the circular measurement and plot it.
- Vary the port size and repeat.
이 단계의 재료:
 무명 모슬린1 metre
 모눈종이1 pad
필요한 도구:
디지털 오실로스코프 DDS 신호 발생기디지털 캘리퍼스 6인치
 무선 드릴
무선 드릴Test what it survives that a condenser will not
Test what it survives that a condenser will not
The case for the dynamic microphone is robustness, so test that specifically.
- Measure the output at a very high sound level close to a loud source and check the waveform for clipping.
- Breathe heavily on the capsule and listen for crackling.
- Leave it in a cold damp place for an hour and test again.
- Compare each result with the condenser capsule from the previous blueprint.
필요한 도구:
디지털 오실로스코프실험실급 디지털 멀티미터 조리용 온도계
One motor, two directions, and history
One motor, two directions, and history
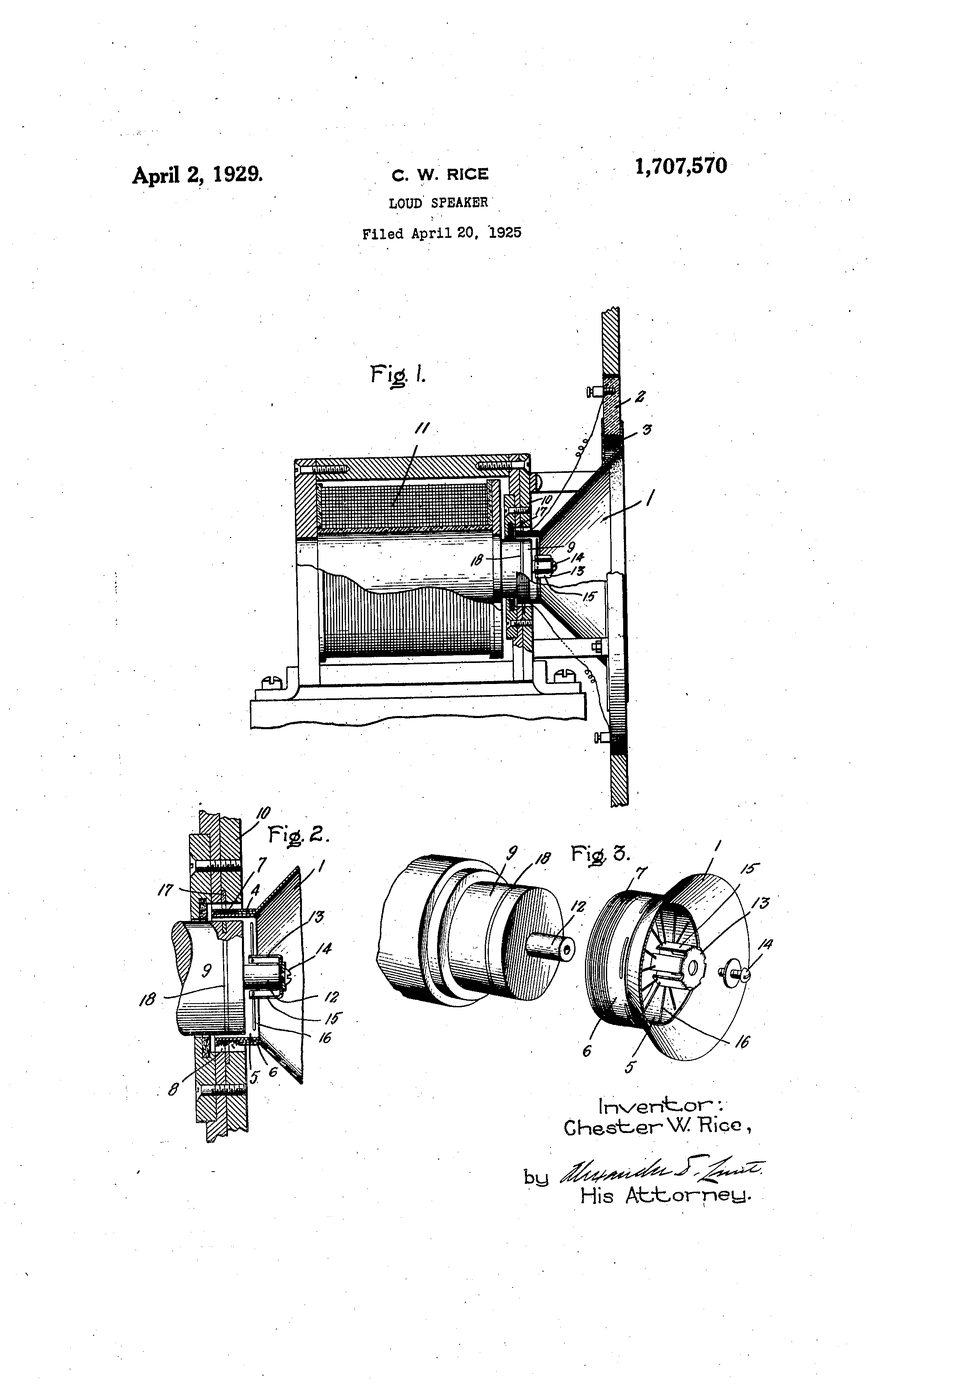
The moving-coil transducer is Chester Rice and Edward Kellogg's 1925 loudspeaker motor, already in this catalogue, used in reverse. Moving-coil microphones developed through the 1920s and 1930s at the same laboratories, and the dynamic microphone became the workhorse of broadcasting, public address and stage work — a position it still holds a century later.
Reciprocity is a deep property, not a coincidence. Any transducer that converts electrical energy to mechanical will convert mechanical to electrical, and the efficiency is the same in both directions. It applies to piezoelectric crystals, to electrostatic panels, to moving-iron elements. Once you know it, you can look at any actuator and ask what it would sense, and at any sensor and ask what it could drive.
Where this sits in the chain: the carbon microphone modulates an existing current and is noisy. The condenser needs power and an amplifier but is accurate. The moving coil generates its own signal from the sound's energy alone — no power, no amplifier at the capsule, nothing to go wrong. It is the most self-sufficient of the three.
Its honest limits: moving mass limits high-frequency response; output is low, so a good preamplifier still matters even though the capsule needs no power; and the magnet makes it heavy. Its ruggedness is precisely a consequence of that mass and mechanical simplicity, so the limitation and the virtue are the same property seen from two sides.
재료
6- Audio Jack 3.5mm10% 수수료1 개₩29
- 1 롤플레이스홀더
- 1 개플레이스홀더
- 1 키트플레이스홀더
- 1 metre플레이스홀더
- 1 pad플레이스홀더
필요 도구
9- 1 vendor sell this, none ship to you yet플레이스홀더
- 플레이스홀더
- Audio Amplifier Kit - STA54010% 수수료₩361
- 플레이스홀더
- 플레이스홀더
- 플레이스홀더
- 플레이스홀더
- 1 vendor sell this, none ship to you yet플레이스홀더
- 플레이스홀더
이 블루프린트로 만드는 것

관련 블루프린트
이 블루프린트들은 지식을 공유합니다 — 기술, 재료 또는 원리

CC0 퍼블릭 도메인
이 블루프린트는 CC0로 공개되었습니다. 어떤 목적으로든 자유롭게 복사, 수정, 배포 및 사용할 수 있습니다.
제품 구매를 통해 메이커를 지원하세요. 판매자가 설정한 메이커 커미션 을 받거나, 이 블루프린트의 새로운 반복을 만들어 연결로 포함시킬 수 있습니다.