예술
뷰티 및 웰니스
공예
문화 및 역사
엔터테인먼트
환경
음식 및 음료
역공학
과학
스포츠
기술
웨어러블
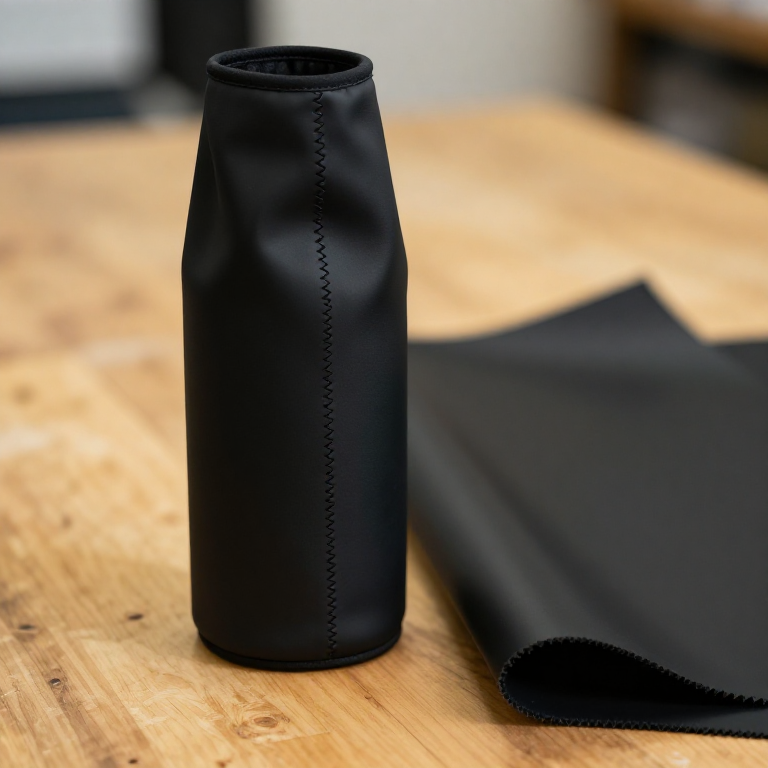


Neoprene
Natural rubber swells and softens in oil and cracks in sunlight. In April 1930 Arnold Collins, working in Wallace Carothers' group at DuPont, isolated chloroprene - a close relative of the isoprene in natural rubber, with one chlorine atom in place of a methyl group - and found that it polymerised by itself into a rubber-like solid. DuPont sold it from 1931 as DuPrene and renamed it neoprene in 1937. It was one of the first commercially successful synthetic rubbers, and its selling point was exactly what natural rubber lacked: resistance to oil, weather and heat.
**No patent number is cited here**: the chemistry is well documented and dated, but no single patent was verified as covering neoprene itself, so none is claimed.
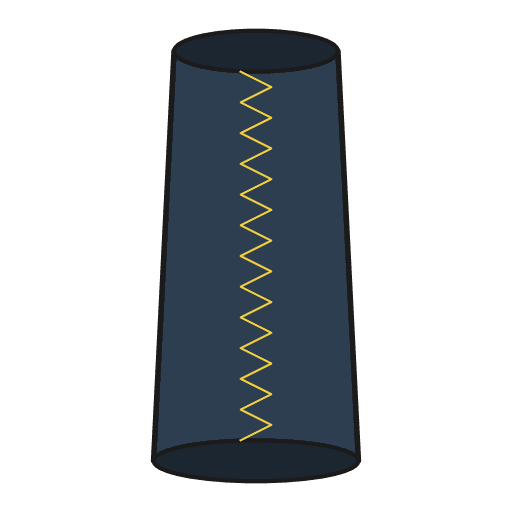
**You make a snug neoprene sleeve with a glued-and-stitched butt seam, then test the claim** - a strip of neoprene and a natural rubber band in mineral oil for a day, measured before and after.
초급
2 hours plus 24 h soak
안내
1
1
Size the sleeve
Size the sleeve
Measure the bottle diameter. Run the notebook's sizing cell for the cut width and base disc.
필요한 도구:
 디지털 캘리퍼스 6인치
 자
자2
2
Mark the pieces
Mark the pieces
On 3 mm neoprene, chalk a rectangle: cut width x 200 mm tall. Chalk the base disc beside it.
이 단계의 재료:
 네오프렌 원단1 장
필요한 도구:
 재단용 초크자
3
3
Cut
Cut
Cut the rectangle with the rotary cutter against the ruler, one firm pass. Cut the disc with fabric scissors.
필요한 도구:
 로터리 커터·재단 매트 세트
 재단 가위
재단 가위4
4
Cement the edges
Cement the edges
Brush a thin coat of contact cement on both 3 mm long edges, using the brush in the can lid. Leave until touch-dry, as the can directs.
이 단계의 재료:
 콘택트 시멘트10 ml
필요한 도구:
 스톱워치
스톱워치5
5
Butt the seam
Butt the seam
Roll into a tube and press the edges face to face, no overlap. Contact cement grabs on touch - align the top first, then close downward. Clip and leave 10 minutes.
필요한 도구:
 대형 바인더 클립
6
6
Stitch across the seam
Stitch across the seam
Zigzag across the glued seam, stitch width wide enough to bite both sides. Stretch slightly as you sew so the thread gives with the fabric.
이 단계의 재료:
 폴리에스터 실5 미터
필요한 도구:
 재봉틀
재봉틀7
7
Close the base
Close the base
Cement the disc rim and the tube's bottom edge, press together, then whip-stitch round by hand.
이 단계의 재료:
콘택트 시멘트5 ml폴리에스터 실2 미터필요한 도구:
 손바느질 바늘
8
8
Set up the swell test
Set up the swell test
Cut a 50 x 10 mm neoprene offcut. Cut open a rubber band to a 50 mm strip. Measure both. Submerge in mineral oil in a lidded jar for 24 hours.
이 단계의 재료:
 식품용 광유100 ml
 고무줄1 팩
필요한 도구:
 유리병디지털 캘리퍼스 6인치
9
9
Measure again
Measure again
Blot the strips dry and measure their lengths. Enter all four numbers in the notebook.
필요한 도구:
디지털 캘리퍼스 6인치10
10
Chlorine, swell and sizing
Chlorine, swell and sizing
Jupyter 노트북 불러오는 중…
11
11
History & Context
History & Context
Neoprene grew out of Julius Nieuwland's acetylene chemistry at Notre Dame, which DuPont licensed; Collins' chloroprene came from that work in Carothers' laboratory, the same group that produced nylon.
Its limits are the other side of its strength: it costs more than natural rubber, is less springy, and stiffens in deep cold. The sheet you used is almost certainly closed-cell neoprene FOAM laminated to nylon jersey - the form wetsuits made familiar - where trapped gas cells add insulation that solid neoprene lacks.
이 블루프린트로 만드는 것
관련 블루프린트
이 블루프린트들은 지식을 공유합니다 — 기술, 재료 또는 원리


CC0 퍼블릭 도메인
이 블루프린트는 CC0로 공개되었습니다. 어떤 목적으로든 자유롭게 복사, 수정, 배포 및 사용할 수 있습니다.
제품 구매를 통해 메이커를 지원하세요. 판매자가 설정한 메이커 커미션 을 받거나, 이 블루프린트의 새로운 반복을 만들어 연결로 포함시킬 수 있습니다.