협업
예술
뷰티 및 웰니스
공예
문화 및 역사
엔터테인먼트
환경
음식 및 음료
역공학
과학
스포츠
기술
웨어러블
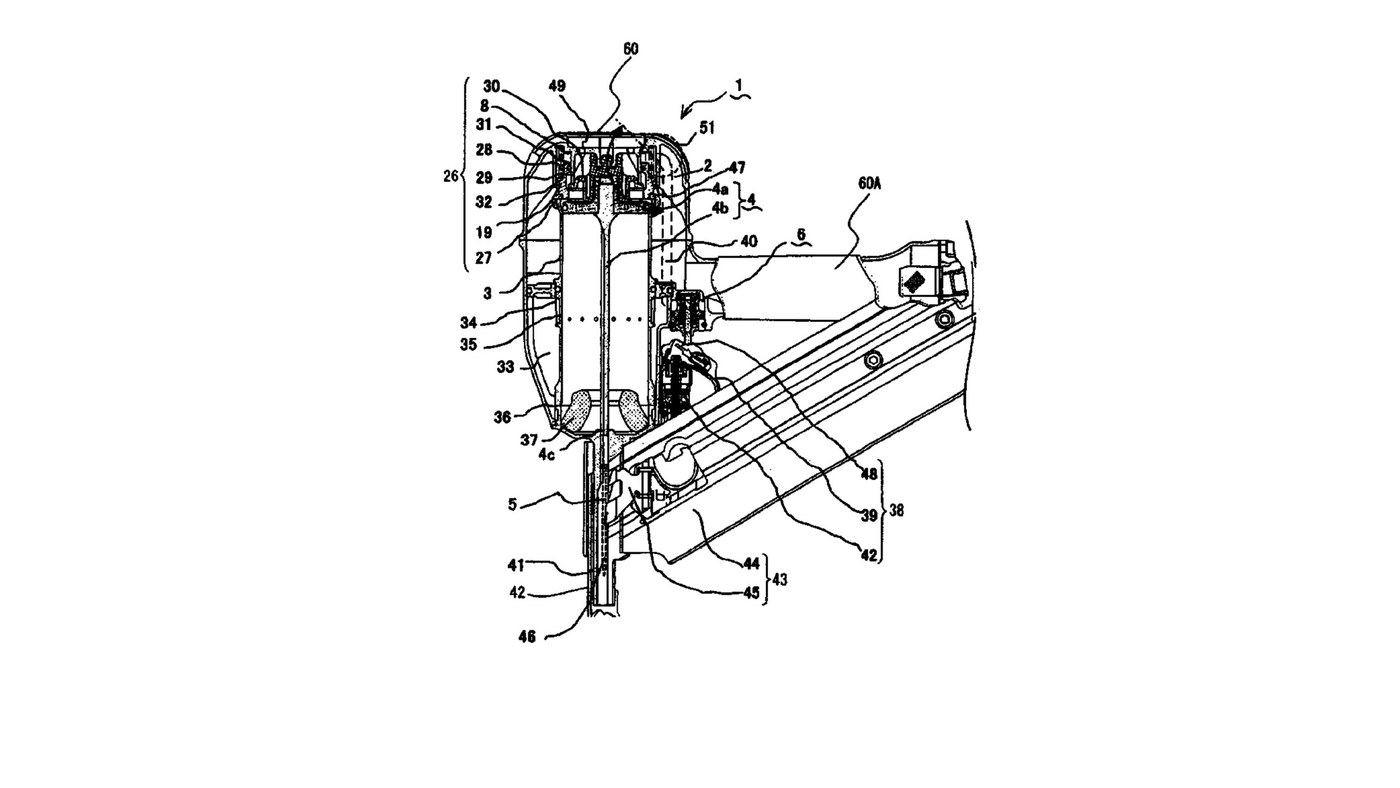


Pneumatic Nail Gun: Main Valve, Return Chamber and Fast Trigger Valve
Hitachi Koki's air nailer (US 7,156,012, 2007). Compressed air stored in the handle holds a main valve shut over the cylinder. Pulling the trigger with the nose pressed to the work vents a small trigger-valve chamber, which vents the main-valve chamber; the main valve jumps up, closes the exhaust and lets stored air throw the piston and driver blade down onto a nail. Air caught below the piston in a return chamber pushes it back up. Hitachi sized the valve chambers against their vents to make the gun fire and reset faster.
The patent gives no materials, bore, stroke, air pressure or nail size. The picture: the patent's Fig. 1.
고급
2 days
안내
1
1
Use the one-piece frame, handle and nose
Use the one-piece frame, handle and nose
Use a frame (60), handle (60A) and nose (41) made as one outer frame; the space inside the handle and frame is the air accumulator (2). Screw a hose nipple into the handle's end for the air hose.
이 단계의 재료:
 공구 모터 케이스1 개
 호스용 나사 니플1 개
필요한 도구:
 멍키스패너
2
2
Fit the cylinder with its return chamber
Fit the cylinder with its return chamber
Fit the cylinder (3) in the frame with a return chamber (33) round its lower part. Halfway up, a one-way valve (34) lets air pass only from the cylinder into the return chamber; a channel (36) near the bottom joins them always. Seat a piston bumper (37) at the bottom.
이 단계의 재료:
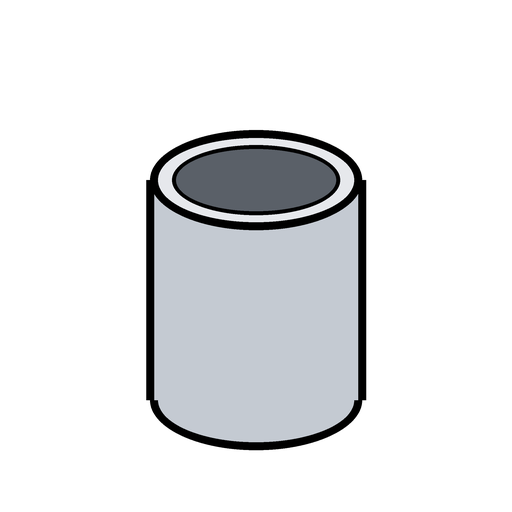 실린더 슬리브1 개
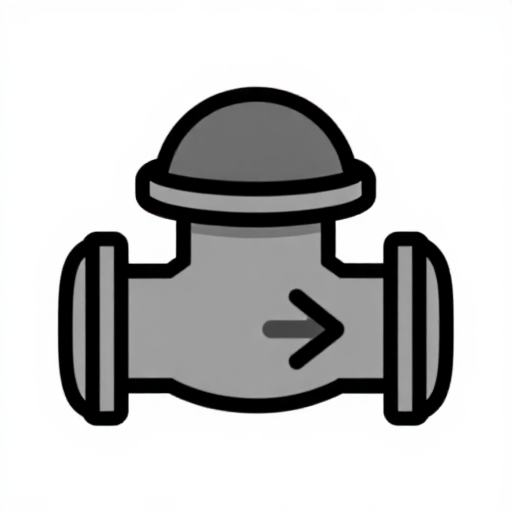 체크밸브1 개
 피스톤 범퍼1 개
필요한 도구:
멍키스패너3
3
Insert the piston and driver blade
Insert the piston and driver blade
By hand, slide the piston (4a) with its integral driver blade (4b) into the cylinder; the blade's free end (4c) runs down the nose to strike the nail.
이 단계의 재료:
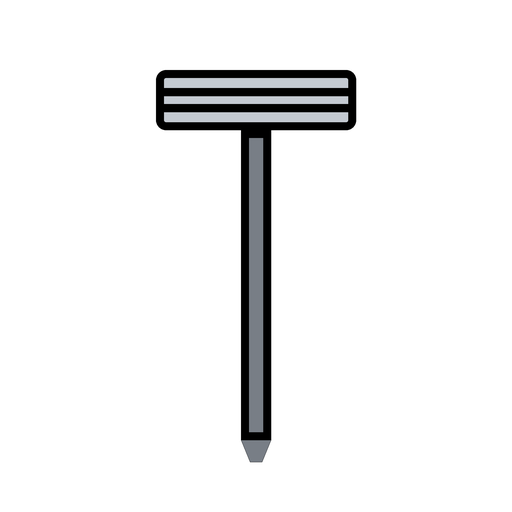 드라이버 피스톤1 개
4
4
Fit the main valve section
Fit the main valve section
Over the top of the cylinder fit the main valve rubber (27), the main valve (19) with O-rings (31, 32) sliding in the main valve chamber (8), the main valve spring (28) pushing it down, and the exhaust rubber (30) under the exhaust passage (29) to the top exhaust hole (49).
이 단계의 재료:
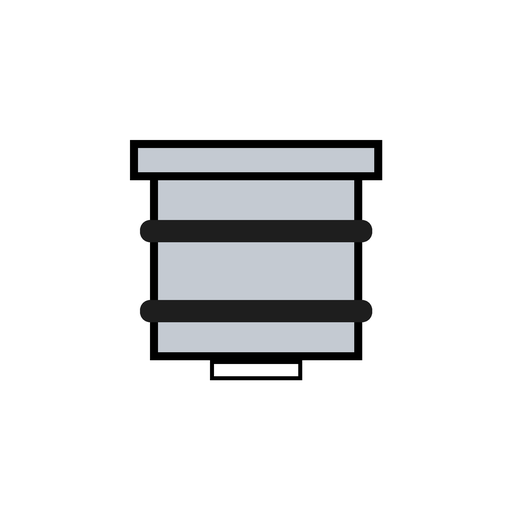 메인 밸브1 개
 밸브 시트 링2 개
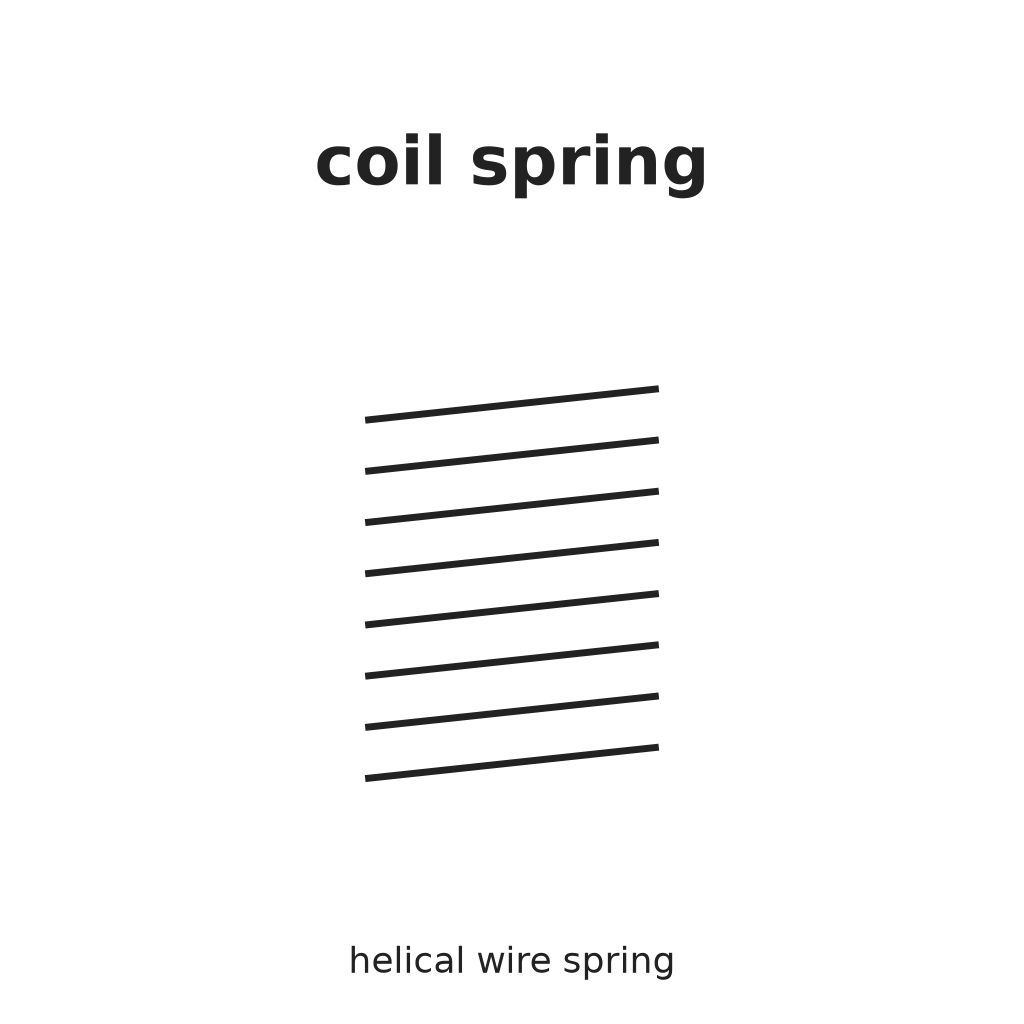 Coil Spring1 개
 O링2 개
필요한 도구:
멍키스패너5
5
Fit the trigger valve
Fit the trigger valve
At the base of the handle fix an outer and an inner valve bush (10, 11). Inside them fit the valve piston (9) and the plunger (7), with a spring (12) between them pushing the piston up and the plunger down, and O-rings 15, 17, 18, 21, 23, 24, 25. Join it to the main valve chamber by the control channel (40), a tube with a gentle bend.
이 단계의 재료:
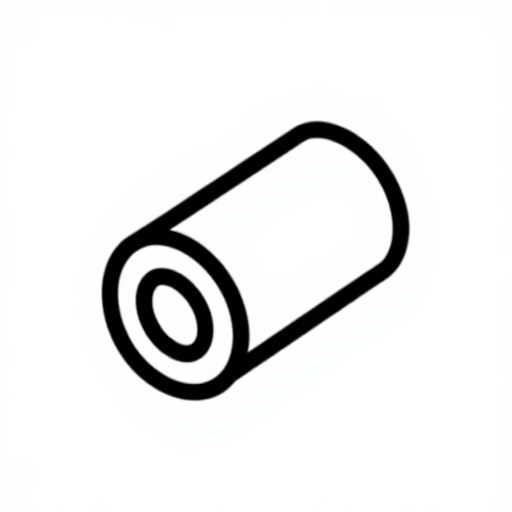 밸브 부시2 개
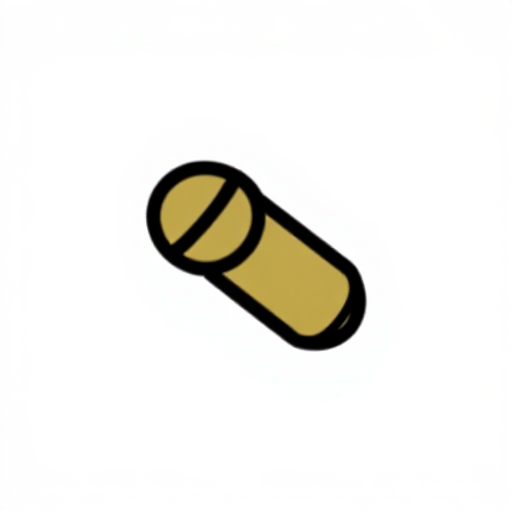 밸브 피스톤1 개
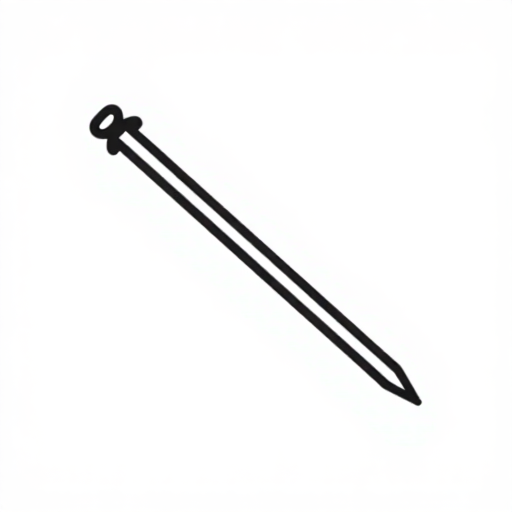 밸브 스템1 개Coil Spring1 개O링7 개
필요한 도구:
멍키스패너6
6
Fit trigger, arm plate and push lever
Fit trigger, arm plate and push lever
Fit the trigger (39) with its pivoting arm plate (48) under the plunger, and the push lever (42) sprung out from the nose bottom. Only with both pulled and pressed does the arm plate push the plunger up.
이 단계의 재료:
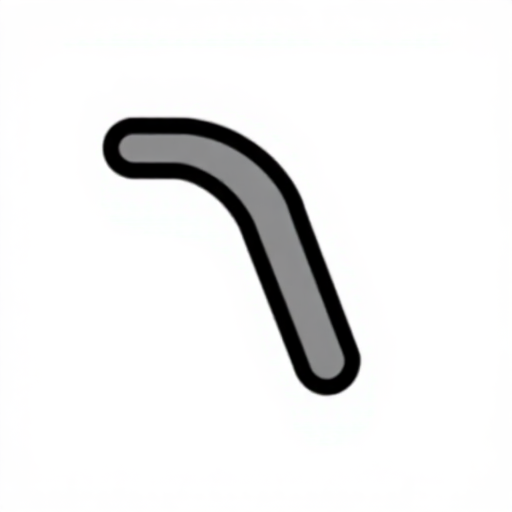 공구 방아쇠1 개
 접촉식 안전 레버1 개Coil Spring1 개
필요한 도구:
멍키스패너7
7
Fit the magazine and feeder
Fit the magazine and feeder
Fit the magazine (44), holding nails side by side, with the feed mechanism (45) that moves each next nail into the injection opening (46) in the nose.
이 단계의 재료:
 못 매거진1 개
 못 송급기1 개
필요한 도구:
멍키스패너8
8
Why the valve chambers are small
Why the valve chambers are small
Jupyter 노트북 불러오는 중…
9
9
Connect and fire
Connect and fire
Ours: connect an air hose from a compressor. At rest the stored air holds the main valve down and the piston up. Press the nose to the work and pull the trigger: the main valve lifts, the piston drives the nail, and the return-chamber air brings it back up.
필요한 도구:
 공기 압축기
 에어 호스
재료
17- 1 개플레이스홀더
- 1 개플레이스홀더
- 1 개플레이스홀더
- 1 개플레이스홀더
- 1 개플레이스홀더
- 1 개플레이스홀더
- 1 개플레이스홀더
- 2 개플레이스홀더
- 3 개플레이스홀더
- 9 개플레이스홀더
- 2 개플레이스홀더
- 1 개플레이스홀더
- 1 개플레이스홀더
- 1 개플레이스홀더
- 1 개플레이스홀더
- 1 개플레이스홀더
- 1 개플레이스홀더
이 블루프린트로 만드는 것
CC0 퍼블릭 도메인
이 블루프린트는 CC0로 공개되었습니다. 어떤 목적으로든 자유롭게 복사, 수정, 배포 및 사용할 수 있습니다.
제품 구매를 통해 메이커를 지원하세요. 판매자가 설정한 메이커 커미션 을 받거나, 이 블루프린트의 새로운 반복을 만들어 연결로 포함시킬 수 있습니다.