예술
뷰티 및 웰니스
공예
문화 및 역사
엔터테인먼트
환경
음식 및 음료
역공학
과학
스포츠
기술
웨어러블
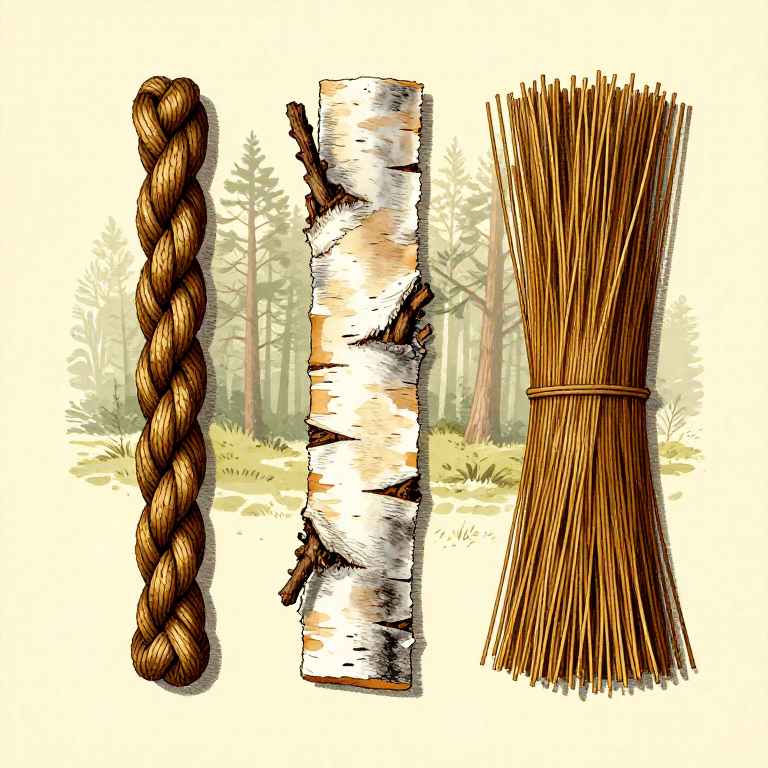


Making Rope from Inner Bark — Twisted Bast Fibre Cordage
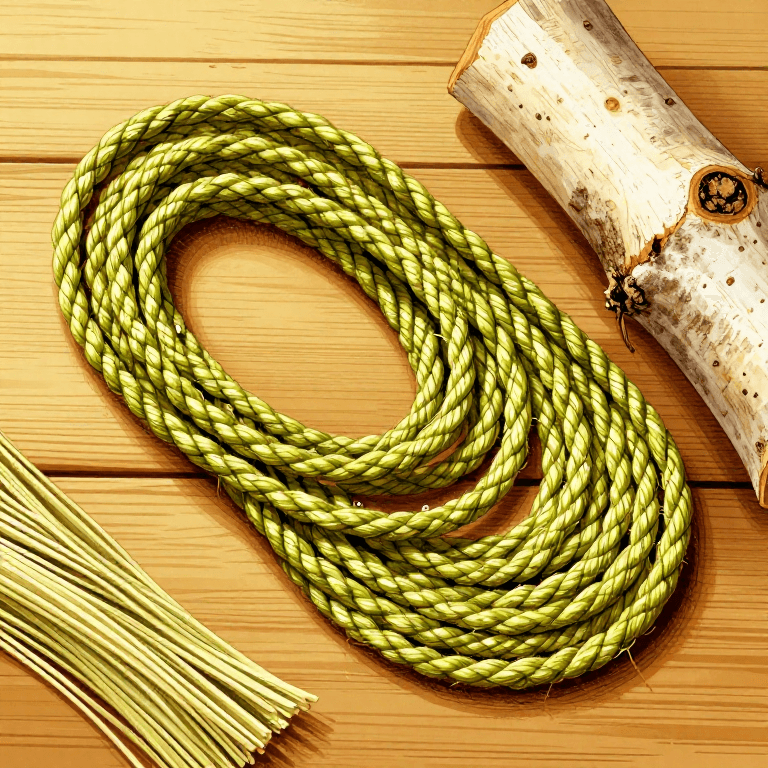
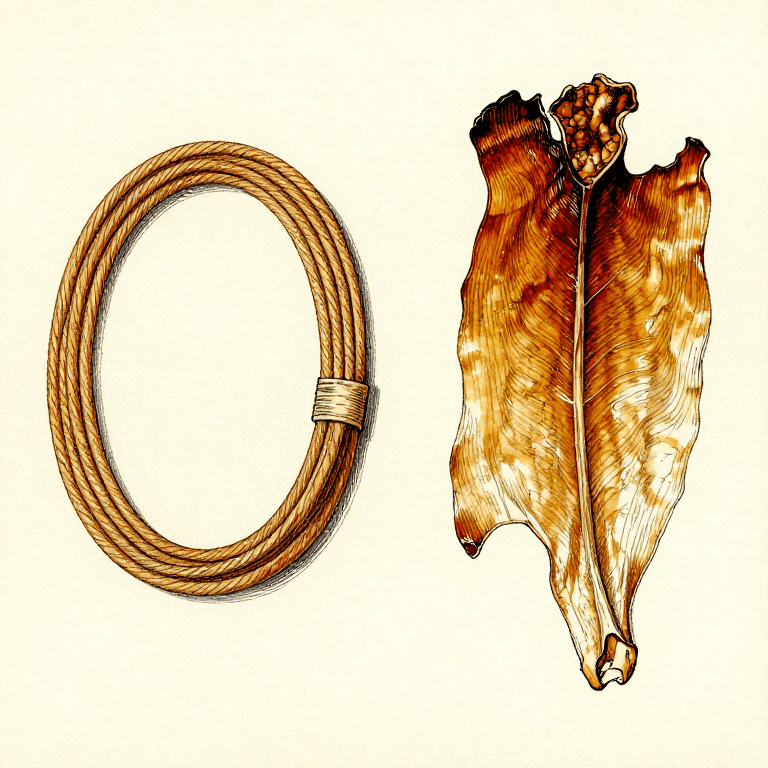
Inner bark (bast fibre) rope is one of the strongest cordage materials available in temperate forests. The inner bark of linden (basswood/lime), elm, willow, tulip poplar, and cedar contains long, tough cellulose fibres that can be separated by soaking and then twisted into rope of remarkable tensile strength. Archaeological evidence of bark-fibre cordage dates to at least 50,000 years ago — twisted plant fibres found at Abri du Maras in France were made by Neanderthals. The process involves stripping the inner bark, retting (soaking to loosen fibres), separating the fibre bundles, and reverse-twist plying them into two-ply or three-ply cord. Fresh bark produces serviceable emergency cordage immediately; retted bark produces finer, stronger, more flexible rope.
중급
2-3 hours
안내
1
1
Select a Branch or Young Trunk
Select a Branch or Young Trunk
Choose a living branch or young trunk of linden (basswood), elm, or willow, 5 to 10 cm in diameter. Spring is the best season for bark harvesting because the sap is flowing and the bark peels easily from the wood. Linden produces the longest, strongest fibres and has been the premier bast-fibre source in Europe and North America for millennia. Elm and willow are good alternatives where linden is unavailable.
이 단계의 재료:
 경목 어린나무1 개
2
2
Score the Bark Lengthwise
Score the Bark Lengthwise
Using a sharp flint blade, score a straight line along the full length of the branch, cutting through both the outer bark and into the inner bark layer beneath. Make a second score line on the opposite side of the branch. The two score lines divide the bark into two half-cylinders that can be peeled away from the wood.
필요한 도구:
 부싯돌 칼
부싯돌 칼3
3
Peel the Bark in Long Strips
Peel the Bark in Long Strips
Work a finger or flat stick under the bark at one end and peel it away from the wood in long strips. If harvesting in spring, the bark should separate cleanly with moderate pressure. If it resists, tap along the score lines with a mallet to loosen the bark from the wood. Peel slowly and evenly to avoid tearing the strips short — longer strips make longer rope with fewer splices.
4
4
Separate Inner Bark from Outer Bark
Separate Inner Bark from Outer Bark
Each bark strip has two layers: the rough, dark outer bark and the smooth, pale inner bark (bast layer). Peel or scrape the inner bark away from the outer bark. The inner bark is the fibre you need — it is smooth, flexible, and composed of long parallel cellulose fibres. The outer bark is brittle and useless for cordage. Discard it or set aside for use as tinder.
5
5
Soak the Inner Bark Strips (Retting)
Soak the Inner Bark Strips (Retting)
Submerge the inner bark strips in still or slow-moving water — a pond, ditch, or bucket. Weigh them down with stones to keep them submerged. Leave for 1 to 3 weeks. During retting, bacteria and fungi break down the pectins that bind the cellulose fibres together, allowing individual fibre bundles to separate. The water will turn dark brown and smell foul — this is normal and indicates the retting is progressing.
6
6
Test Readiness of the Retted Bark
Test Readiness of the Retted Bark
After 1 to 3 weeks, pull out a strip and rub it between your fingers. If the fibres separate easily into fine strands, the retting is complete. If the bark still feels like a solid sheet, return it to the water for another few days. Over-retting weakens the fibres — if they feel mushy or break when pulled, the bark has been soaked too long. In warm weather retting is faster (7 to 10 days); in cold water it can take 3 weeks or more.
7
7
Pull Apart Retted Bark into Thin Strips
Pull Apart Retted Bark into Thin Strips
Remove the retted bark from the water and pull it apart into thin fibre strips. Work along the grain of the fibres, separating bundles by hand. Each strip should be roughly 2 to 4 mm wide — thin enough to twist easily but thick enough to contribute strength. Rinse the separated fibres in clean water to remove residual retting slime and debris.
8
8
Partially Dry the Fibres
Partially Dry the Fibres
Spread the separated fibres on a clean surface in the shade and let them dry until they feel leathery — damp but not wet, flexible but not limp. Fully dry fibres are brittle and hard to twist; fully wet fibres are slippery and do not grip each other well during twisting. The leathery stage is the ideal working moisture for cordage making.
9
9
Fold a Bundle of Fibres in Half
Fold a Bundle of Fibres in Half
Take a bundle of 4 to 6 fibre strips and fold the bundle at its midpoint, creating a loop at the fold. This loop becomes the starting eye of the rope. Pinch the fold between your thumb and forefinger — the two legs of the bundle hanging below your fingers are the two plies that you will twist into rope.
10
10
Begin Reverse-Wrap Twisting
Begin Reverse-Wrap Twisting
Hold the fold point between the thumb and forefinger of one hand. With the other hand, twist the front ply clockwise (away from you) until it kinks slightly. Then wrap this twisted ply counter-clockwise (toward you) over the back ply, so the two plies swap positions. Now twist the new front ply clockwise and wrap it counter-clockwise over the back ply. Repeat this rhythm — twist clockwise, wrap counter-clockwise — working your way down the fibres. The opposing twist directions lock the plies together so the rope does not unravel.
11
11
Splice New Fibres as You Go
Splice New Fibres as You Go
Before a ply runs out of fibre, lay a new bundle of strips alongside the thinning ply with 5 to 8 cm of overlap. Continue twisting — the new fibres are trapped by the twist and become part of the ply. Stagger splices so that both plies are never spliced at the same point — simultaneous splices create a weak spot. A well-spliced rope shows no visible joint and is nearly as strong as the surrounding rope.
12
12
Finish with an Overhand Knot
Finish with an Overhand Knot
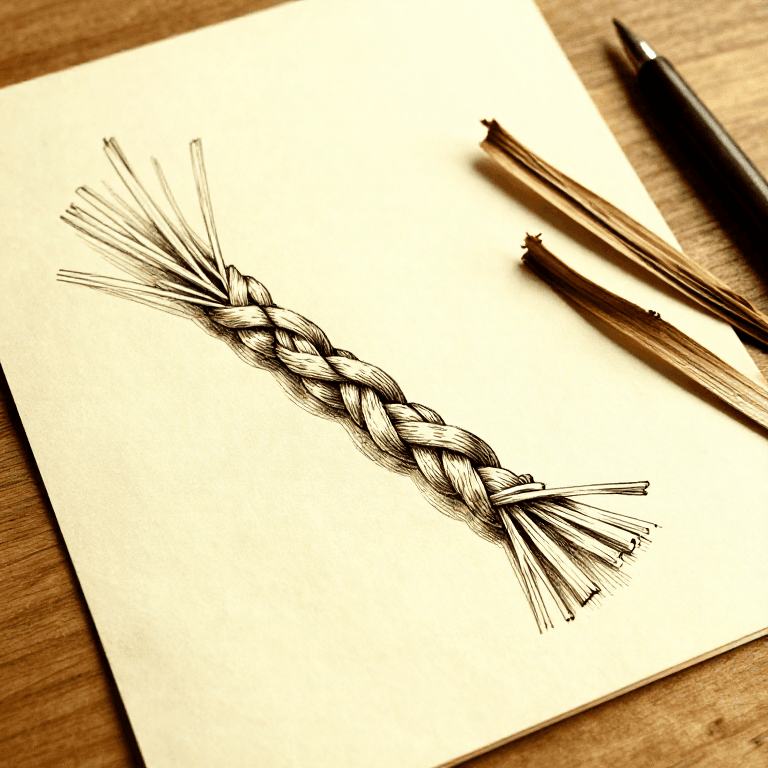
Continue twisting and plying to the desired length. To finish, tie a simple overhand knot at the end to prevent the plies from unravelling. For a more secure finish, reverse the twist direction for the last 5 cm and tuck the ends back into the rope body. Test the finished rope by pulling it taut between your hands — well-made bast-fibre rope should hold 20 to 40 kg of tension without breaking, depending on diameter and fibre quality.

이 블루프린트로 만드는 것
관련 블루프린트
이 블루프린트들은 지식을 공유합니다 — 기술, 재료 또는 원리

CC0 퍼블릭 도메인
이 블루프린트는 CC0로 공개되었습니다. 어떤 목적으로든 자유롭게 복사, 수정, 배포 및 사용할 수 있습니다.
제품 구매를 통해 메이커를 지원하세요. 판매자가 설정한 메이커 커미션 을 받거나, 이 블루프린트의 새로운 반복을 만들어 연결로 포함시킬 수 있습니다.