예술
뷰티 및 웰니스
공예
문화 및 역사
엔터테인먼트
환경
음식 및 음료
그린 퓨처
역공학
과학
스포츠
기술
웨어러블
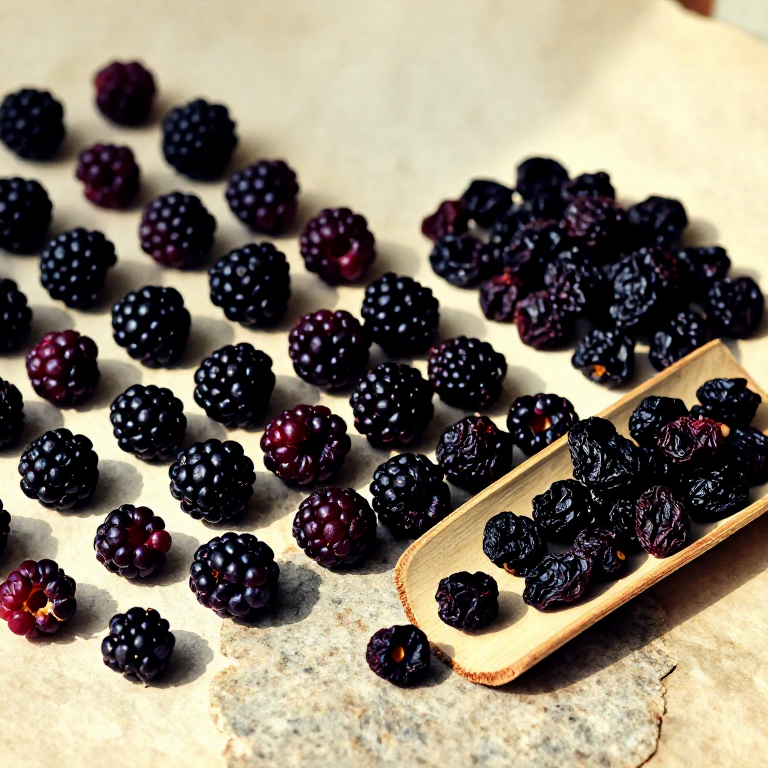
Drying Berries and Fruits in the Sun — Prehistoric Food Preservation
Drying berries and fruits in the sun or near a fire is one of the simplest and oldest food preservation methods known to humanity, practiced on every inhabited continent since the Paleolithic era. The principle is straightforward: removing moisture inhibits the bacteria, yeasts, and moulds that cause spoilage. Fresh berries contain 75 to 90 percent water by weight; drying reduces this to 10 to 20 percent, at which point microbial growth essentially stops. Dried berries lose approximately 80 percent of their weight, making them extraordinarily portable — a small leather pouch of dried blueberries contains the caloric equivalent of a much larger basket of fresh fruit. Crucially, drying preserves most vitamins (particularly vitamin C in rose hips, which retains 50 to 70 percent of its content when sun-dried) and concentrates sugars, making the dried fruit a dense energy source. Different berries require different drying approaches: thin-skinned berries like elderberries and blueberries dry well in direct sun over 2 to 3 days, while thicker-skinned fruits like rose hips and hawthorn berries benefit from being split open first to expose the flesh. In humid climates where sun-drying is unreliable, smoke-drying near a low fire provides the necessary warm, moving air. Properly dried berries stored in bark containers or leather pouches remain edible for months to years. This blueprint covers sun-drying and fire-drying techniques for the most common wild berries and fruits available to prehistoric foragers.
초급
1-3 days
안내
1
1
Select and Harvest Ripe Berries
Select and Harvest Ripe Berries
Gather fully ripe berries at peak ripeness — underripe berries are too acidic and lack sufficient sugar for good preservation, while overripe berries are already beginning to ferment and will spoil during drying. Suitable wild berries for drying include blueberries, elderberries, rose hips, hawthorn berries, juniper berries, cranberries, and serviceberries (saskatoon). Harvest in the morning after dew has evaporated but before the midday heat softens the fruit. Handle gently to avoid crushing, which accelerates spoilage.
이 단계의 재료:
 Fresh Ripe Berries2 kg
2
2
Clean and Sort the Berries
Clean and Sort the Berries
Remove leaves, stems, insects, and any berries that are mouldy, bruised, or bird-pecked. Rinse briefly in clean water to remove dust and surface debris, then spread on a bark tray or flat stone to drain. Do not soak — prolonged water contact initiates fermentation. Sort by size: smaller berries dry faster than larger ones, and mixing sizes results in uneven drying where large berries remain damp while small ones over-dry.
3
3
Prepare a Flat Drying Surface
Prepare a Flat Drying Surface
Choose a broad, flat stone slab in direct sunlight, or lay out sheets of bark on a slightly elevated surface. The drying surface must be clean, dry, and positioned where it receives maximum sun exposure throughout the day — ideally south-facing (in the northern hemisphere) with no shade from midday onward. Elevating the surface slightly on stones or logs improves air circulation underneath, which speeds drying. If insects are a problem, a drying rack (a wooden frame with a grid of thin sticks) elevates the berries further and allows air to circulate on all sides.
이 단계의 재료:
 Flat Stone Slab1 개
4
4
Prepare Thick-Skinned Berries by Splitting
Prepare Thick-Skinned Berries by Splitting
Rose hips, hawthorn berries, and other thick-skinned or large fruits should be cut in half or scored with a flint blade before drying. This exposes the moist interior flesh directly to air and sun, dramatically reducing drying time. Remove the seeds and hairy pith from rose hips — the fine hairs inside can irritate the throat if eaten. Small, thin-skinned berries like blueberries and elderberries can be dried whole without splitting.
필요한 도구:
 Flint Knife
5
5
Spread Berries in a Single Layer
Spread Berries in a Single Layer
Spread the berries in a single layer on the drying surface with space between each berry — they should not touch or overlap. Berries touching each other trap moisture between them, creating pockets where mould can start. For small berries like elderberries, spread them as evenly as possible. The layer should be no more than one berry deep across the entire surface.
6
6
Turn the Berries Regularly
Turn the Berries Regularly
Turn each berry or gently shake the tray to rotate them every 3 to 4 hours during daylight. This ensures all sides are exposed to direct sun and moving air. Berries sitting on one side for too long develop a moist underside that resists drying. For split fruits like rose hips, flip them from cut-side-up to skin-side-up at midday. The turning process also lets you identify and remove any berries that are beginning to mould or ferment (they will smell sour or look darkened and wet).
7
7
Bring Berries Under Cover at Night
Bring Berries Under Cover at Night
At sunset, move the drying tray under a shelter, overhang, or cover with bark sheets. Night dew and morning moisture will reverse hours of drying progress if the berries are left exposed. Relative humidity rises sharply after sunset, and dew point is often reached before dawn. Resume sun exposure as soon as morning dew has evaporated — typically 1 to 2 hours after sunrise.
8
8
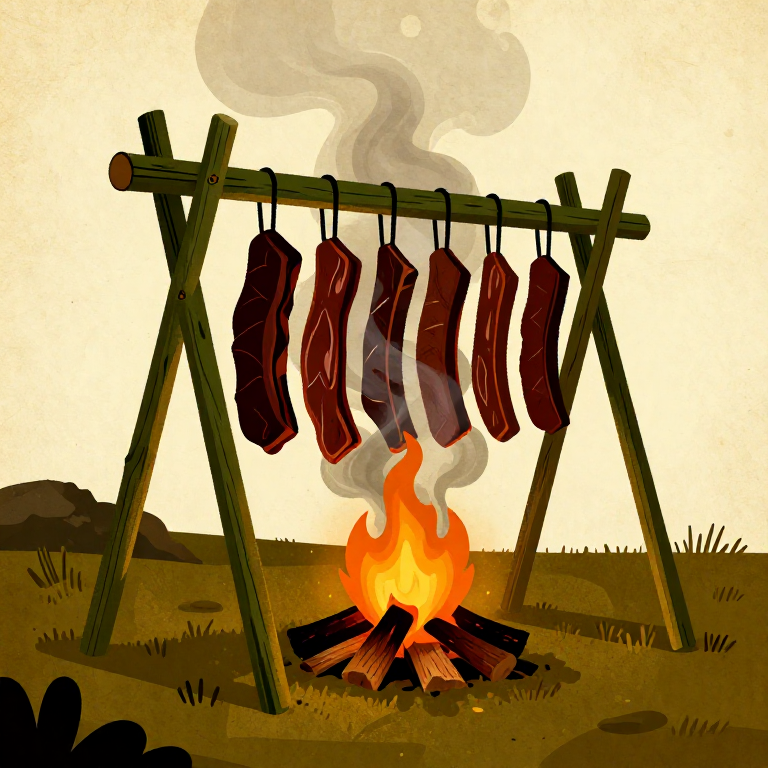
Smoke-Drying Alternative for Humid Climates
Smoke-Drying Alternative for Humid Climates
In humid climates where sun-drying is unreliable (coastal regions, forests, rainy seasons), use a low fire and drying rack instead. Build a small fire using hardwood that produces minimal smoke — or add aromatic wood like juniper or alder for a light smoke flavour. Position a drying rack 60 to 80 cm above the fire, high enough that the heat is warm but not cooking-hot (you should be able to hold your hand at rack height for 5 seconds comfortably). Spread berries on the rack in a single layer. The warm, rising air currents dry the berries in 8 to 12 hours. Turn every 2 hours. The fire should be barely smouldering — if berries are cooking or browning, the fire is too close or too hot.
9
9
Test for Complete Dryness
Test for Complete Dryness
Berries are properly dried when they meet these tests: they feel leathery and pliable, not hard or brittle (over-dried) or soft and squishy (under-dried). When squeezed firmly between thumb and forefinger, no moisture should appear on the surface. When torn or cut open, the interior should look dry with no visible moisture or sticky juice. A handful dropped onto a hard surface should produce a light rattling sound. Blueberries will resemble raisins; rose hips will be dark, wrinkled, and firm; elderberries will be tiny, hard, and dark purple-black.
10
10
Condition the Dried Berries
Condition the Dried Berries
After drying, pile all the berries together in a bark container and cover loosely for 2 to 3 days, shaking once daily. This conditioning step equalises the remaining moisture — slightly damper berries absorb moisture from the air while drier ones release it, resulting in a uniformly dried batch. If condensation appears on the inside of the container during conditioning, the berries need more drying time — spread them out in the sun again for another half day.
11
11
Store in Sealed Containers
Store in Sealed Containers
Transfer conditioned berries to storage containers that protect from moisture, insects, and rodents. Birch bark containers with fitted lids, tightly stitched leather pouches, or sealed gourd vessels all work well. Store in the coolest, driest location available — a shaded area with good ventilation, elevated off the ground. Properly dried and stored berries keep for 6 months to over a year. Dried berries can be eaten as-is, rehydrated in water for cooking, ground into powder and mixed into pemmican, or steeped in hot water to make tea (especially rose hips, which are rich in vitamin C).
재료
2- 플레이스홀더
- 플레이스홀더
필요 도구
1- 플레이스홀더
연결된 블루프린트 재료
관련 블루프린트
이 블루프린트들은 지식을 공유합니다 — 기술, 재료 또는 원리
Building a Food Drying Rack — Sun and Wind Preservation FrameTheChef 작성
Processing Acorns for Food — Leaching Tannins from the Universal Tree NutTheChef 작성
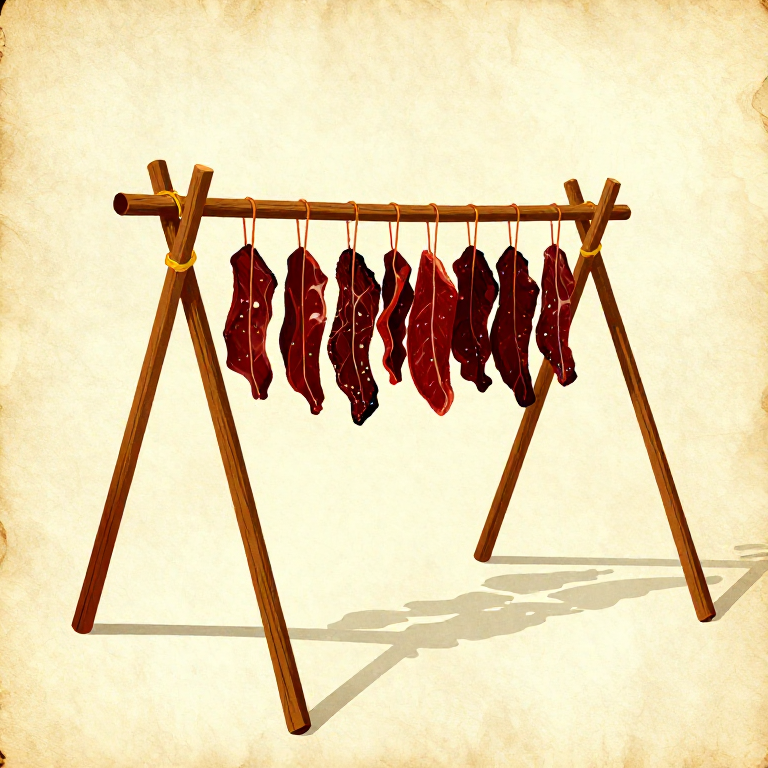
Drying and Smoking Meat over a Fire — Prehistoric Food PreservationTheChef 작성
Elderberry Syrup for Immune Support — The Ancient Berry That Fights Colds and FluBob 작성
Related blueprints
Other builds that share materials, tools, or techniques with this one.
Drying and Smoking Meat over a Fire — Prehistoric Food Preservationcooking
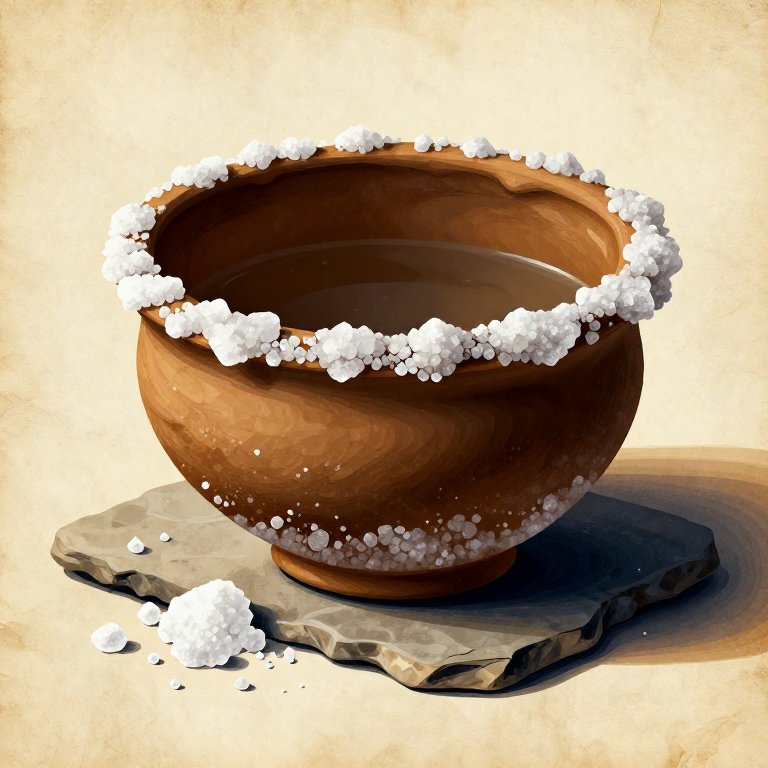
Extracting Salt from Seawater by Boiling — Prehistoric Salt Productioncooking
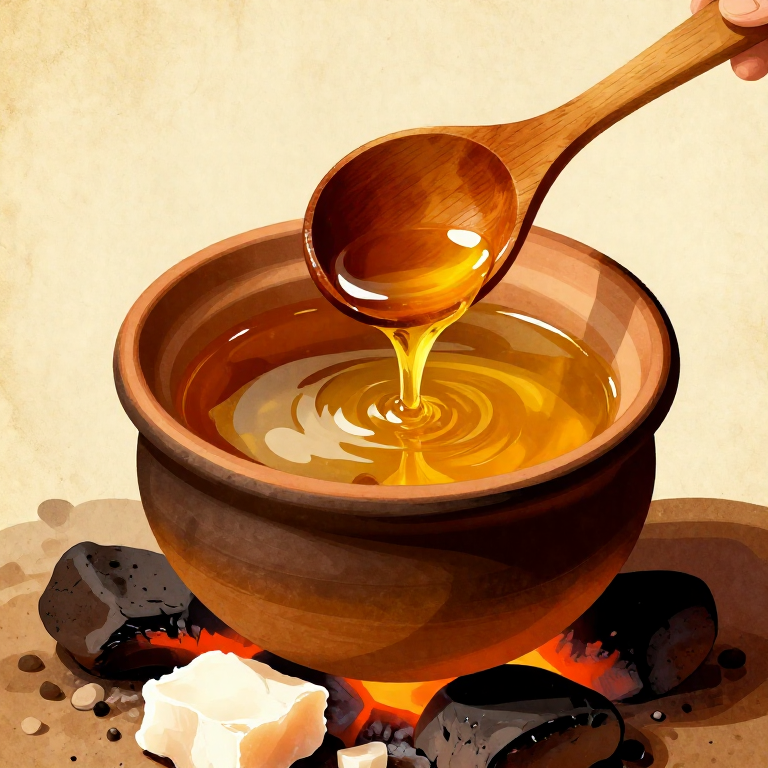
Rendering Animal Fat into Tallow by Hot-Stone Boiling — Prehistoric Fat Processingcooking
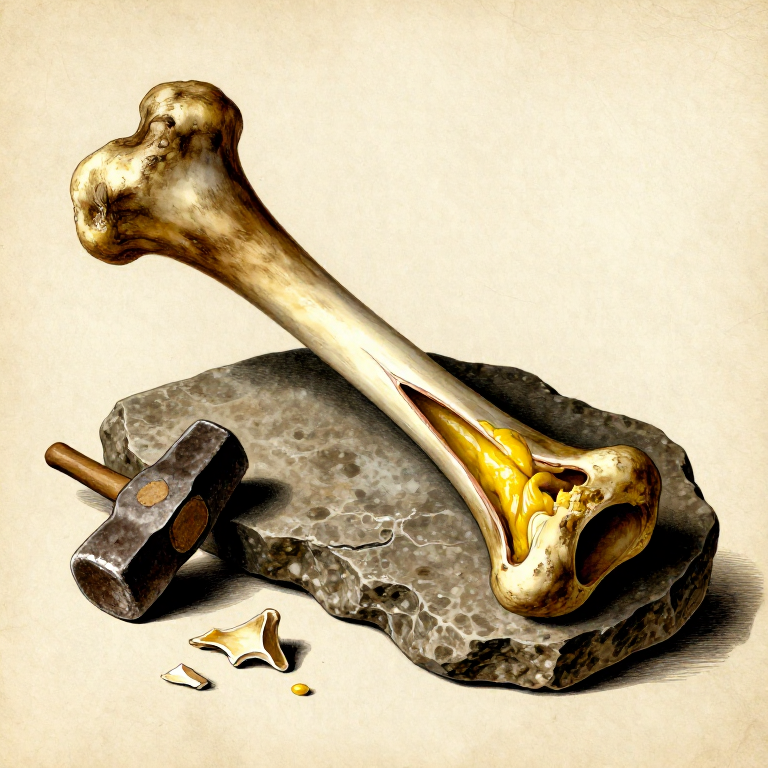
Extracting Bone Marrow by Percussion Splitting — Prehistoric Calorie-Dense Food Processingcooking
Building a Food Drying Rack — Sun and Wind Preservation Framecooking
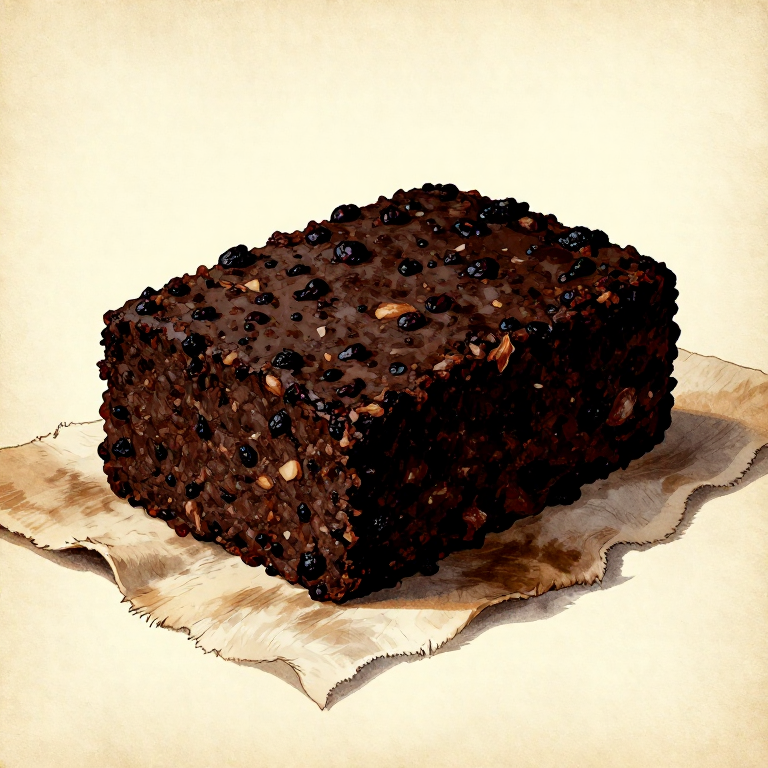
Making Pemmican — Concentrated Survival Food from Dried Meat and Fatcooking
CC0 퍼블릭 도메인
이 블루프린트는 CC0로 공개되었습니다. 어떤 목적으로든 자유롭게 복사, 수정, 배포 및 사용할 수 있습니다.
제품 구매를 통해 메이커를 지원하세요. 판매자가 설정한 메이커 커미션 을 받거나, 이 블루프린트의 새로운 반복을 만들어 연결로 포함시킬 수 있습니다.