예술
뷰티 및 웰니스
공예
문화 및 역사
엔터테인먼트
환경
음식 및 음료
그린 퓨처
역공학
과학
스포츠
기술
웨어러블
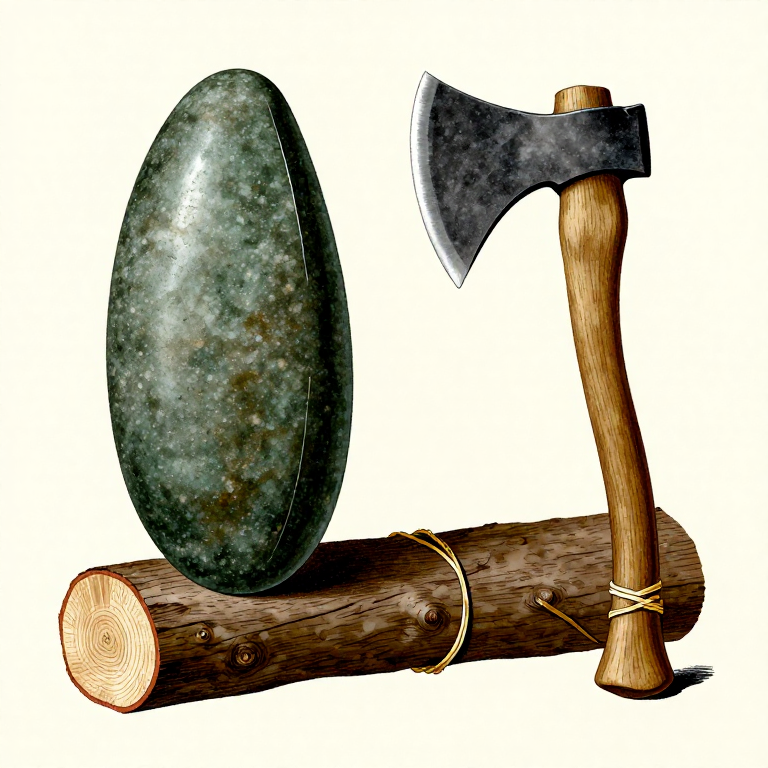
Making a Hammerstone — The First Tool in Human History
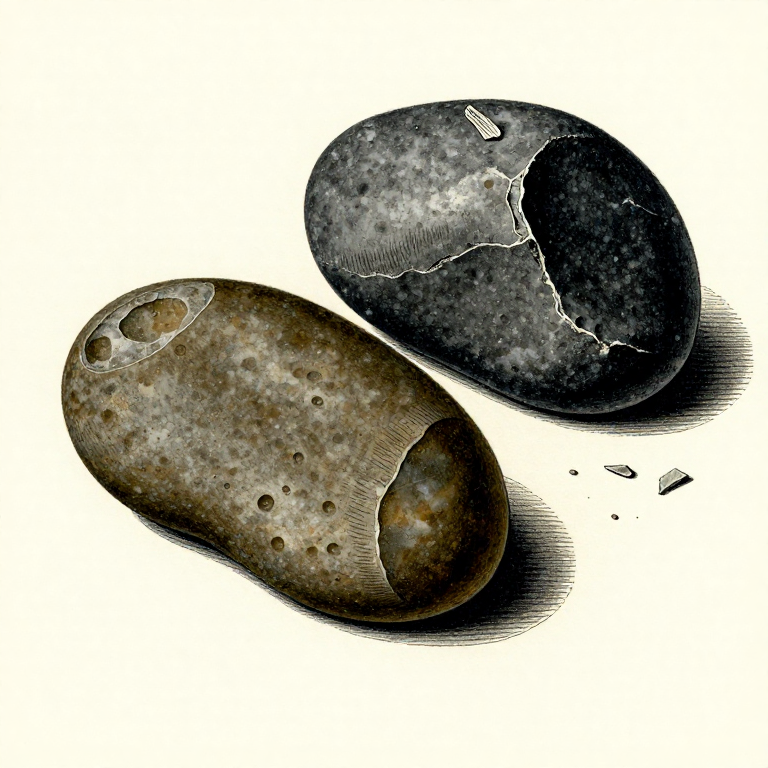
The hammerstone is the oldest and most fundamental tool ever created — a dense, fist-sized stone selected and tested for use as a percussive instrument. Archaeological evidence from Lomekwi 3 in Kenya dates hammerstone use to 3.3 million years ago, predating our own species. Every subsequent stone tool — hand axes, scrapers, blades, points — requires a hammerstone to make. Selecting the right stone is not trivial: it must be harder than the material being struck, heavy enough to deliver force, small enough to control, free of internal fractures that would cause it to shatter, and shaped to fit the human grip. Quartzite, granite, basalt, and diabase are ideal because they combine hardness (Mohs 6-7), density, and fracture resistance. This blueprint teaches the complete selection, testing, and preparation process that turns a river cobble into humanity's most enduring tool.
초급
30 minutes
안내
1
1
Identify a Source of Dense Cobblestones
Identify a Source of Dense Cobblestones
Search riverbeds, gravel bars, glacial deposits, or exposed bedrock outcrops for smooth, rounded cobbles. River-tumbled stones are ideal because water erosion has already removed weak material and revealed structural flaws. Avoid quarry rubble or freshly fractured rock — internal stress fractures are invisible but will cause the stone to split under impact.
2
2
Select Stones of the Right Rock Type
Select Stones of the Right Rock Type
Look for quartzite, granite, basalt, or diabase — dense igneous and metamorphic rocks with Mohs hardness of 6 to 7. Quartzite is the classic hammerstone material: extremely hard, fine-grained, and fracture-resistant. Avoid sandstone (too soft, crumbles), limestone (too brittle), slate (splits along layers), and any stone with visible banding or foliation.
이 단계의 재료:
 River Rock5 개
3
3
Check Size and Weight
Check Size and Weight
A good hammerstone fits comfortably in one hand with the fingers wrapped around it. Aim for a stone 7 to 12 cm in diameter and 300 to 800 grams in weight. Too light and it cannot deliver enough force to detach flakes; too heavy and you lose control and tire quickly. The stone should feel balanced — its centre of gravity should sit naturally in your palm.
4
4
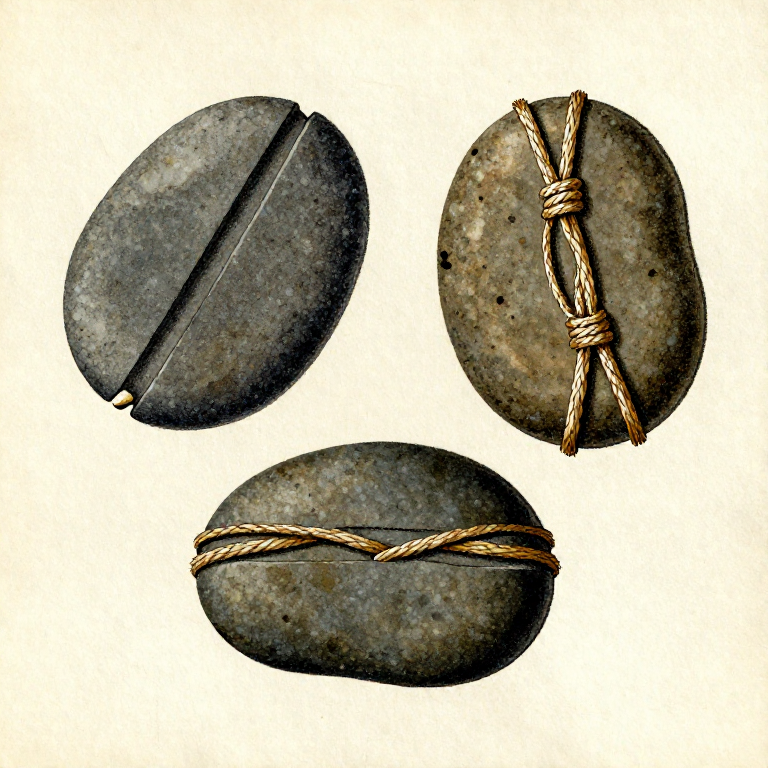
Assess the Shape
Assess the Shape
Choose an ovoid or roughly spherical stone — egg-shaped is ideal. The rounded profile provides multiple striking surfaces that can be rotated as they wear. Avoid flat discs (poor grip, concentrate force on edges) and angular stones (uncomfortable, unpredictable contact). A slight natural ridge or bump can serve as a guide for your index finger.
5
5
Perform the Ring Test for Internal Integrity
Perform the Ring Test for Internal Integrity
Hold the candidate stone loosely in your fingertips and tap it firmly with another hard stone. A sound hammerstone produces a clear, high-pitched ring or click. A dull thud or hollow tone indicates internal fractures, voids, or inclite grain boundaries that will cause the stone to split under repeated impact. Discard any stone that does not ring clearly.
6
6
Test Surface Hardness
Test Surface Hardness
Scratch the candidate stone against a piece of flint or chert. The hammerstone must be at least as hard as the material it will strike — if the flint scratches the hammerstone, it is too soft. Quartzite and granite will resist scratching by flint. The hammerstone does not need to be harder than flint, only hard enough to transmit percussive force without crumbling.
7
7
Check for Surface Cracks and Weathering
Check for Surface Cracks and Weathering
Inspect the entire surface under good light. Run your thumbnail across any suspicious lines — a true crack catches the nail, while a mineral vein or colour change does not. Reject stones with cracks longer than 2 cm, deep pitting, or flaky surfaces. Minor surface roughness is acceptable and actually improves grip.
8
8
Test the Grip
Test the Grip
Wrap your dominant hand around the stone as if you were about to hammer downward. Your fingers should close comfortably without strain, and the stone should not wobble or rotate in your grip. Try several grip positions — you will rotate the hammerstone during use as striking surfaces develop flat spots. Each grip should feel secure.
9
9
Perform a Test Strike on Expendable Material
Perform a Test Strike on Expendable Material
Find a piece of scrap flint, chert, or any hard stone you do not need. Deliver three to five moderate blows to its edge using your candidate hammerstone. Observe: does the hammerstone chip or flake on impact? If it loses material, it is too brittle. Does it bounce cleanly? Good. Does it deform or leave chalky residue? Too soft. A proper hammerstone transfers force without self-destructing.
10
10
Remove Any Protruding High Spots
Remove Any Protruding High Spots
If the selected stone has one or two sharp ridges or protruding knobs that interfere with grip, knock them off by striking them against a large anvil stone. Use controlled, angled blows — the goal is minor shaping, not aggressive reduction. A hammerstone does not need to be perfectly smooth, but it should not have edges that cut your hand during extended use.
필요한 도구:
 Flat Stone Slab
11
11
Abrade Rough Spots for Comfort
Abrade Rough Spots for Comfort
Rub the hammerstone against a coarse sandstone slab or gritty rock surface to smooth any areas that contact your palm and fingers. Focus on the grip zone — the middle band of the stone where your hand wraps around. This does not need to be polished; just remove sharp mineral crystals that would raise blisters during prolonged knapping sessions.
필요한 도구:
 Sandstone (Abrasive)
12
12
Mark Your Primary Striking Face
Mark Your Primary Striking Face
Identify the end of the stone you will strike with most often — typically the slightly more pointed or narrower end. Make a small ochre mark or scratch an X on the opposite end so you can orient the stone quickly by feel. Consistent use of the same striking face develops a controlled flat that becomes increasingly predictable for flake removal.
13
13
Learn to Read Wear Patterns
Learn to Read Wear Patterns
After your first knapping session, examine the striking surface. You will see a rough, pitted patch where stone-on-stone contact occurred. This wear pattern is normal and is the archaeological signature of a hammerstone. When the pitted area becomes too flat or smooth (reducing grip on the target stone), rotate the hammerstone 90 degrees to expose a fresh curved surface.
14
14
Understand When to Retire a Hammerstone
Understand When to Retire a Hammerstone
A hammerstone is spent when it has developed flat worn facets on all usable surfaces, when it has cracked and lost significant mass, or when it has become too small to grip securely. A well-chosen quartzite hammerstone can last through hundreds of knapping sessions. Keep retired hammerstones as anvil stones or grinding tools — they are still useful.
재료
1- 5 개플레이스홀더
필요 도구
2- 플레이스홀더
- 플레이스홀더
연결된 블루프린트 재료
관련 블루프린트
이 블루프린트들은 지식을 공유합니다 — 기술, 재료 또는 원리
Related blueprints
Other builds that share materials, tools, or techniques with this one.
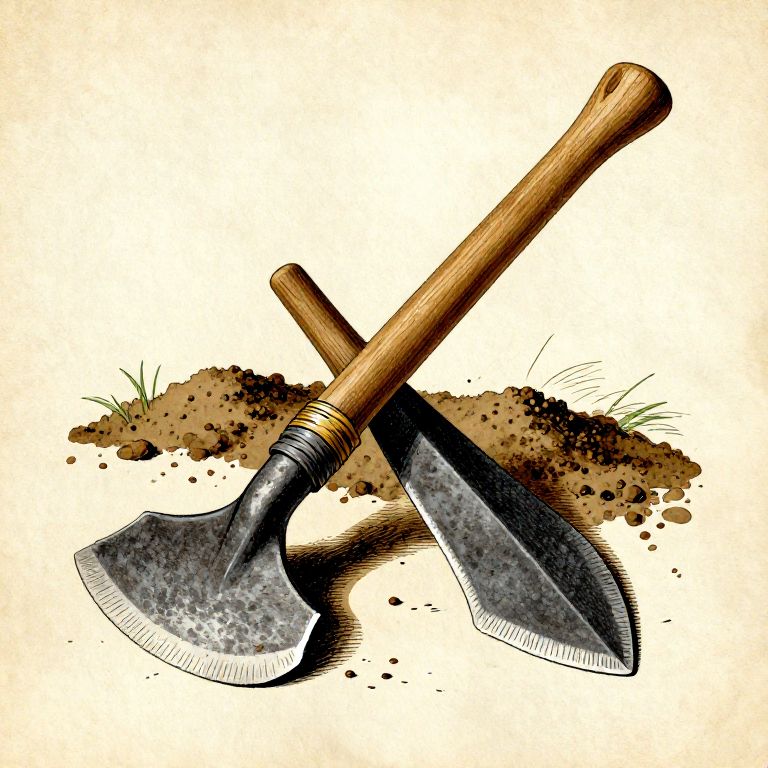
Making a Stone Hoe — The First Agricultural Toolstoneworking

Making a Stone Chisel — Splitting and Grooving Toolstoneworking
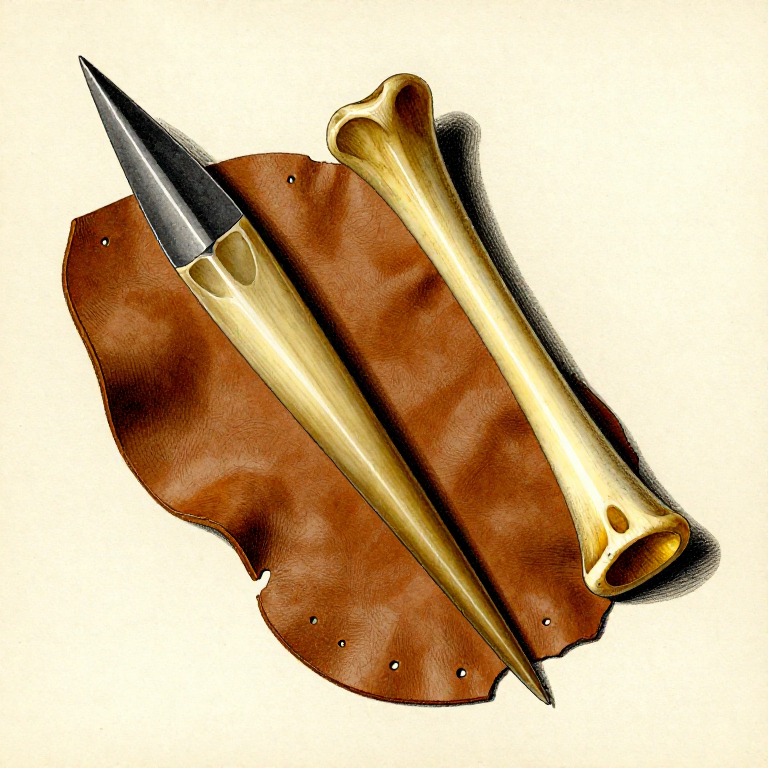
Making a Bone Awl — Piercing Tool for Sewing and Basketrystoneworking
Polishing a Neolithic Ground Stone Axe — The Tool That Cleared the Forestsstoneworking
Making Grooved Stone Net Sinkers — Weighted Stones for Fishing Netsstoneworking
Making a Stone Scraper for Hide Working — Conchoidal Flake Toolstoneworking
CC0 퍼블릭 도메인
이 블루프린트는 CC0로 공개되었습니다. 어떤 목적으로든 자유롭게 복사, 수정, 배포 및 사용할 수 있습니다.
제품 구매를 통해 메이커를 지원하세요. 판매자가 설정한 메이커 커미션 을 받거나, 이 블루프린트의 새로운 반복을 만들어 연결로 포함시킬 수 있습니다.