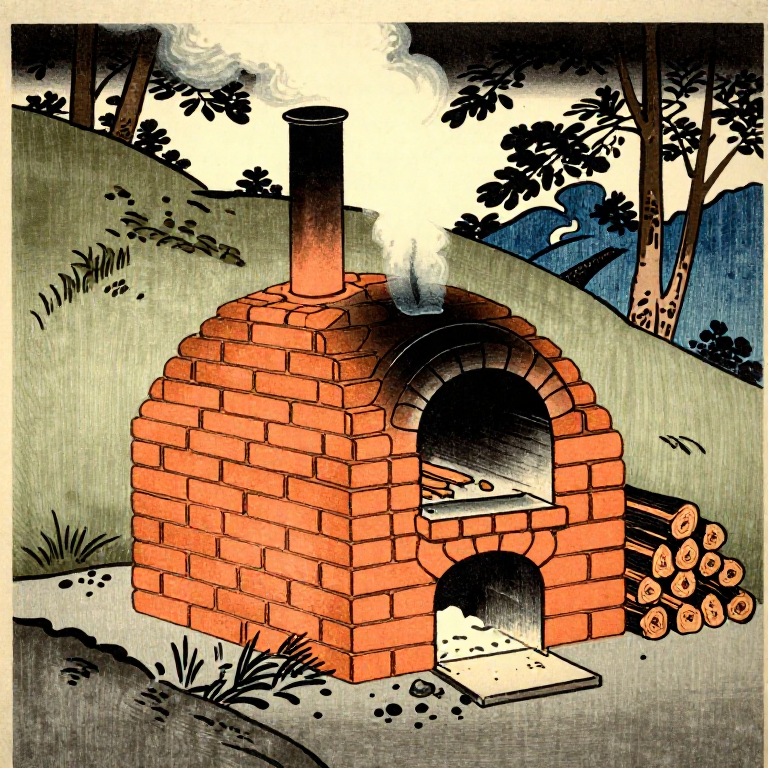
Building a Pit Kiln for Firing Pottery — Earth-Covered Open Firing
안내
Dig the Pit and Pre-Heat Vessels
Dig the Pit and Pre-Heat Vessels
Dig a shallow pit approximately 60-80 cm deep and 1 metre in diameter. The soil should be well-drained — waterlogged ground will produce steam that shatters pots. Before firing, all clay vessels must be completely bone-dry; any residual moisture will flash to steam and cause explosive fractures. Pre-heat vessels by placing them upside down around a small warming fire for 1-2 hours, gradually bringing them up to 100-150 degrees C. This drives out the last traces of chemically bound water.
이 단계의 재료:
 Grasslarge armful 개
 Earth or clay for coveringenough to cap the pit 개
필요한 도구:
 Digging Tool (Stone / Antler / Stick)
 Welding Fire Watch Kit
Layer the Fuel and Pottery
Layer the Fuel and Pottery
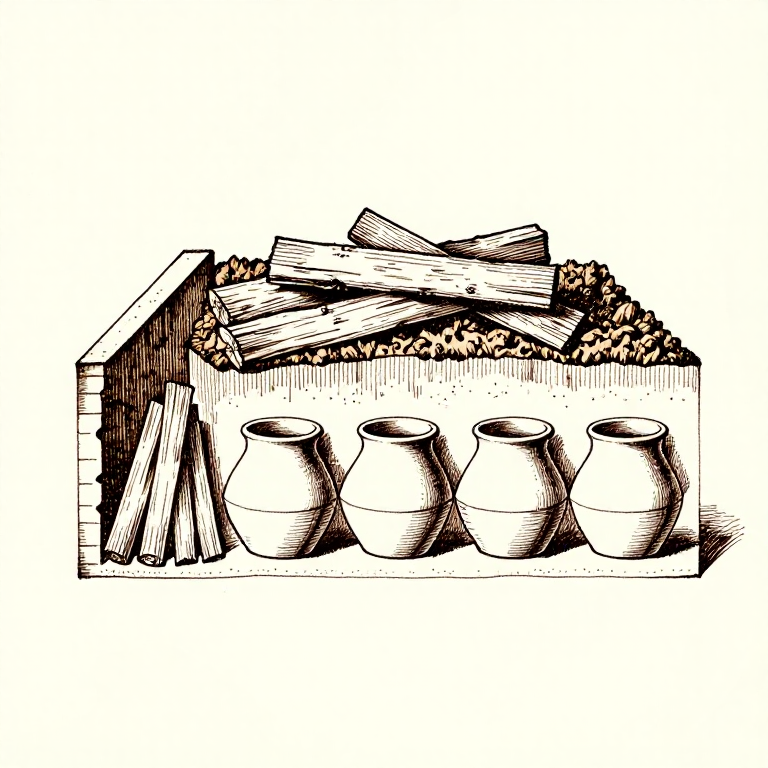
Line the bottom of the pit with a 10-15 cm bed of kindling and dry grass. Place the pre-heated vessels upside down or on their sides on top of this layer, leaving 5-10 cm gaps between each pot for air circulation. Nest smaller pots inside larger ones to save space. Fill the gaps and cover the pots with more fuel wood — split hardwood works best because it burns evenly and produces sustained heat. Build up layers until the wood rises 15-20 cm above the top of the tallest pot.
Light and Manage the Fire
Light and Manage the Fire
Light the kindling from the windward side so the breeze drives flames through the fuel bed. The fire will spread quickly through the dry grass and kindling, igniting the larger wood. At this stage, the firing is open — flames and heat rise freely. Let the fire burn vigorously for 30-45 minutes until the wood has collapsed into a bed of red-hot coals surrounding the pots. The pots will glow dull red to bright orange depending on temperature. Do not add large pieces of cold wood directly onto glowing pots — the thermal shock can crack them.
Cover and Hold Temperature
Cover and Hold Temperature
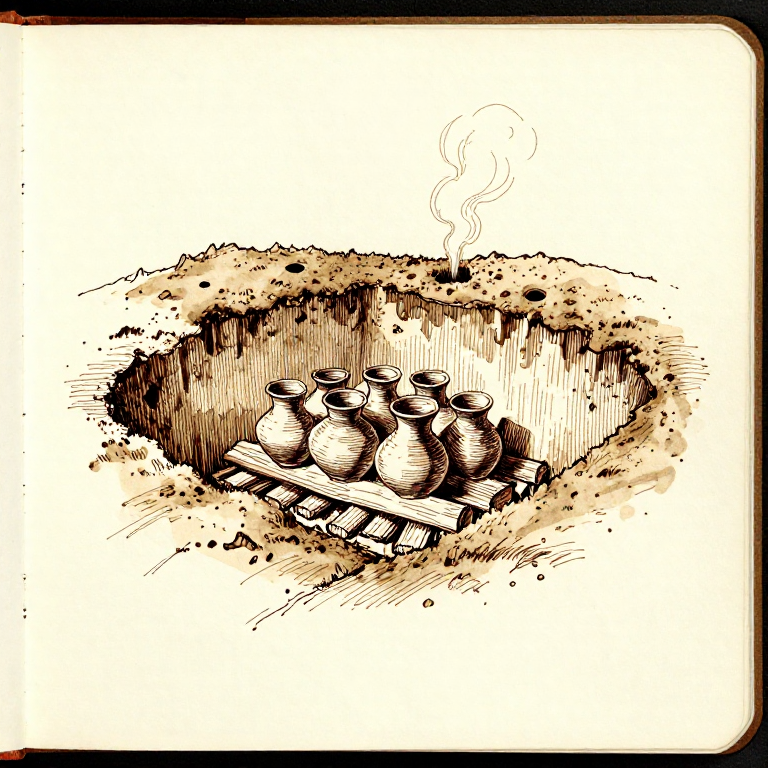
Once a thick coal bed has formed, cover the pit with a layer of earth, broken pottery shards (grog), or damp clay 5-10 cm thick. Leave 2-3 small vent holes to allow continued airflow. This covering traps heat and reduces the cooling rate, which prevents thermal shock cracking. The covered pit should smoulder for 3-5 hours. A well-sealed pit with adequate fuel reaches 700-900 degrees C — hot enough to convert clay minerals to ceramic through sintering. Smoke escaping from the vents is normal and indicates the fire is still active.
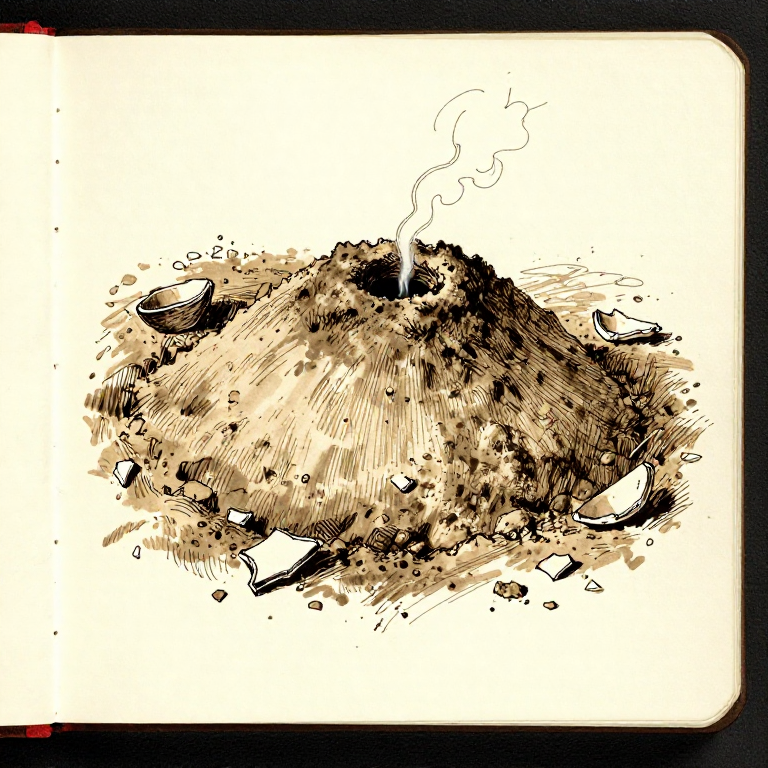
Cool and Retrieve Fired Pottery
Cool and Retrieve Fired Pottery
Allow the kiln to cool completely before uncovering — this takes 8-12 hours or overnight. Removing pots while still hot exposes them to rapid cooling that causes dunting (cracking from thermal stress). Once cool, carefully brush away the ash and earth. Successfully fired pots will ring when tapped with a knuckle, indicating the clay has fully sintered. Expect some breakage — even experienced pit-firers lose 10-20 percent of pots to cracking. Pots will have irregular colour patterns from variable oxygen exposure: dark patches where carbon was trapped (reduction) and orange-red where oxygen reached (oxidation).
재료
5- 5 kg 개플레이스홀더
- enough to cap the pit 개플레이스홀더
필요 도구
2- 플레이스홀더
Related blueprints
Other builds that share materials, tools, or techniques with this one.

CC0 퍼블릭 도메인
이 블루프린트는 CC0로 공개되었습니다. 어떤 목적으로든 자유롭게 복사, 수정, 배포 및 사용할 수 있습니다.
제품 구매를 통해 메이커를 지원하세요. 판매자가 설정한 메이커 커미션 을 받거나, 이 블루프린트의 새로운 반복을 만들어 연결로 포함시킬 수 있습니다.