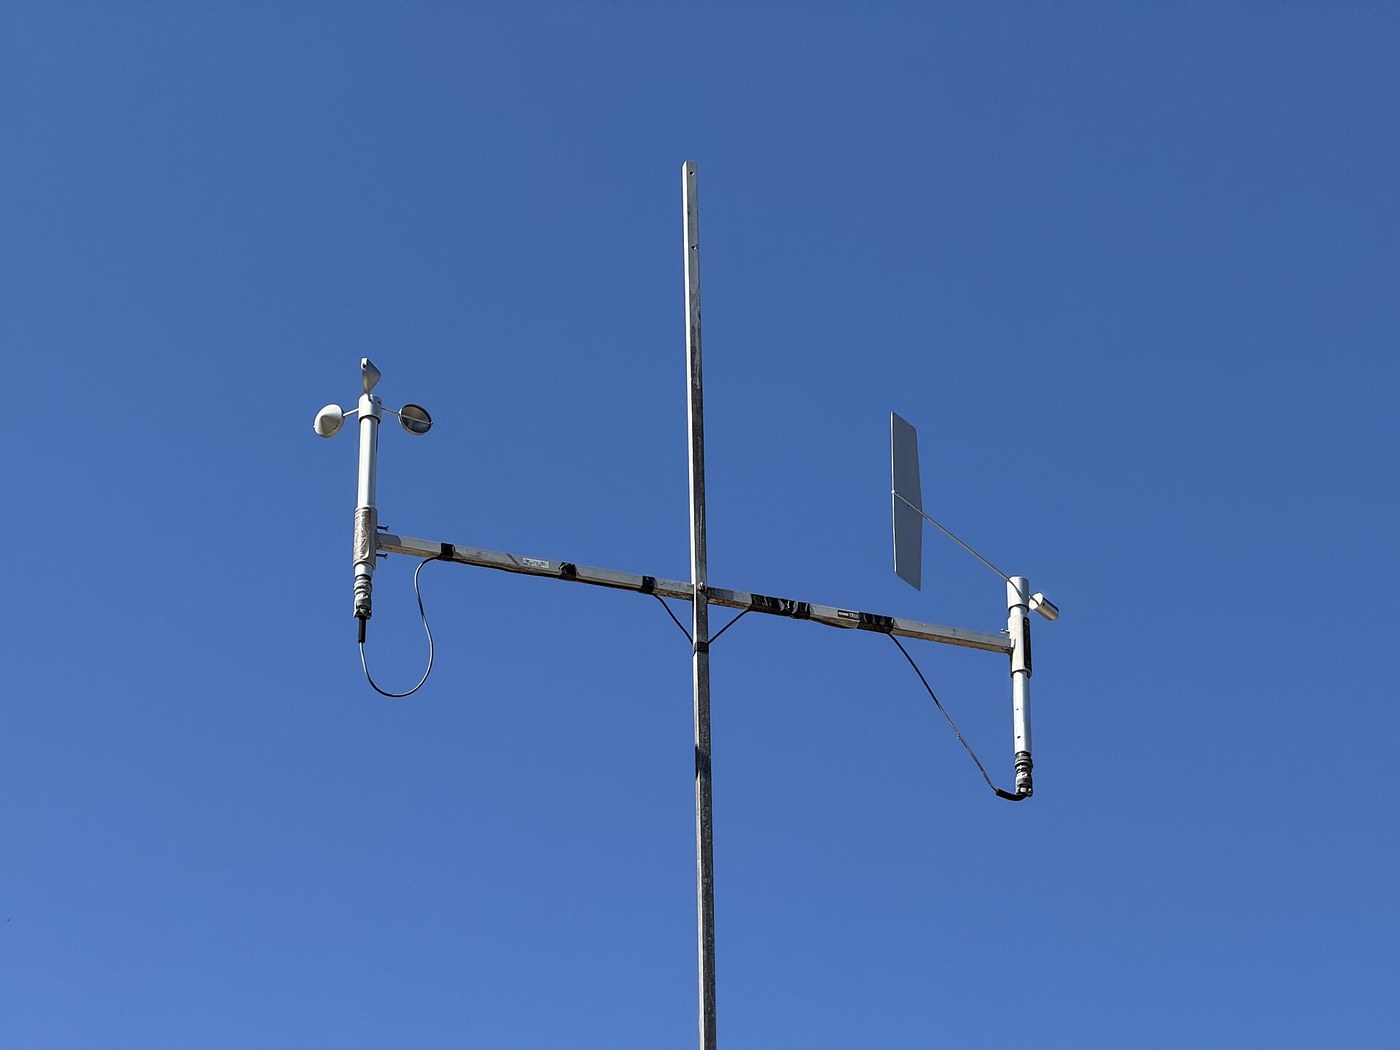


Robinson Cup Anemometer
안내
Feel the asymmetry
Feel the asymmetry
The whole instrument depends on one shape being draggier one way round.
- Hold a hemispherical cup — half a ball, a yoghurt pot — open side into a fan's airflow.
- Turn it around so the airflow hits the rounded back.
- Compare the push you feel.
Build the rotor
Build the rotor
Three cups, evenly spaced, all facing the same way round the axis.
- Fix three arms at 120 degrees on a hub that turns freely.
- Mount a cup at each end, ALL opening in the same rotational direction.
- Balance it so it does not favour any position at rest.
이 단계의 재료:
 발사 목재 판 모음1 팩
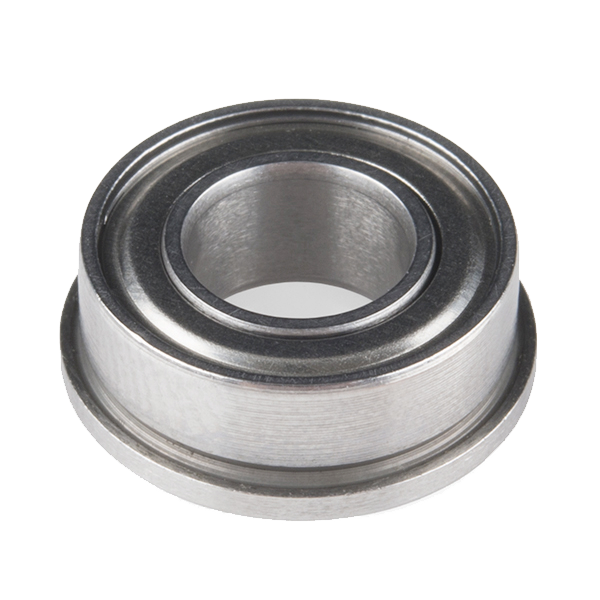 Ball Bearing - Flanged (6,35 mm Bore, 1,27 cm OD)2 개
Count revolutions against a known speed
Count revolutions against a known speed
An uncalibrated anemometer measures nothing. Give it a reference.
- Mark one arm so you can count turns.
- Expose it to a known airflow — a fan at a measured distance, or hold it from a moving vehicle at a steady speedometer reading.
- Count revolutions per minute at several known speeds.
이 단계의 재료:
 스톱워치1 개
Plot the calibration and find the offset
Plot the calibration and find the offset
Plot RPM against wind speed and read the line.
- Plot your points.
- They should lie close to a straight line.
- Extend the line back to zero RPM.
이 단계의 재료:
 각도기1 개
History and context
History and context
Thomas Romney Robinson (1792-1882) directed Armagh Observatory for nearly sixty years and described his four-cup anemometer in 1846. It spread quickly because it needed no wind vane, had one moving part, and would run unattended in weather that destroyed more delicate instruments.
His factor of three was wrong, and the correction is the interesting part. Robinson held that the cups always moved at one third of the wind speed regardless of the instrument's dimensions. Later testing — notably in wind tunnels toward the end of the century — showed the ratio depends on cup size, arm length and friction, and is generally nearer 2 to 2.5 for typical designs. An instrument whose calibration is assumed from theory rather than measured will be confidently wrong, and a century of wind records had to be re-examined because of it.
Earlier attempts go back a long way: Leon Battista Alberti described a swinging-plate anemometer around 1450, where wind deflects a hinged plate against gravity. It works, but it must face the wind and it responds non-linearly. Robinson's rotating design removed both problems.
Still in service. Cup anemometers remain the standard for wind resource assessment because they are robust, cheap and well understood — a wind farm's feasibility is normally judged on a year or more of cup anemometer data. Ultrasonic sensors with no moving parts are increasingly used alongside them, especially where light winds or icing matter.
재료
4- 1 팩플레이스홀더
- ₩33
- 1 개플레이스홀더
- 1 개플레이스홀더
이 블루프린트로 만드는 것

CC0 퍼블릭 도메인
이 블루프린트는 CC0로 공개되었습니다. 어떤 목적으로든 자유롭게 복사, 수정, 배포 및 사용할 수 있습니다.
제품 구매를 통해 메이커를 지원하세요. 판매자가 설정한 메이커 커미션 을 받거나, 이 블루프린트의 새로운 반복을 만들어 연결로 포함시킬 수 있습니다.