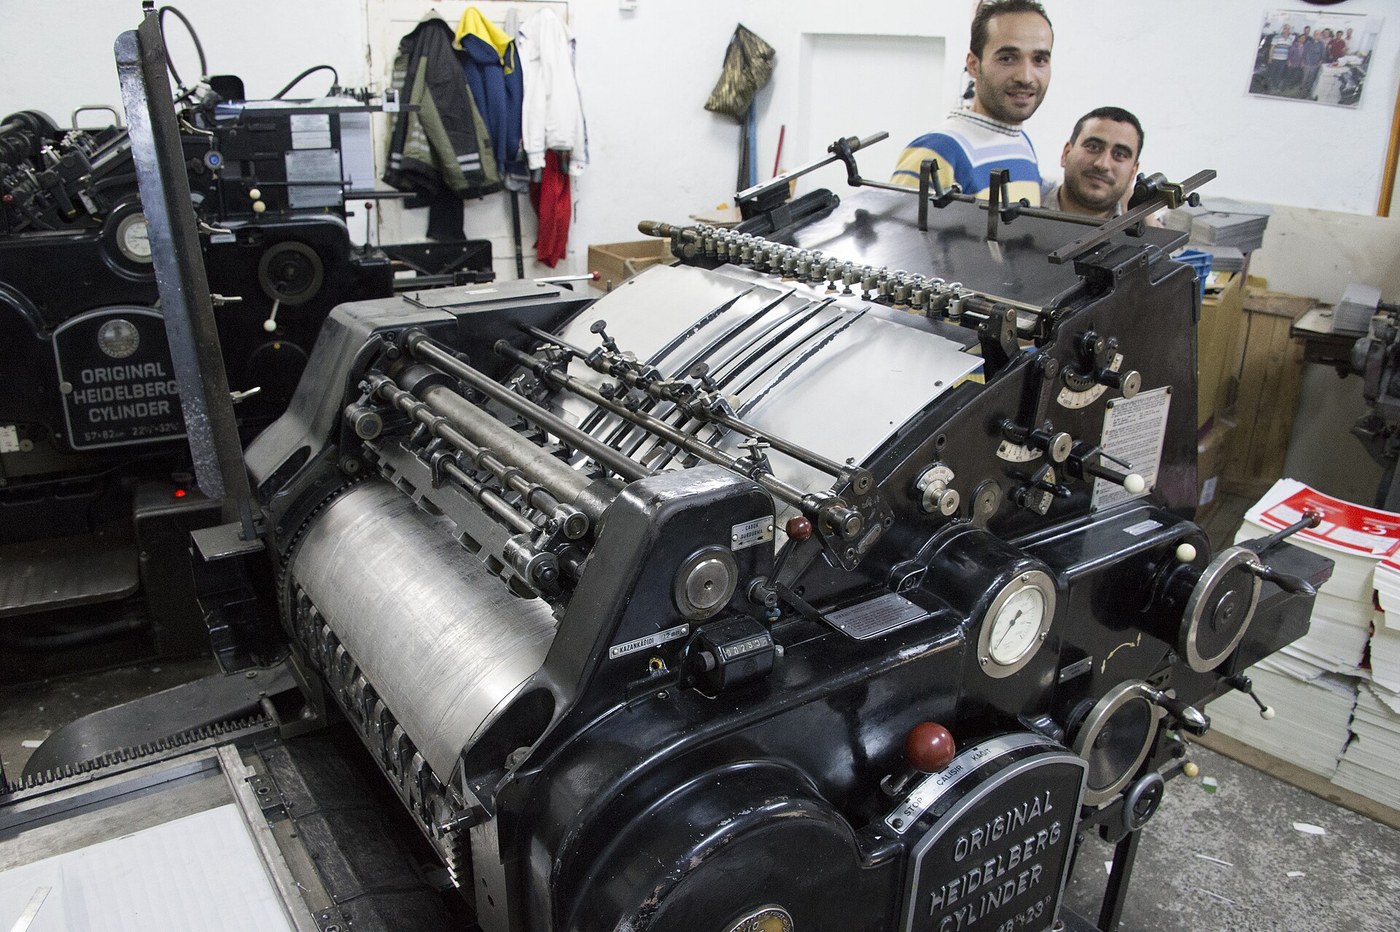


Roller Printing
안내
Block print first, and time it
Block print first, and time it
Establish the process being replaced.
- Carve a small repeating motif into a block.
- Ink it and print a row across a piece of cotton, aligning each repeat by eye.
- Time a measured length and count the misalignments.
이 단계의 재료:
 무명천 견본(primissima 등급)2 개
 천 염색 모음 (섬유 반응성)1 키트
Engrave a roller
Engrave a roller
The pattern goes INTO the surface, not onto it.
- Take a smooth cylinder that can turn on an axle.
- Cut the design into its surface as recesses.
- Make sure the pattern joins itself seamlessly around the circumference.
이 단계의 재료:
 목재 다월봉1 개
Ink and scrape with a doctor blade
Ink and scrape with a doctor blade
Flood the whole roller, then take almost all of it away again.
- Run the roller through a trough of thickened dye so the whole surface is covered.
- Set a straight blade — the doctor — against the roller to scrape the surface clean.
- Only the engraved recesses should still hold colour.
이 단계의 재료:
 스프링강 띠1 strip
Print continuously and compare
Print continuously and compare
Run cloth against the roller and let it print without stopping.
- Feed cotton steadily between the roller and a padded backing.
- Print a measured length and time it.
- Compare speed and registration against your block-printed sample.
이 단계의 재료:
 스톱워치1 개
History and context
History and context
Thomas Bell patented roller printing on cloth in 1783, and it was in production in Lancashire within a few years. The productivity gain was extreme — figures of one machine replacing dozens of block printers are commonly quoted — and it arrived exactly when Arkwright's and Crompton's machinery was making cotton cloth cheap enough to be worth printing in quantity.
Multiple colours came quickly. Several engraved rollers arranged around one large pressure cylinder print in sequence onto the same cloth, each precisely registered by gearing rather than by eye. Six- and twelve-colour machines were common by the mid nineteenth century.
The social consequence was clothing. Printed cotton had been an expensive import — Indian chintz, so fashionable that Britain and France banned it at various points to protect domestic weavers. Roller printing plus cheap mill cotton turned patterned fabric into everyday clothing and furnishing, and it did so partly by destroying the Indian hand-printing industry that had originated the goods.
The dye chemistry is half the story. Early printers used madder, indigo and mordants; the synthetic dye industry from the 1850s, beginning with Perkin's mauveine, gave printers colours that were bright, cheap and repeatable. The machine and the chemistry advanced together.
What replaced it: rotary screen printing from the 1960s, which is cheaper for short runs, and now digital inkjet on textiles, which has no repeat length at all — the constraint in step 2 simply disappears, and with it the whole visual grammar of repeating pattern that it imposed.
CC0 퍼블릭 도메인
이 블루프린트는 CC0로 공개되었습니다. 어떤 목적으로든 자유롭게 복사, 수정, 배포 및 사용할 수 있습니다.
제품 구매를 통해 메이커를 지원하세요. 판매자가 설정한 메이커 커미션 을 받거나, 이 블루프린트의 새로운 반복을 만들어 연결로 포함시킬 수 있습니다.