예술
뷰티 및 웰니스
공예
문화 및 역사
엔터테인먼트
환경
음식 및 음료
그린 퓨처
역공학
과학
스포츠
기술
웨어러블

Using a Flex Sensor — SIK Circuit 9
Use a flex sensor to control a servo motor. Bend the sensor to move the servo — combining analog input with motor control for gesture-based interaction.
안내
1
1
Parts & Introduction
Parts & Introduction
A flex sensor changes resistance when bent. Combined with the servo from Circuit 8, you can create gesture-based controls — bend the sensor to move the servo. This combines analogRead() with the Servo library.
Parts Needed
- 1x Arduino Uno + USB cable
- 1x Breadboard
- 1x Flex Sensor
- 1x Servo Motor
- 1x 10KΩ Resistor
- 11x Jumper Wires
이 단계의 재료:
 SparkFun Inventors Kit - V3.21 키트
Arduino Uno R31 개
Breadboard1 개
 Flex Sensor1 개
Servo Motor1 개
 10K Ohm Resistor1 개
 Jumper Wires7 개
필요한 도구:
Computer with Arduino IDE
2
2
Hardware Hookup
Hardware Hookup
Wiring Instructions
Flex Sensor
- Connect one pin of the flex sensor to 5V.
- Connect the other pin to Analog Pin A0.
- Connect a 10K resistor from Analog Pin A0 to GND (voltage divider).
Servo
- Connect Red wire to 5V.
- Connect Black wire to GND.
- Connect White wire to Digital Pin 9.
이 단계의 재료:
Flex Sensor1 개Servo Motor1 개
10K Ohm Resistor1 개Breadboard1 개
Jumper Wires7 개3
3
Arduino Code
Arduino Code
Open the Arduino IDE and upload the following sketch to your Arduino board.
flex_sensor.inoarduino
이 단계의 재료:
Arduino Uno R31 개
필요한 도구:
Computer with Arduino IDE
4
4
Test & Experiment
Test & Experiment
What You Should See
The servo moves in response to bending the flex sensor. Open the Serial Monitor to see both the raw sensor value and the mapped servo position.
Troubleshooting
- Servo not moving: Check servo wiring — easy to plug in backwards.
- Sensor only works one way: The flex sensor bends in one direction. The striped side should face outward on a convex curve.
- Limited range: Adjust the
map()range values (600, 900) to match your sensor's actual readings from the Serial Monitor.
Experiments to Try
- Build a "robot finger" that mimics your finger bending.
- Replace the servo with an LED and control brightness by bending.
재료
7- ₩1,530
- 플레이스홀더
예상 총액
₩2,226Related blueprints
Other builds that share materials, tools, or techniques with this one.

Reading a Temperature Sensor — SIK Circuit 7electronics/electromech1 shared material

Driving a Servo Motor — SIK Circuit 8electronics/electromech1 shared material

Using Relays — SIK Circuit 13electronics/electromech1 shared material

Driving a Motor — SIK Circuit 12electronics/electromech1 shared material
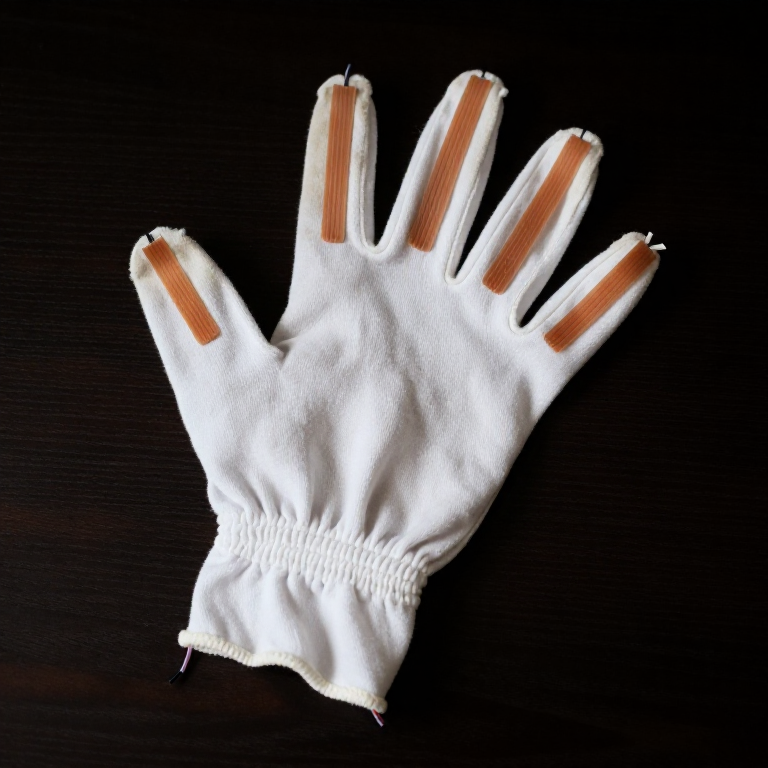
Flex Sensor Glove — Control 5 Servo Motors with Hand Gestureselectronics/electromech1 shared material

Using a Shift Register — SIK Circuit 14electronics/active1 shared material
CC0 퍼블릭 도메인
이 블루프린트는 CC0로 공개되었습니다. 어떤 목적으로든 자유롭게 복사, 수정, 배포 및 사용할 수 있습니다.
제품 구매를 통해 메이커를 지원하세요. 판매자가 설정한 메이커 커미션 을 받거나, 이 블루프린트의 새로운 반복을 만들어 연결로 포함시킬 수 있습니다.