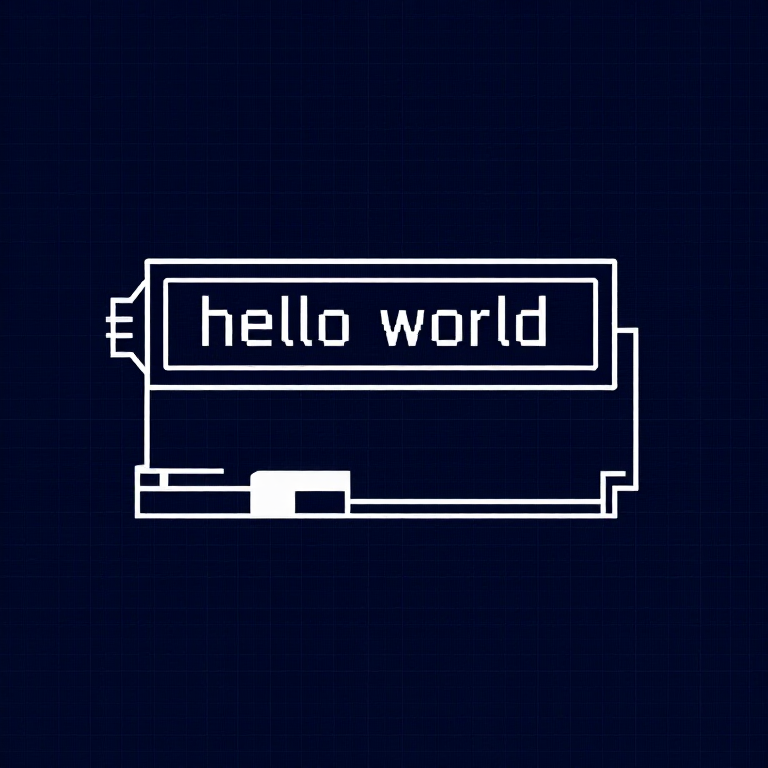
Using an LCD — SIK Circuit 15
안내
Parts & Introduction
Parts & Introduction
A 16x2 character LCD can display 2 rows of 16 characters each. Using Arduino's LiquidCrystal library, you can display text, numbers, and custom characters. This is the HD44780 standard used by most character LCDs.
Parts Needed
- 1x Arduino Uno + USB cable
- 1x Breadboard
- 1x 16x2 Character LCD
- 1x Potentiometer (for contrast adjustment)
- 16x Jumper Wires
이 단계의 재료:
 SparkFun Inventors Kit - V3.21 키트
 Arduino Uno R31 개
 Breadboard1 개
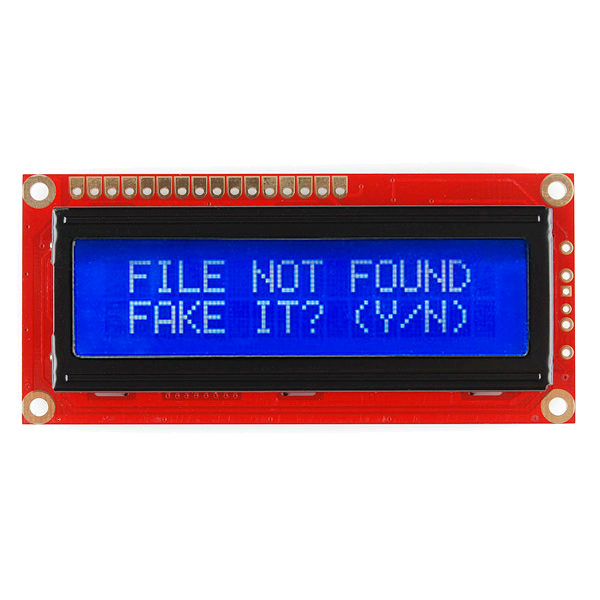 16x2 Character LCD1 개
 Potentiometer (10K)1 개
 Jumper Wires16 개
필요한 도구:
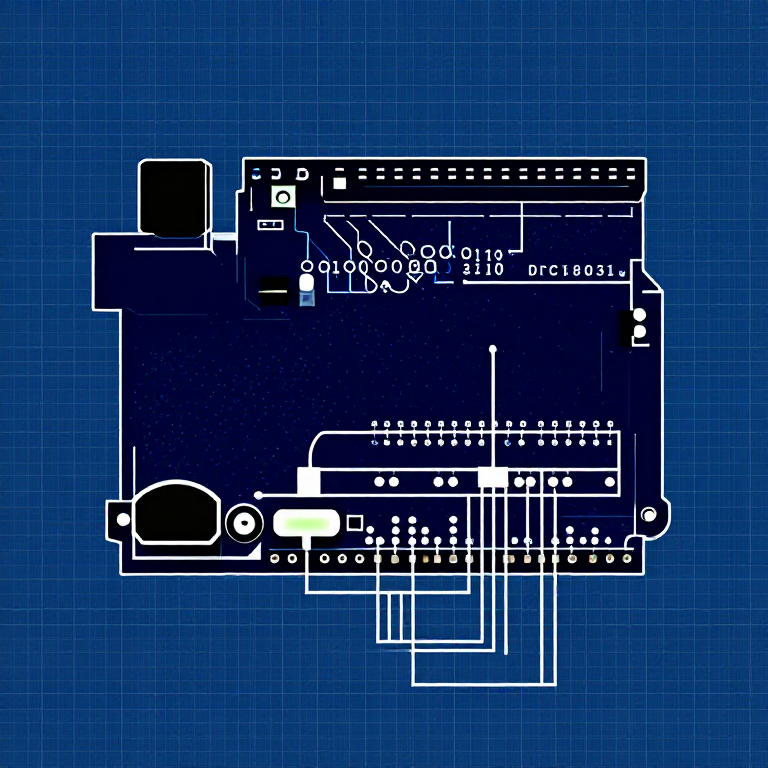
Hardware Hookup
Hardware Hookup
Wiring Instructions
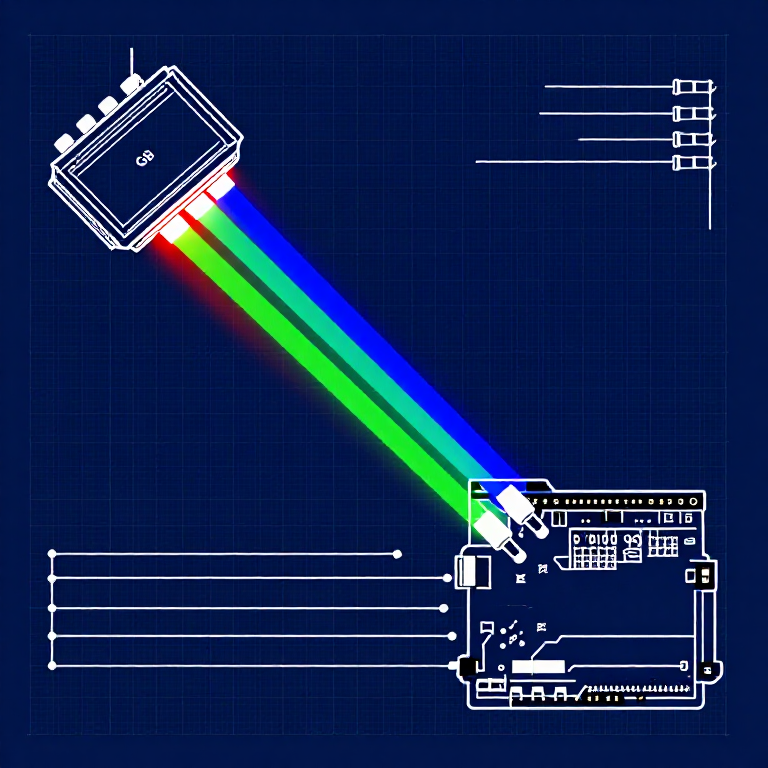
The LCD has 16 pins. Pin 1 is closest to the corner of the board.
| LCD Pin | Connection |
|---|---|
| 1 | GND |
| 2 | 5V |
| 3 | Potentiometer wiper (contrast) |
| 4 | Arduino Pin 12 (RS) |
| 5 | GND (R/W) |
| 6 | Arduino Pin 11 (Enable) |
| 7-10 | Not connected |
| 11 | Arduino Pin 5 (D4) |
| 12 | Arduino Pin 4 (D5) |
| 13 | Arduino Pin 3 (D6) |
| 14 | Arduino Pin 2 (D7) |
| 15 | 5V (backlight +) |
| 16 | GND (backlight -) |
Connect the potentiometer: one side to 5V, other to GND, center pin to LCD pin 3 for contrast adjustment.
이 단계의 재료:
16x2 Character LCD1 개Potentiometer (10K)1 개Breadboard1 개Jumper Wires16 개Arduino Code
Arduino Code
Open the Arduino IDE and upload the following sketch to your Arduino board.
이 단계의 재료:
Arduino Uno R31 개필요한 도구:
Test & Experiment
Test & Experiment
What You Should See
"hello, world!" appears on the first line of the LCD. The second line shows a running counter of seconds since power-on. You may need to twist the potentiometer to adjust contrast until text is visible.
Troubleshooting
- Screen blank or solid blocks: Adjust the potentiometer until you see text. The contrast range is narrow.
- Nothing at all: Verify the LiquidCrystal library is included and all 16 wires are connected correctly.
- Flickering: Check breadboard connections — loose wires cause display glitches.
Experiments to Try
- Display the temperature sensor reading (from Circuit 7) on the LCD instead of the Serial Monitor.
- Use
lcd.setCursor(col, row)to place text at specific positions. - Create custom characters with
lcd.createChar()for icons and symbols. - Display messages from serial input — type on your computer, see it on the LCD.
재료
6- ₩1,530
- 플레이스홀더
- 1 개플레이스홀더
- 플레이스홀더
Required Equipment
Equipment this kind of build typically needs — buy from any maker below.
- CriticalSoldering Iron·
 Helping Hands Soldering Stand
 Solder Tip Tinner and Cleaner
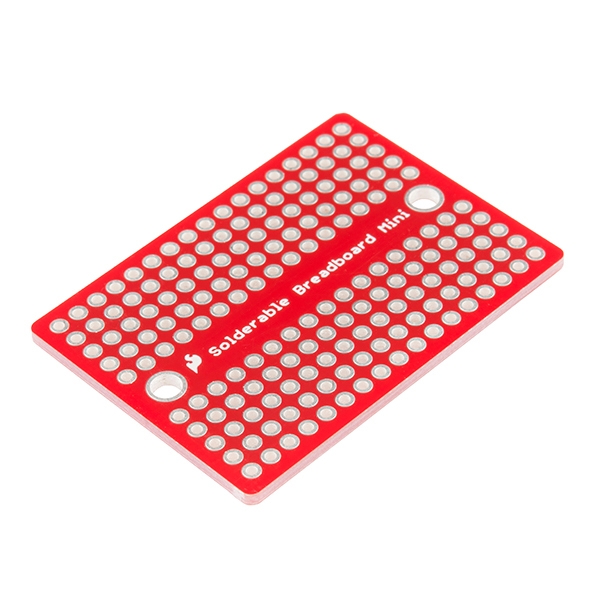 SparkFun Solder-able Breadboard - Mini
 Soldering Iron
 Solder Wire
 Soldering Flux Paste (50g, Rosin-Based)
 - RecommendedBreadboard·
 JST to Breadboard Jumper (3-pin)
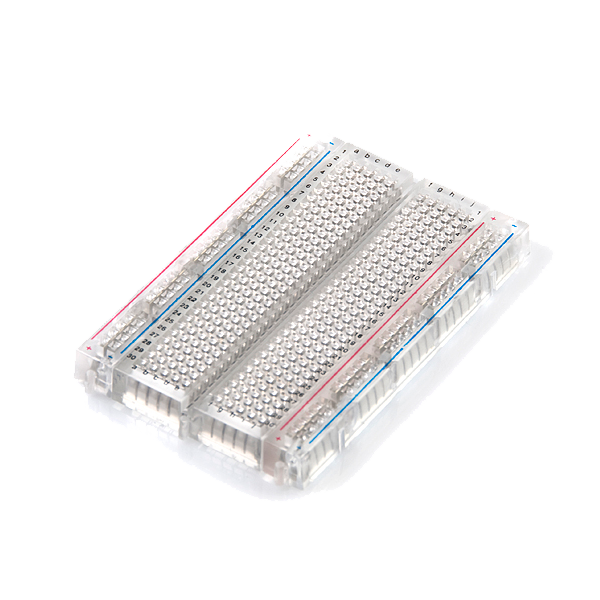 Breadboard - Translucent Self-Adhesive (Clear)Solderless Breadboard 830 Points (3-Pack)SparkFun Solder-able Breadboard - Mini
 Breadboard Power Supply USB - 5V/3.3VBreadboard
 - RecommendedDust Mask / Respirator·
 Full-Face Gas Mask (ABEK multi-gas cartridge)
 Dust Mask
 Venetian Mask Blank (Papier-Mache)
 Full-Face Respirator
 Respirator Fit Test Kit
 Respirator with Acid Gas Cartridge
 - RecommendedMultimeter·
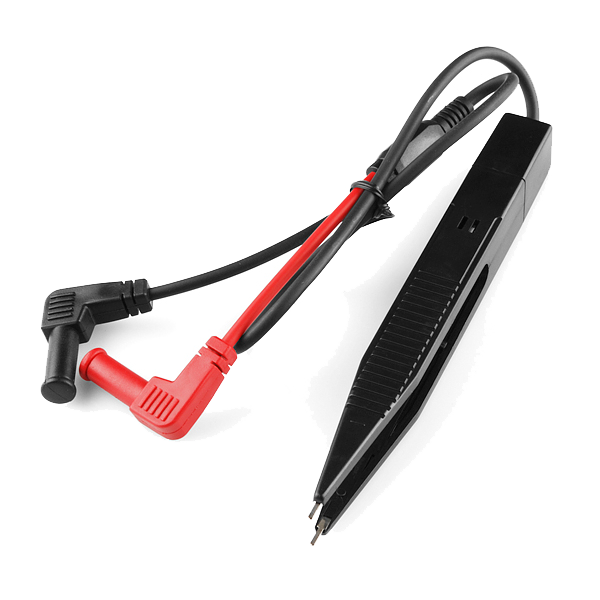 Multimeter Tweezer Probes
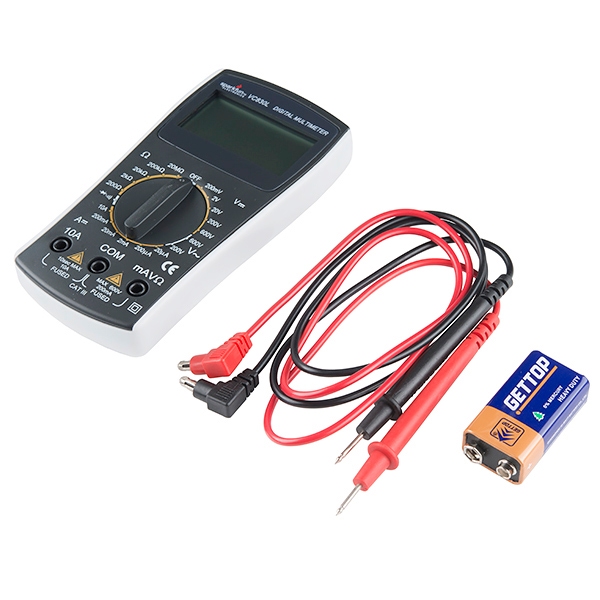 Digital Multimeter - Basic
 Digital Multimeter Pro
 Multimeter
 Digital Multimeter (Auto-Range, True RMS)Digital Multimeter
 - RecommendedSafety Glasses·
 Safety Sign (Caution/Warning)
 Splash-Proof Safety Goggles
 Reflective Safety Vest Kit (DIY)
 Chemical Splash Goggles
 Safety Netting for Rockfall
 Steel-Toed Safety Boots
 - RecommendedWire Strippers·
 Wire Strippers
 Wire Stripper & Crimping Tool (AWG 10-22)
 Wire Stripper
 - RecommendedWork Gloves·
 Boxing Gloves (Training)
 Leather Gauntlet Gloves
 Cotton Gloves
 Welding Gloves
 Heavy-Duty Gloves
 Leather Work Gloves
 - OptionalFire Extinguisher·
 ABC Fire Extinguisher
 Fire Extinguisher
 - OptionalFirst Aid Kit·
 First Aid Kit
 Mountain First Aid Kit (Altitude)
 Workshop First Aid Kit
 Bow Release Aid
 - OptionalHelping Hands / Third Hand·Helping Hands Soldering Stand
 Helping Hands
 PCB Holder Helping Hands (with Magnifier)
 Helping Hands (Third Hand)
You can swap these in
Can't get one of the materials? Swap it for an equivalent — these work just as well.
- Instead of Arduino Uno R3, try:
 Prototyping Shield for Arduino Uno (3-Pack)
 Arduino Uno R3 BoardArduino Uno
 - Instead of Potentiometer, try:
 Digital Potentiometer - 10K
 SoftPot Membrane Potentiometer - 100mm
 SoftPot Membrane Potentiometer - 50mm
 SoftPot Membrane Potentiometer - 200mm
 10K Ohm Linear Potentiometer (5-Pack)
 - Instead of Basic 16x2 Character LCD - 5V, try:
 Arduino Display Module - 4.3 Touchscreen LCD
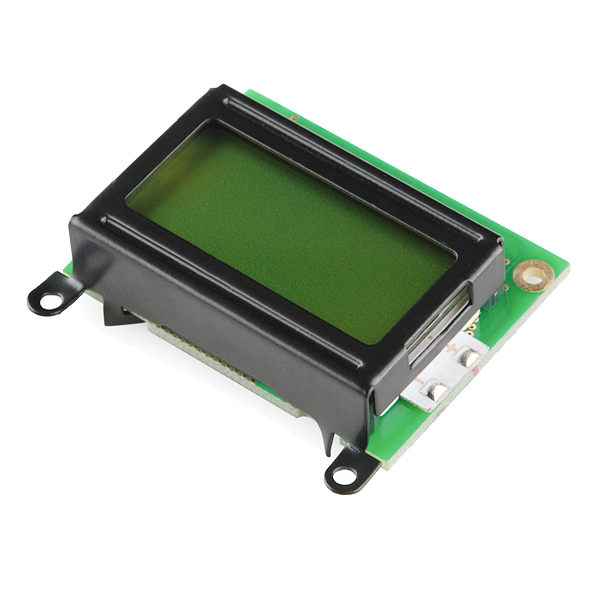 Basic 8x2 Character LCD - 5V
 Serial Enabled 20x4 LCD - 5V
 - Instead of Breadboard, try:
 Solder-able Breadboard
Recommended for this build
Products makers often use with builds like this one.
 5mm LED Assortment Kit (300pcs, 5 Colors)Used together and in similar builds
 Push Button - 33mmUsed together and in similar builds
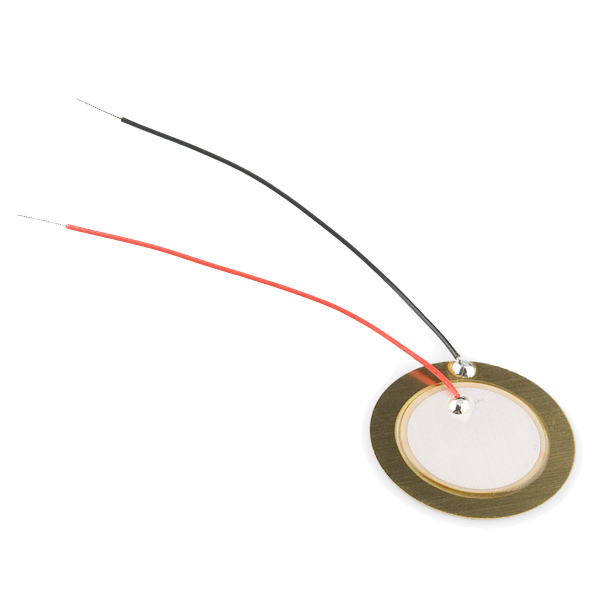 Piezo ElementUsed together and in similar builds
 Resistor 330 Ohm 1/6 Watt PTH - 20 packUsed together and in similar builds
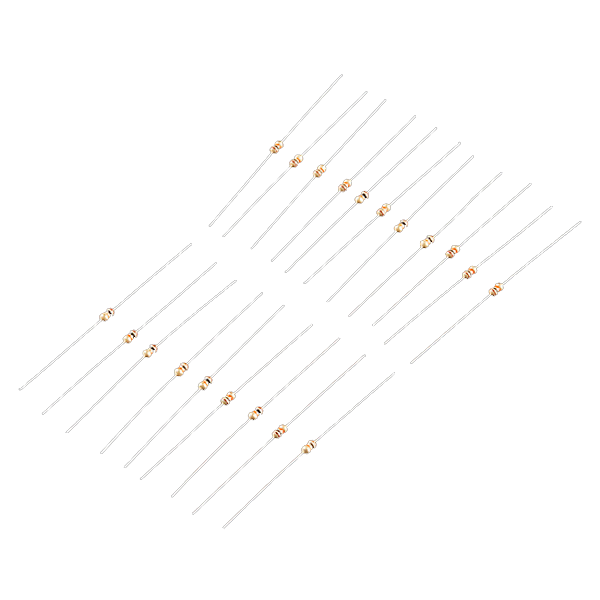 Resistor 10K Ohm 1/6th Watt PTH - 20 packUsed together and in similar builds
 Servo MotorFrequently used with this build's materials
 Diode KitFrequently used with this build's materials
Related blueprints
Other builds that share materials, tools, or techniques with this one.


CC0 퍼블릭 도메인
이 블루프린트는 CC0로 공개되었습니다. 어떤 목적으로든 자유롭게 복사, 수정, 배포 및 사용할 수 있습니다.
제품 구매를 통해 메이커를 지원하세요. 판매자가 설정한 메이커 커미션 을 받거나, 이 블루프린트의 새로운 반복을 만들어 연결로 포함시킬 수 있습니다.