
Tapping Maple Trees for Maple Syrup — From Sap to Syrup
안내
Understand maple sap and syrup
Understand maple sap and syrup
Maple syrup is produced by concentrating the sap of sugar maple trees (Acer saccharum). The sap is mostly water (about 98%) with roughly 2% sugar content (primarily sucrose). It takes approximately 40 liters of sap to produce 1 liter of finished syrup at the standard 66-67% sugar concentration (66 degrees Brix). Indigenous peoples of northeastern North America, including the Anishinaabe and Haudenosaunee, developed sap collection and concentration techniques centuries before European contact.
Identify the right maple species
Identify the right maple species
Sugar maple (Acer saccharum) is the preferred species — it has the highest sugar content at roughly 2 to 2.5% sucrose. Red maple (Acer rubrum) can also be tapped but yields sap with lower sugar content (1.5 to 2%), requiring more sap per liter of syrup. To identify sugar maple in winter: look for opposite branching pattern, gray-brown bark with long vertical plates that curl outward on older trees, and persistent brown buds that are sharply pointed. Red maple has smoother bark and rounded red buds.
Select appropriate trees
Select appropriate trees
Only tap trees with a trunk diameter of at least 25 cm (10 inches) measured at chest height (1.4 meters above ground). Trees 25 to 38 cm in diameter can support 1 tap. Trees 38 to 50 cm can support 2 taps. Trees over 50 cm can support 3 taps maximum. Never exceed these limits — over-tapping weakens the tree and reduces future sap production. Choose healthy trees with full, undamaged crowns. Avoid trees with significant trunk damage, fungal infection, or lean.
필요한 도구:
 Measuring Tape
Time the tapping season
Time the tapping season
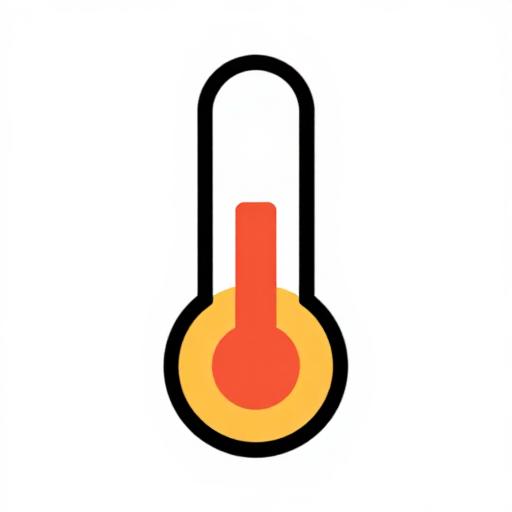
Sap flows when nighttime temperatures drop below freezing (minus 2 to minus 7 degrees Celsius) and daytime temperatures rise above freezing (2 to 10 degrees Celsius). This freeze-thaw cycle creates pressure changes inside the tree that push sap out of the tap hole. In the northeastern United States and southeastern Canada, this typically occurs from late February through early April. The season ends when buds begin to swell and open — sap collected after bud break develops an unpleasant buddy flavor.
필요한 도구:
 Outdoor Thermometer
Gather tapping equipment
Gather tapping equipment
For each tap you will need: one spile (metal or food-grade plastic tap), one collection bucket or bag (food-grade, 15 to 20 liters), one bucket lid or cover to keep out rain and debris, and a hook or holder to hang the bucket. You will also need a drill with a sharp bit matching your spile size — standard sizes are 7/16 inch (11 mm) for traditional metal spiles or 5/16 inch (8 mm) for modern plastic health spouts. A rubber mallet for seating spiles is also necessary.
이 단계의 재료:
 Spile1 개
 Food-Grade Collection Bucket with Lid1 개
 Bucket Hook1 개
필요한 도구:
 Power Drill
 Sharp Drill Bit
 Rubber Mallet
Drill the tap hole
Drill the tap hole
Choose a spot on the south or southeast side of the tree (receives the most sun, warms first). Position the hole roughly 60 to 120 cm above the ground. If the tree was tapped in previous years, drill at least 15 cm away from old tap holes (horizontally and vertically). Drill at a slight upward angle (about 5 to 10 degrees) to allow sap to flow downward out of the hole. Drill to a depth of 4 to 5 cm (1.5 to 2 inches) into the sapwood. Clear shavings from the hole.
필요한 도구:
Power DrillSharp Drill BitInsert the spile and hang the bucket
Insert the spile and hang the bucket
Insert the spile into the drilled hole with the hook facing downward. Tap it gently with a rubber mallet until it is snug — do not over-drive it, which can split the bark. The spile should be firm enough that you cannot pull it out by hand. Hang the collection bucket on the spile hook. Place the lid on top to prevent rain, snow, bark, and insects from contaminating the sap. If sap is flowing, you should see drips immediately — a healthy tap on a good flow day can produce 1 to 3 liters per day.
필요한 도구:
Rubber MalletCollect sap daily
Collect sap daily
Check buckets at least once daily, ideally in the late afternoon when flow slows. Pour collected sap through a coarse filter (cheesecloth or nylon mesh) into clean food-grade storage containers. Sap is perishable — it is essentially sugar water and will spoil if left too long. In temperatures above 4 degrees Celsius, process sap within 2 to 3 days. In cold weather (below freezing), sap can be stored outdoors for up to a week. Discard any sap that appears cloudy, yellow, or smells sour.
필요한 도구:
 Cheesecloth
 Food-Grade Storage Container (20L)
Pre-filter the sap
Pre-filter the sap
Before boiling, filter all collected sap through a fine mesh or layered cheesecloth to remove bark chips, insects, and sediment. Pour the sap into your evaporator pan or boiling pot. For small-scale production, a large stainless steel pot (40 to 80 liters) works well. Never use aluminum, galvanized, or copper vessels — they react with the acidic sap and taint the flavor. Have all your sap ready before starting the boil, as continuous feeding is more efficient.
이 단계의 재료:
 Raw Maple Sap40 리터
필요한 도구:
 Fine Cheesecloth
 Large Stainless Steel Pot (40-80L)
Boil the sap — evaporation phase
Boil the sap — evaporation phase
Bring the sap to a vigorous boil outdoors (never boil indoors — the massive steam output will damage walls and ceilings). Maintain a rolling boil and add more sap as the level drops to keep the depth at 10 to 15 cm. The sap will transition from clear to increasingly golden as sugar concentration rises. This phase takes several hours depending on volume and heat source. With a propane burner producing 100,000+ BTU, expect roughly 4 to 6 hours for 40 liters of sap. Skim off foam that forms on the surface.
이 단계의 재료:
 Propane1 batch
필요한 도구:
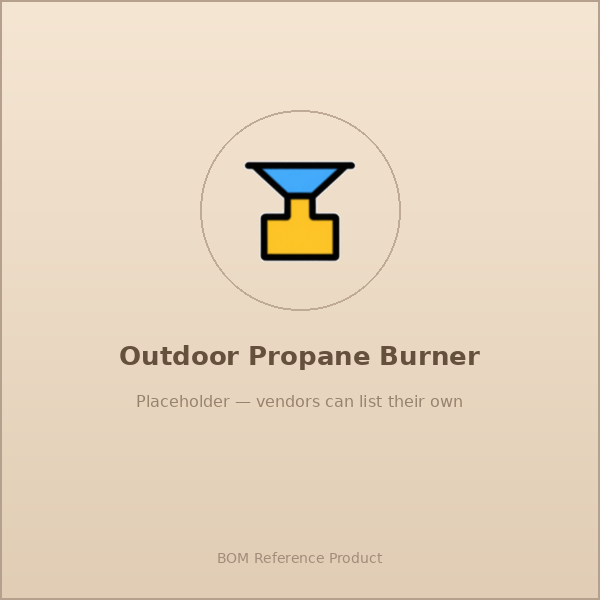 Outdoor Propane Burner
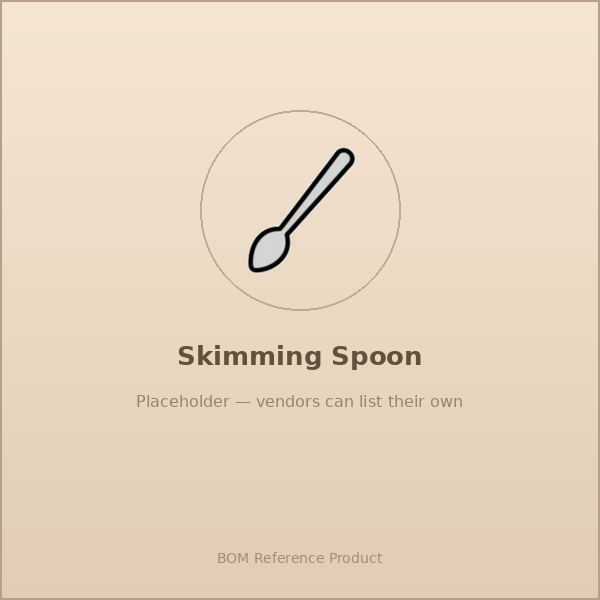 Skimming Spoon
Finishing — reach the correct density
Finishing — reach the correct density
When the sap has reduced to roughly 1/40th of its original volume, transfer to a smaller finishing pot on a more controllable heat source. Maple syrup is finished when it reaches 66 to 67 degrees Brix (sugar concentration) or boils at 4 degrees Celsius above the boiling point of water at your elevation (at sea level: 104 degrees Celsius). Use a hydrometer or refractometer to measure density precisely. Under-boiled syrup will ferment in storage. Over-boiled syrup will crystallize.
필요한 도구:
 Candy Thermometer
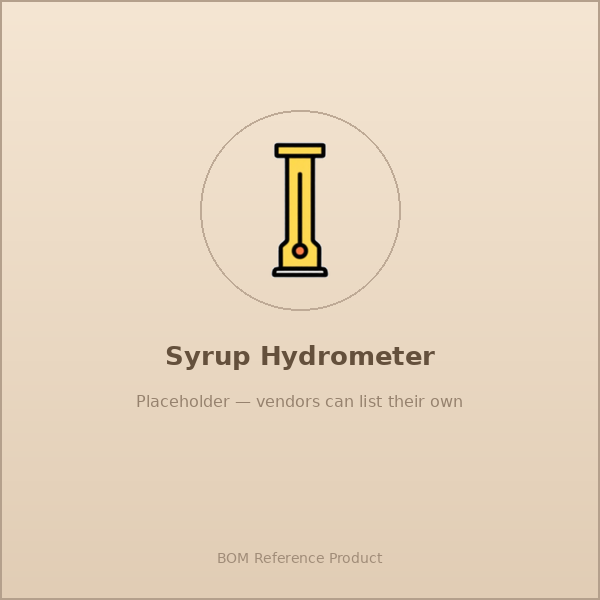 Syrup Hydrometer
 Smaller Finishing Pot
Filter the finished syrup
Filter the finished syrup
Finished syrup contains sugar sand (niter) — mineral deposits primarily of calcium malate that formed during boiling. These are harmless but make the syrup gritty and cloudy. Filter the hot syrup (at least 82 degrees Celsius) through a dedicated wool or synthetic syrup filter, or multiple layers of fine cheesecloth. The syrup must be hot during filtering — cold syrup is too viscous to pass through the filter. Do not squeeze the filter, which forces niter through.
필요한 도구:
 Syrup Filter
 Pre-Filter
Grade the syrup by color and flavor
Grade the syrup by color and flavor
Maple syrup is graded by light transmittance using the international grading system. Grade A Golden (delicate taste) has the lightest color and mildest flavor — typically from early season sap. Grade A Amber (rich taste) is the most common retail grade. Grade A Dark (robust taste) has stronger maple flavor and darker color — from mid-to-late season. Grade A Very Dark (strong taste) is the darkest, with the most intense flavor — from late season sap. All grades are the same density (66-67 degrees Brix). Earlier season sap generally produces lighter syrup.
필요한 도구:
 Syrup Grading Kit
Bottle the syrup while hot
Bottle the syrup while hot
Pour the filtered syrup into clean glass jars or food-grade plastic containers while the syrup is still at least 82 degrees Celsius. Hot-packing sterilizes the container and creates a vacuum seal as the syrup cools, preventing mold growth. Fill containers to the top leaving minimal headspace. Seal immediately and invert the container for 2 minutes to sterilize the lid. Then turn upright and let cool undisturbed. Properly hot-packed maple syrup will keep unopened at room temperature indefinitely.
이 단계의 재료:
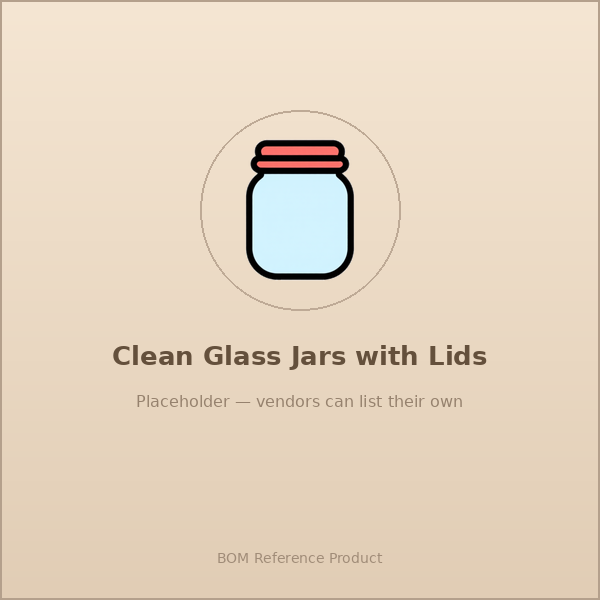 Clean Glass Jars with Lids4 개
필요한 도구:
 Ladle
LadleRemove taps at end of season
Remove taps at end of season
When the season ends (daytime temperatures consistently above 10 degrees Celsius or buds begin to open), remove all spiles by gently twisting and pulling them out. Do not plug the holes — the tree will seal them naturally with callus tissue within 1 to 2 years. Clean all equipment thoroughly — rinse spiles, buckets, and filters with hot water only (no soap residue). Dry completely before storage. Well-maintained metal spiles last for decades.
Store syrup and record your yield
Store syrup and record your yield
Store unopened bottles in a cool, dark place. Once opened, refrigerate and use within 6 to 12 months. If mold appears on opened syrup, skim it off, bring the syrup to a boil (at least 86 degrees Celsius), re-filter, and re-bottle while hot — the syrup beneath mold is safe. Record your yield: number of taps, total sap collected, liters of finished syrup, grade distribution, season dates, and weather patterns. A healthy sugar maple typically yields 35 to 50 liters of sap per tap per season, producing roughly 1 liter of syrup per tap.
필요한 도구:
 Field Notebook
Understand food safety and regulations
Understand food safety and regulations
If selling maple syrup, be aware of local regulations. In the United States, maple syrup must meet FDA standards for Grade A: minimum 66 degrees Brix, properly graded by color, and free of off-flavors. Many states require a food processing license for commercial sale. The syrup must be labeled with grade, volume, producer name, and address. For personal use, no license is needed but follow the same quality standards. Always use food-grade equipment and maintain clean processing conditions throughout.
재료
6- 플레이스홀더
- 1 개플레이스홀더
- 40 리터플레이스홀더
- 플레이스홀더
필요 도구
19- 플레이스홀더
- 플레이스홀더
- 플레이스홀더
- 플레이스홀더
- 플레이스홀더
- 플레이스홀더
- 플레이스홀더
- 플레이스홀더
- 플레이스홀더
- 플레이스홀더
- 플레이스홀더
- 플레이스홀더
- 플레이스홀더
CC0 퍼블릭 도메인
이 블루프린트는 CC0로 공개되었습니다. 어떤 목적으로든 자유롭게 복사, 수정, 배포 및 사용할 수 있습니다.
제품 구매를 통해 메이커를 지원하세요. 판매자가 설정한 메이커 커미션 을 받거나, 이 블루프린트의 새로운 반복을 만들어 연결로 포함시킬 수 있습니다.