협업
예술
뷰티 및 웰니스
공예
문화 및 역사
엔터테인먼트
환경
음식 및 음료
역공학
과학
스포츠
기술
웨어러블
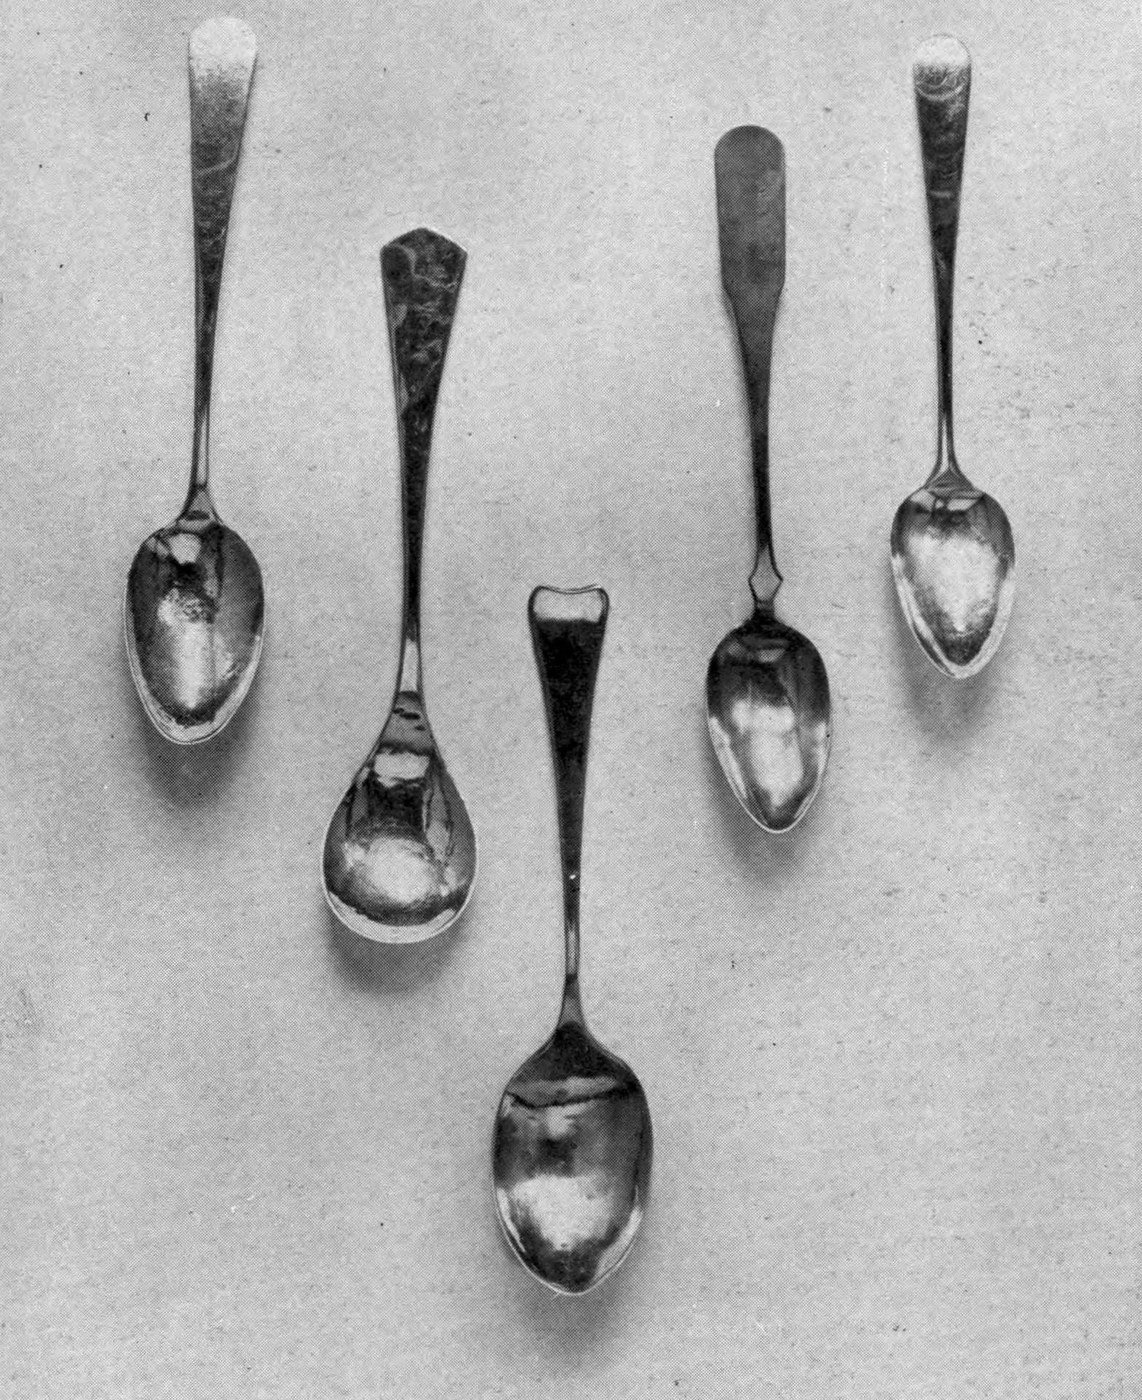
Arthur F. Payne · Public domain (1914)


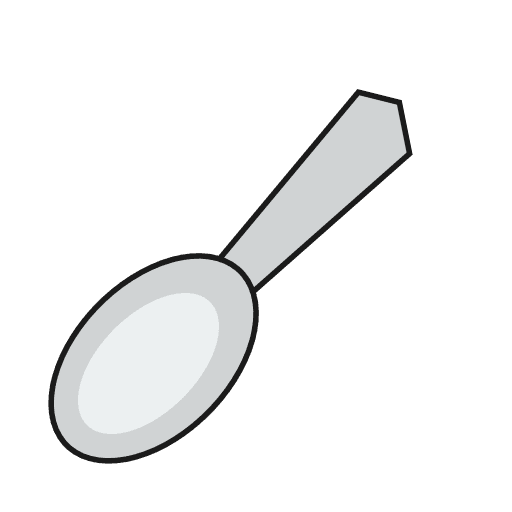
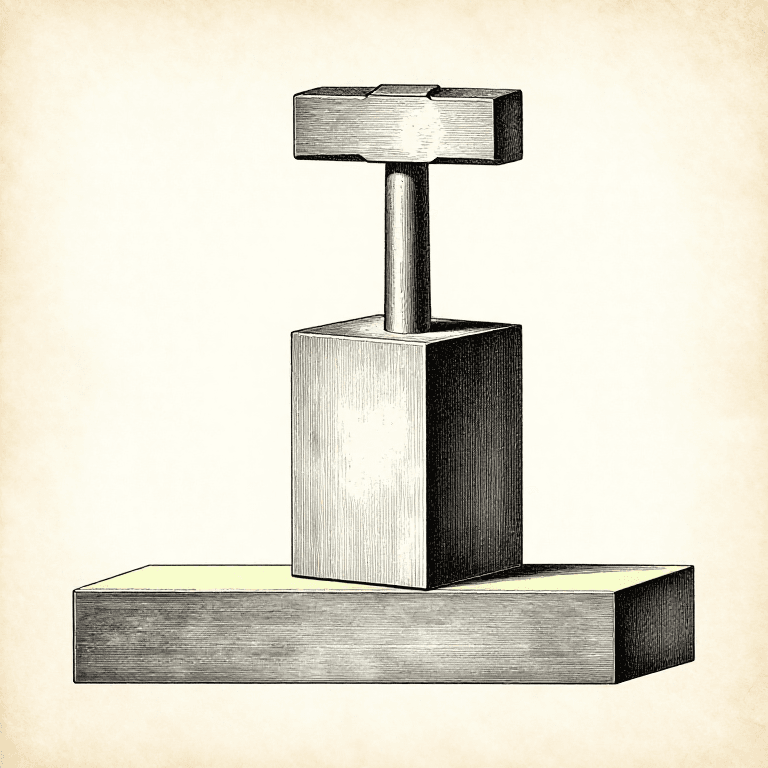
Teaspoon Forged from a Silver Bar (Payne 1914)
A 6-inch silver teaspoon forged out of a small bar of silver, the way a blacksmith forges iron. Arthur Payne called it the hardest of his five spoon methods, but the cheapest, because almost no silver is wasted.
Source: A. F. Payne, Art Metalwork with Inexpensive Equipment (1914), pp. 184–186; annealing from his chapter XI. Cutting the bar from sheet is ours. Picture: Payne's Fig. 158, teaspoons forged this way.
고급
1 day
안내
1
1
Cut the silver bar
Cut the silver bar
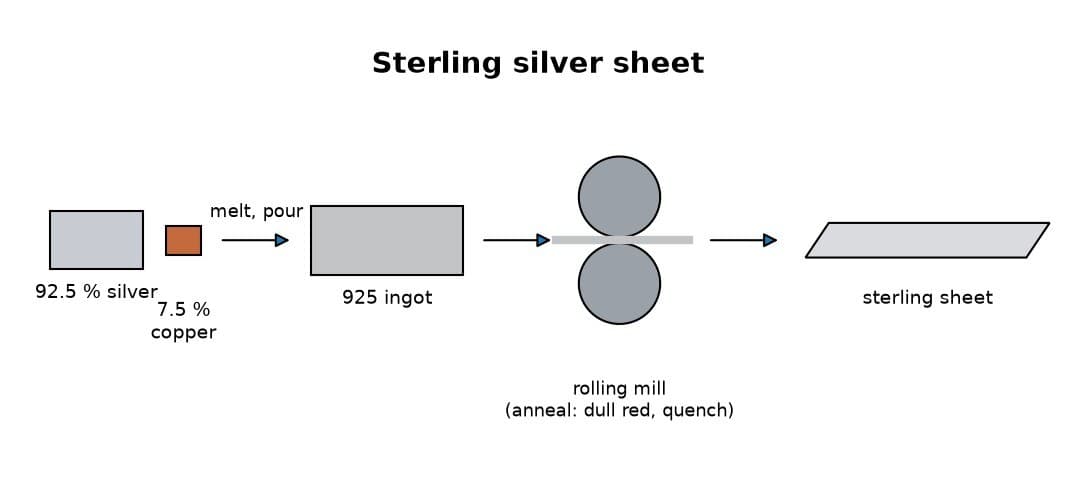
For a teaspoon 6 in long you need a piece of sterling silver 4 in long, ½ in wide and ⅛ in thick. Mark it out and saw it from sheet of that thickness (cutting from sheet is ours).
이 단계의 재료:
 스털링 실버 시트1 piece 4 × ½ × ⅛ in
필요한 도구:
 금긋개
 보석 실톱
2
2
Forge out the bowl
Forge out the bowl
Heat the bar until it is almost red-hot, hold it in tongs and forge the bowl out on the anvil. Silver forges more easily when it is nearly red, but never hammer it while it is red-hot: it will crack.
필요한 도구:
 분젠 버너
 부집게
 모루
 망치
3
3
Work bowl, then shank and handle
Work bowl, then shank and handle
Hammer the bowl until it is hard, then the shank and handle, so the whole spoon is hard before you anneal it again. That saves time.
필요한 도구:
모루망치4
4
Anneal and repeat
Anneal and repeat
To soften it, heat it to a dull red and plunge it into water, or let it cool. Then go on forging until the spoon is roughly to shape.
이 단계의 재료:
 물1 as required
필요한 도구:
분젠 버너부집게 유리 그릇
5
5
Trim with shears and file
Trim with shears and file
Trim the outline with the shears and file the edges smooth.
필요한 도구:
 중작업용 금속 가위
 줄 (손줄)
6
6
Polish out the file marks
Polish out the file marks
Rub out all the scratches and file marks with emery cloth.
필요한 도구:
 에머리 천
7
7
Anneal to even the fire scale
Anneal to even the fire scale
Anneal the spoon thoroughly once more. Heated silver grows a thin white skin, the fire scale, and this brings it back over the spots where filing and polishing took it off, so the colour is even.
이 단계의 재료:
물1 as required필요한 도구:
분젠 버너부집게유리 그릇8
8
Planish with smooth hammers
Planish with smooth hammers
Planish the spoon on smooth tools with smooth, bright hammers. This makes it stiff again after the annealing.
필요한 도구:
 평 망치모루
 말뚝
9
9
Final polish with rouge
Final polish with rouge
Polish it lightly with a soft cotton flannel and a little red rouge.
필요한 도구:
 귀금속 광택 천
 연마용 루주
이 블루프린트로 만드는 것
관련 블루프린트
이 블루프린트들은 지식을 공유합니다 — 기술, 재료 또는 원리
CC0 퍼블릭 도메인
이 블루프린트는 CC0로 공개되었습니다. 어떤 목적으로든 자유롭게 복사, 수정, 배포 및 사용할 수 있습니다.
제품 구매를 통해 메이커를 지원하세요. 판매자가 설정한 메이커 커미션 을 받거나, 이 블루프린트의 새로운 반복을 만들어 연결로 포함시킬 수 있습니다.