예술
뷰티 및 웰니스
공예
문화 및 역사
엔터테인먼트
환경
음식 및 음료
역공학
과학
스포츠
기술
웨어러블
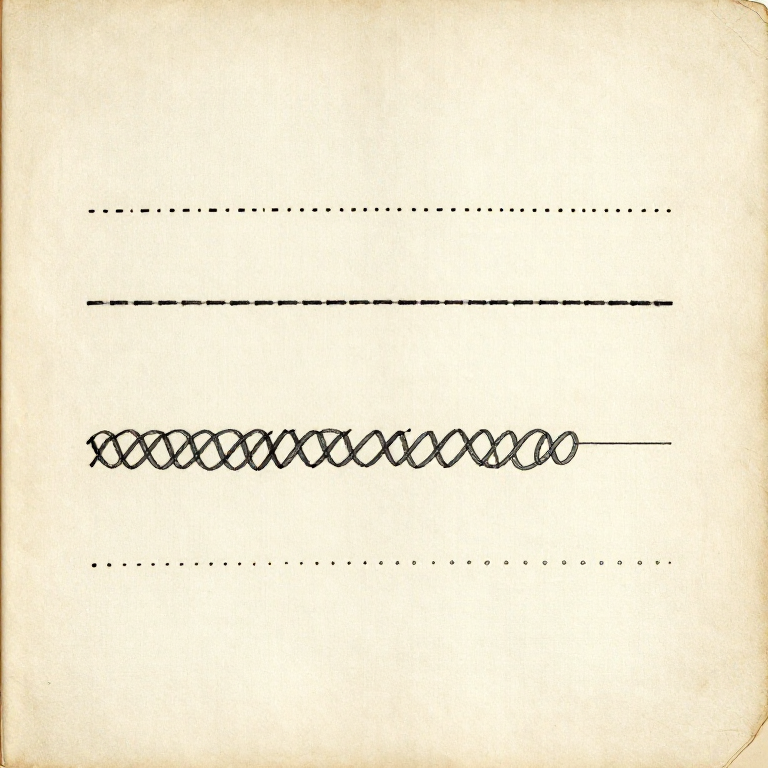


Four Stitches Do Almost Everything: Running, Back, Whip and Slip
There are hundreds of named hand stitches and four of them cover nearly everything a maker needs. Each is defined by where the needle goes back into the cloth relative to where it came out, and that one difference decides what the stitch is good for.
RUNNING is fast and weak. BACKSTITCH is slow and as strong as a machine seam. WHIP joins two edges. SLIP stitch closes a seam invisibly from the right side.
Learn these four properly and the rest are variations you can work out. Learning twenty badly is the usual mistake.
초급
3 hours
안내
1
1
Running stitch: in and out, several at a time
Running stitch: in and out, several at a time
Pass the needle in and out of the cloth in a straight line, gathering three or four stitches onto the needle before pulling it through. Even spacing matters more than small stitches.
It is the fastest hand stitch and the weakest, because the thread crosses the seam line only at each stitch and a pull opens the gaps between them. Use it for basting, for gathering, for quilting, and for any seam that is not carrying load.
Pull the thread through gently and do not tighten. Running stitch that is drawn up puckers the fabric, and in loose weaves it gathers it permanently — which is useful when you want gathers and ruinous when you do not.
이 단계의 재료:
 리넨 원단2 개
 재봉실1 개
필요한 도구:
 손바느질 바늘
 골무(금속)
 시침핀
시침핀2
2
Backstitch: the strong one
Backstitch: the strong one
Bring the needle up, take it BACK into the cloth at the end of the previous stitch, and out again one stitch length ahead. Each stitch touches its neighbours, so the thread forms a continuous line along the seam.
That continuity is why it is nearly as strong as a machine lock stitch and why it does not unravel when a thread breaks: only the one stitch fails. It is the right choice for any seam that takes load — a garment, a bag, a strap.
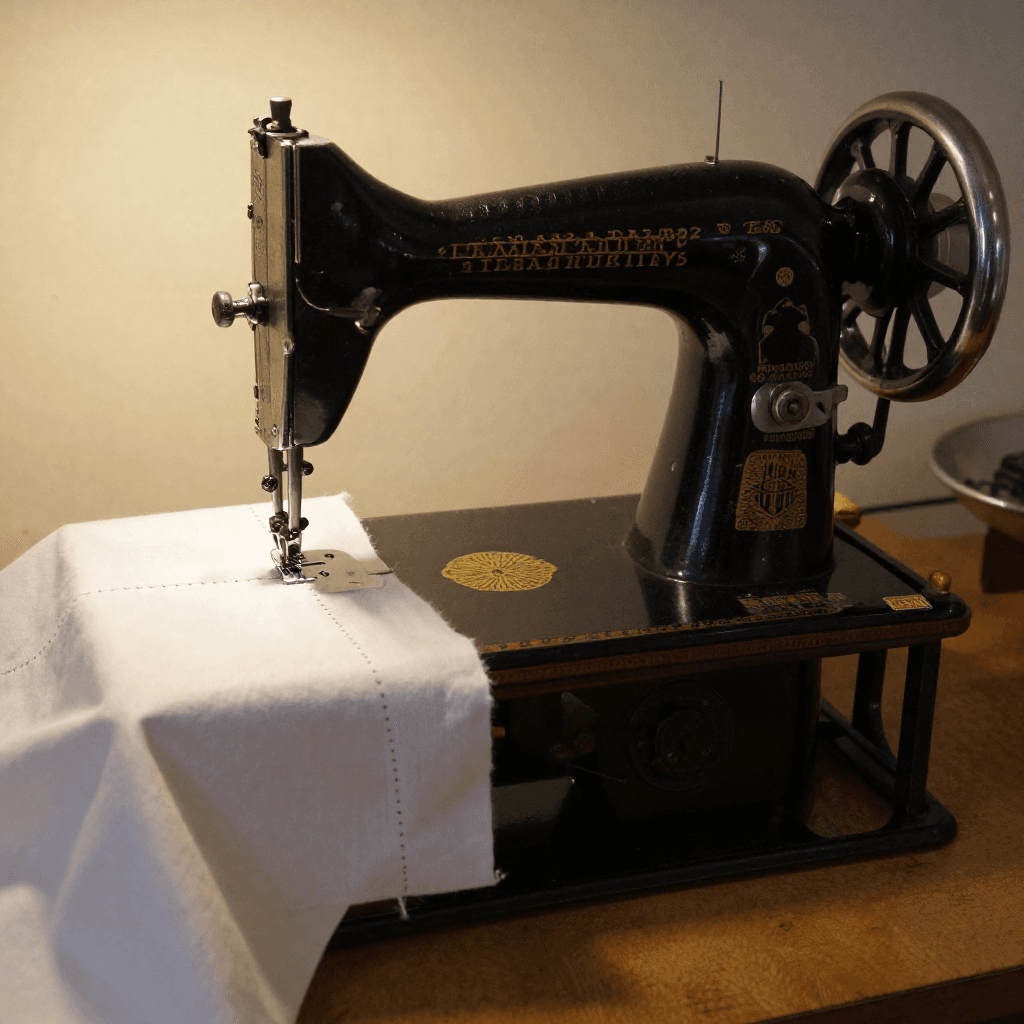
It uses roughly twice the thread of running stitch and takes several times as long. That is the trade, and it is worth making everywhere the seam matters. The published lock-stitch machine blueprint is this stitch mechanised.
이 단계의 재료:
리넨 원단2 개재봉실1 개필요한 도구:
손바느질 바늘골무(금속) 확대 루페
확대 루페3
3
Whip stitch: joining two edges
Whip stitch: joining two edges
Hold two edges together and pass the needle over them and through both, again and again, so the thread spirals around the join.
It joins edge to edge without a seam allowance, which makes it the stitch for closing a stuffed toy, joining knitted pieces, binding a raw edge, or any joint where the two pieces meet rather than overlap.
Keep the stitches evenly spaced and at a consistent depth. Whip stitch shows, so regularity is most of what makes it look deliberate rather than makeshift — and the same applies to blanket stitch, which is a whip stitch with the thread caught under itself at each pass.
이 단계의 재료:
리넨 원단2 개재봉실1 개필요한 도구:
손바느질 바늘 재단 가위
재단 가위4
4
Slip stitch: the one that does not show
Slip stitch: the one that does not show
Run the needle inside the fold of one edge for a few millimetres, bring it out, pick up two or three threads of the opposite piece, and go back into the fold directly opposite. The thread is inside the fold everywhere except the tiny crossing.
Done properly it is invisible from the right side. It is how a lining is closed, how a hem is finished on good work, and how the last opening on anything turned right-side-out is sewn up.
Take only two or three threads of the visible piece. Take more and the stitch shows as a dot on the surface — which is the whole difference between a slip stitch and a visible one, and it is entirely a matter of how greedy the needle is.
이 단계의 재료:
리넨 원단2 개재봉실1 개필요한 도구:
손바느질 바늘확대 루페시침핀관련 블루프린트
이 블루프린트들은 지식을 공유합니다 — 기술, 재료 또는 원리
CC0 퍼블릭 도메인
이 블루프린트는 CC0로 공개되었습니다. 어떤 목적으로든 자유롭게 복사, 수정, 배포 및 사용할 수 있습니다.
제품 구매를 통해 메이커를 지원하세요. 판매자가 설정한 메이커 커미션 을 받거나, 이 블루프린트의 새로운 반복을 만들어 연결로 포함시킬 수 있습니다.