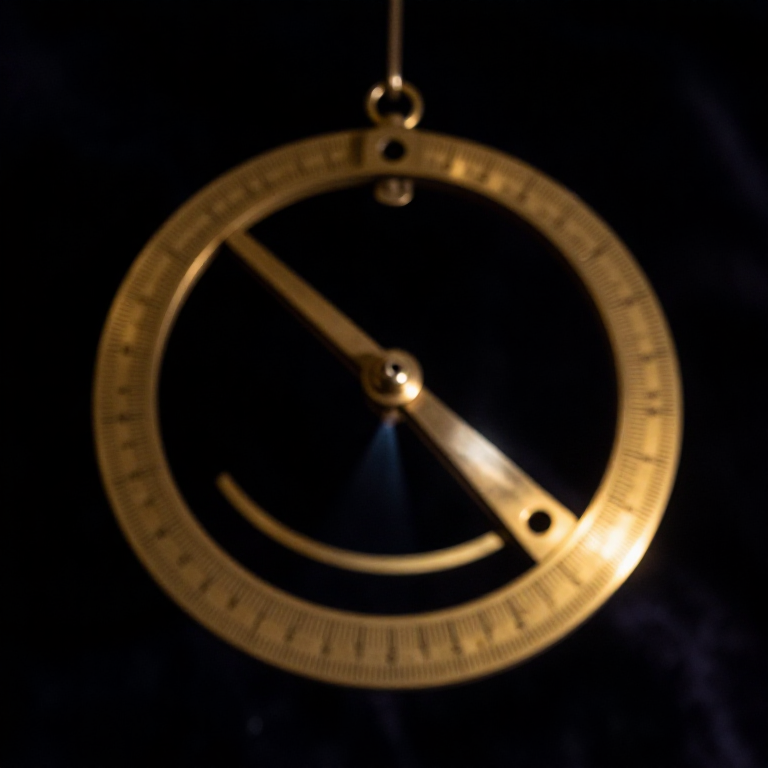
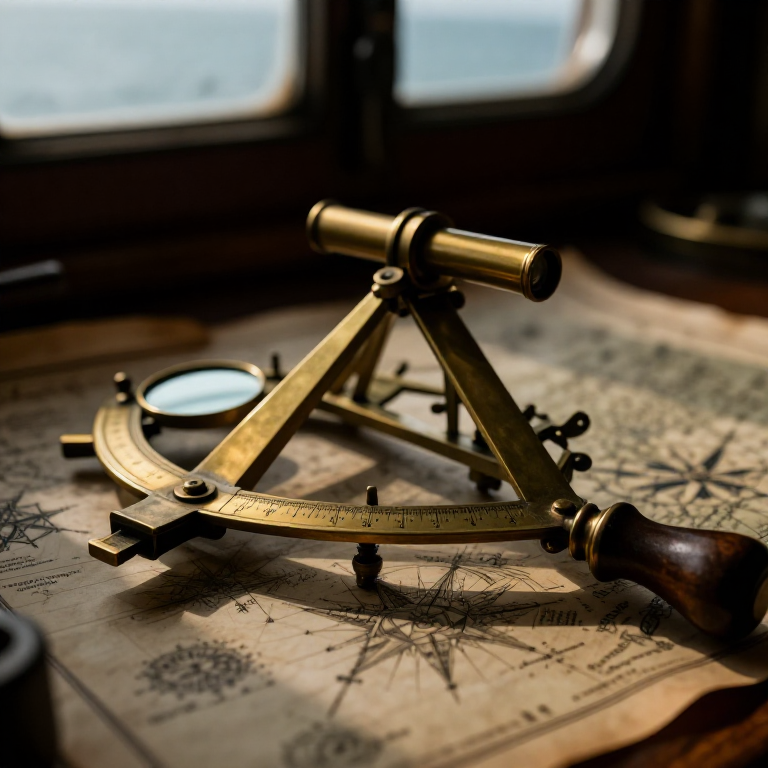
Building a Universal Ring Dial — The Portable Brass Instrument That Tells Time by the Sun
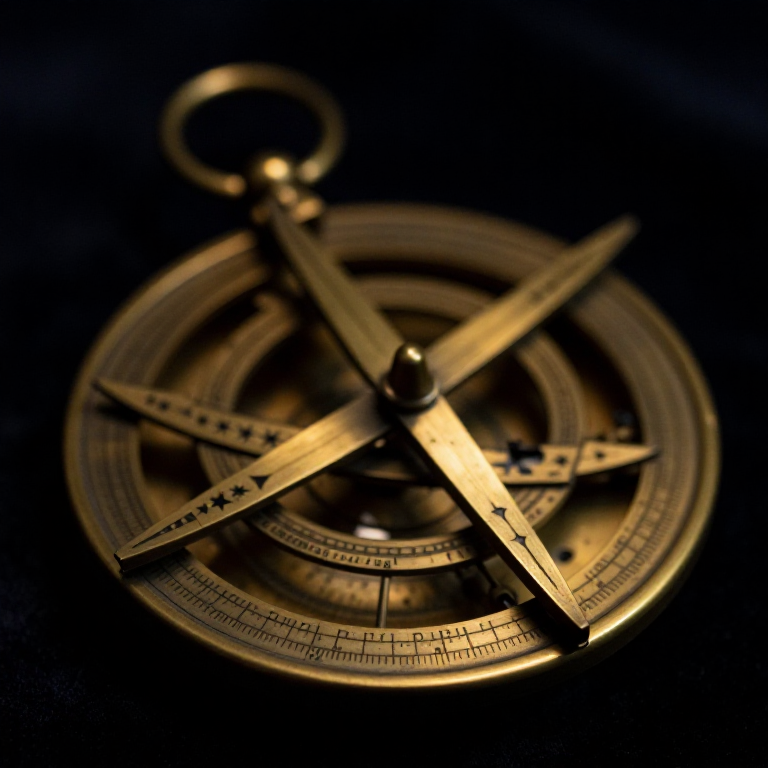
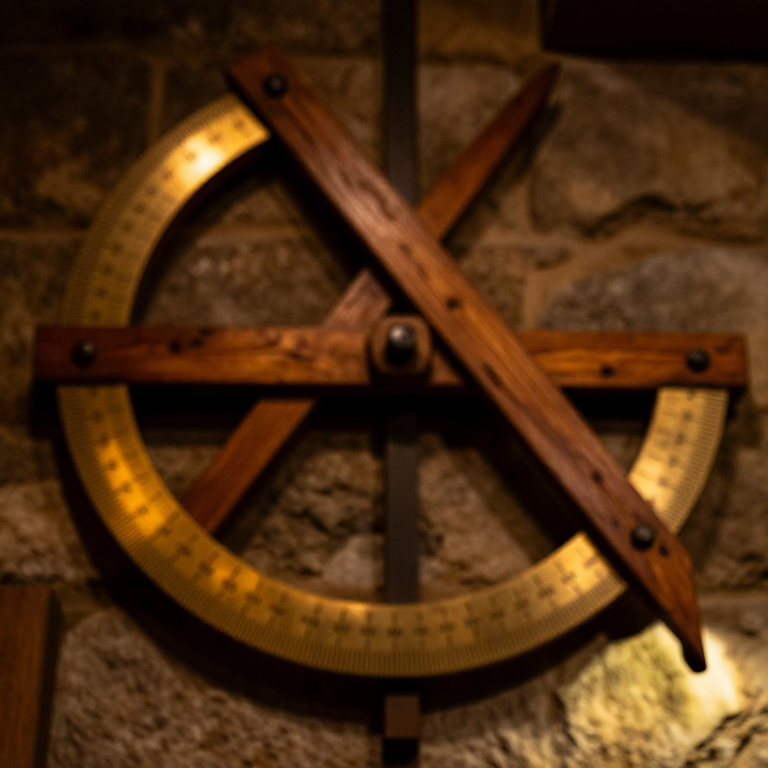
A universal ring dial (also called an astronomical ring or universal equinoctial ring dial) is a portable brass instrument that tells solar time anywhere on Earth by projecting a pinhole of sunlight onto an hour scale inside a set of nested rings. Unlike a fixed sundial, which only works at the latitude it was designed for, the universal ring dial can be adjusted for any latitude — making it the traveller's sundial. The instrument consists of three concentric rings: an outer meridian ring graduated with latitude marks, a middle equinoctial ring graduated with hours, and an inner bridge piece with a sliding pinhole that adjusts for the Sun's changing declination through the seasons. When the dial is suspended from its top, adjusted to the local latitude, aligned to the meridian, and the pinhole positioned for the current date, a spot of sunlight falls through the hole onto the inner hour ring and indicates the solar time. These instruments were made by the finest instrument makers of the 16th-18th centuries, including Gemma Frisius who described the design in 1534. This blueprint builds a functional universal ring dial from brass strip, capable of telling time to within fifteen minutes at any latitude.
안내
Understand the ring dial principle
Understand the ring dial principle
Cut the meridian ring
Cut the meridian ring
이 단계의 재료:
 Brass Strip1 미터
필요한 도구:
 Jeweler's Saw
 Metal File
 Soldering Iron
 Solder Wire
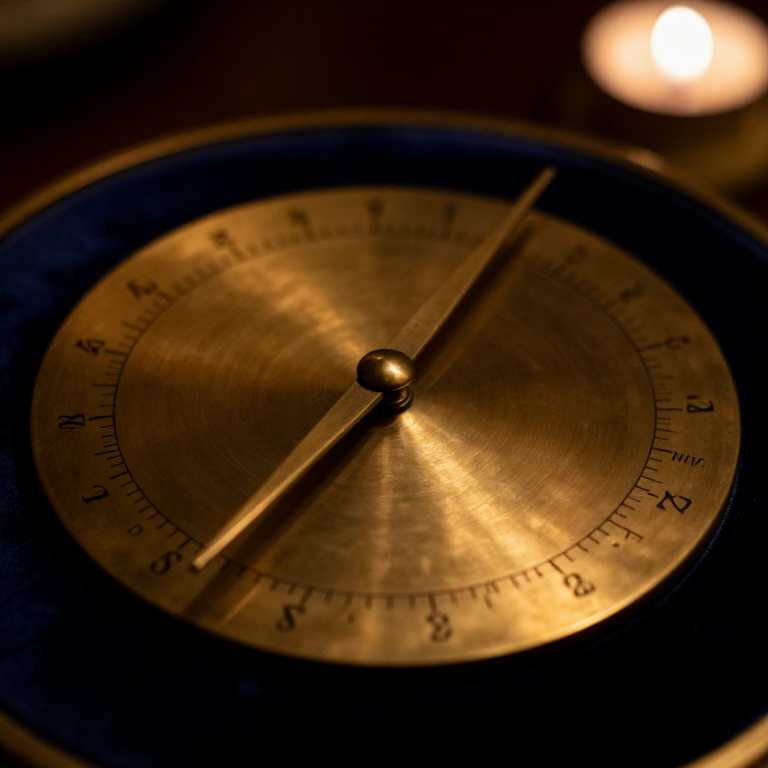
Graduate the meridian ring with latitude marks
Graduate the meridian ring with latitude marks
필요한 도구:
 Diamond Scriber
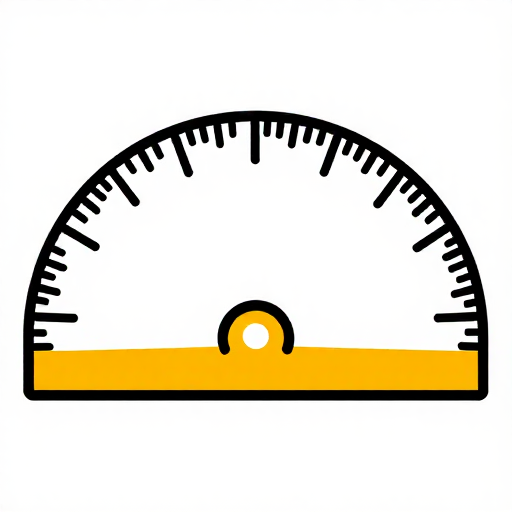 Protractor
 Dividers
Cut the equinoctial (hour) ring
Cut the equinoctial (hour) ring
이 단계의 재료:
Brass Strip1 미터필요한 도구:
Jeweler's SawMetal FileGraduate the equinoctial ring with hour marks
Graduate the equinoctial ring with hour marks
필요한 도구:
Diamond ScriberDividersMake the bridge piece with sliding cursor
Make the bridge piece with sliding cursor
이 단계의 재료:
 Brass Sheet1 개
필요한 도구:
Jeweler's SawMetal FileGraduate the bridge with the date/declination scale
Graduate the bridge with the date/declination scale
필요한 도구:
Diamond ScriberAdd the suspension ring and pivot
Add the suspension ring and pivot
이 단계의 재료:
Brass Strip1 미터Assemble and test the mechanism
Assemble and test the mechanism
필요한 도구:
Set the dial for your latitude and date
Set the dial for your latitude and date
Read the time and correct for longitude
Read the time and correct for longitude
Travel and tell time at any latitude
Travel and tell time at any latitude
연결된 블루프린트 재료
관련 블루프린트
이 블루프린트들은 지식을 공유합니다 — 기술, 재료 또는 원리
Related blueprints
Other builds that share materials, tools, or techniques with this one.
CC0 퍼블릭 도메인
이 블루프린트는 CC0로 공개되었습니다. 어떤 목적으로든 자유롭게 복사, 수정, 배포 및 사용할 수 있습니다.
제품 구매를 통해 메이커를 지원하세요. 판매자가 설정한 메이커 커미션 을 받거나, 이 블루프린트의 새로운 반복을 만들어 연결로 포함시킬 수 있습니다.