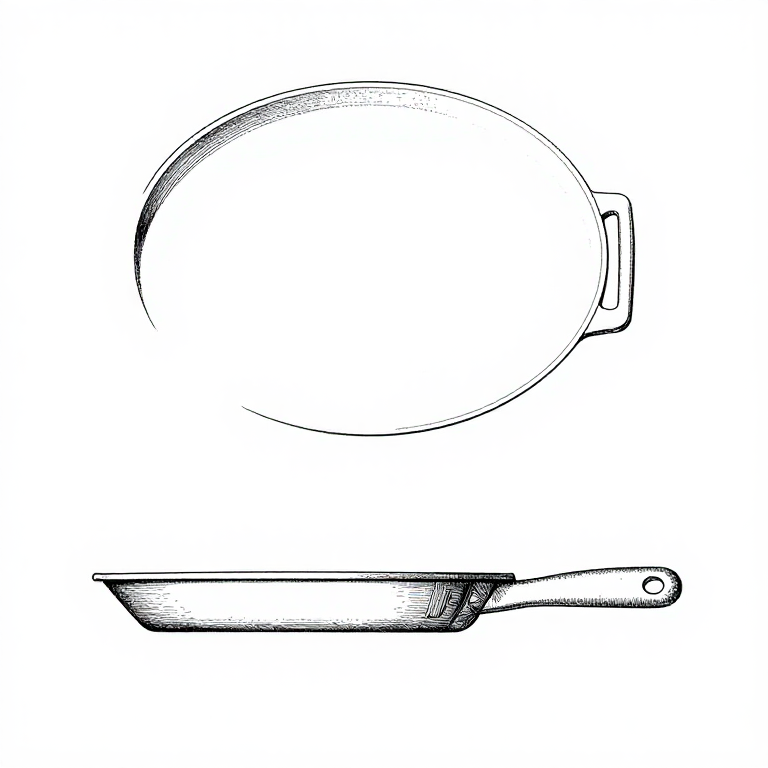
Forging a Viking Baking Griddle — Flatbread Iron
안내
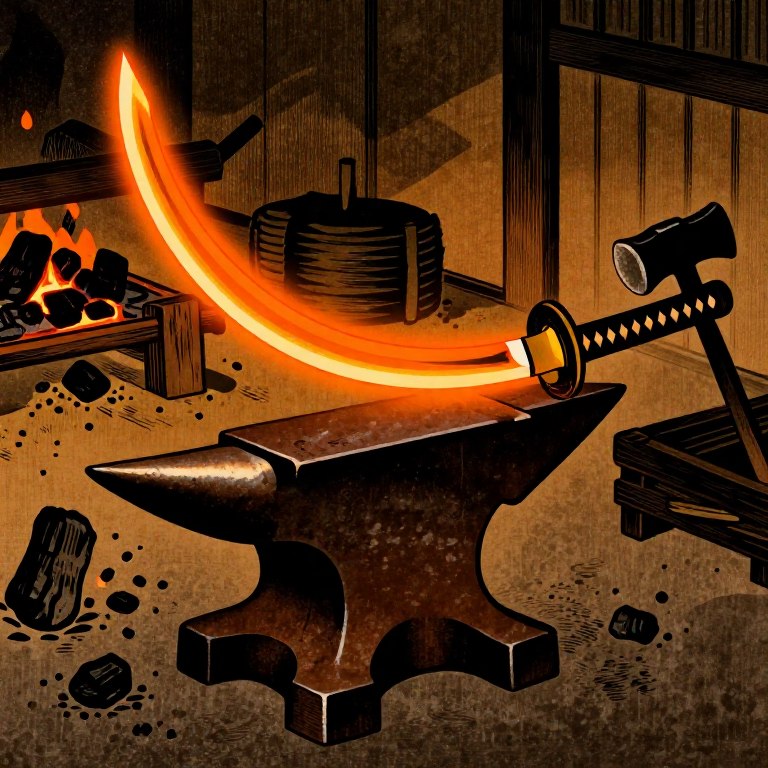
Prepare the Iron Stock
Prepare the Iron Stock
Heat bloom iron in the forge to orange-hot. Begin hammering it into a flat plate, working from the center outward in overlapping blows. Target dimensions: approximately 30cm diameter, 3-5mm thick. This requires a substantial amount of bloom iron — you may need to forge-weld multiple pieces together.
Work in stages, reheating frequently. Bloom iron cools rapidly when spread thin. Flip the plate regularly to maintain even thickness on both sides.
이 단계의 재료:
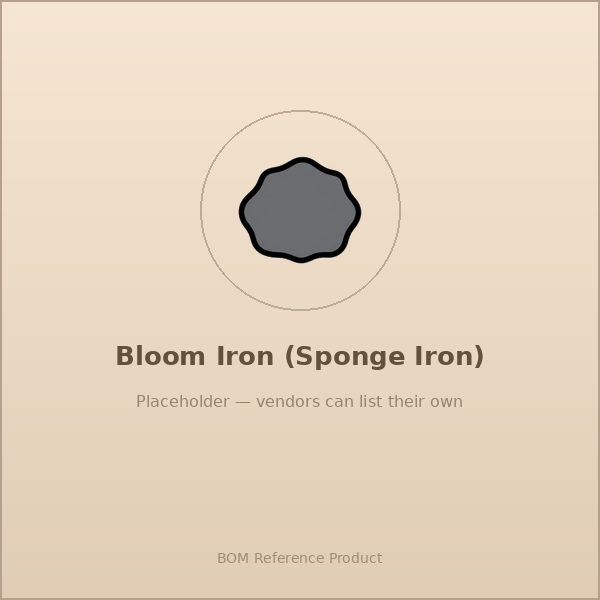 Bloom Iron (Sponge Iron)~1kg kgBloom Iron (Sponge Iron)~100g g
 Animal Fat (Tallow)Small amount 개
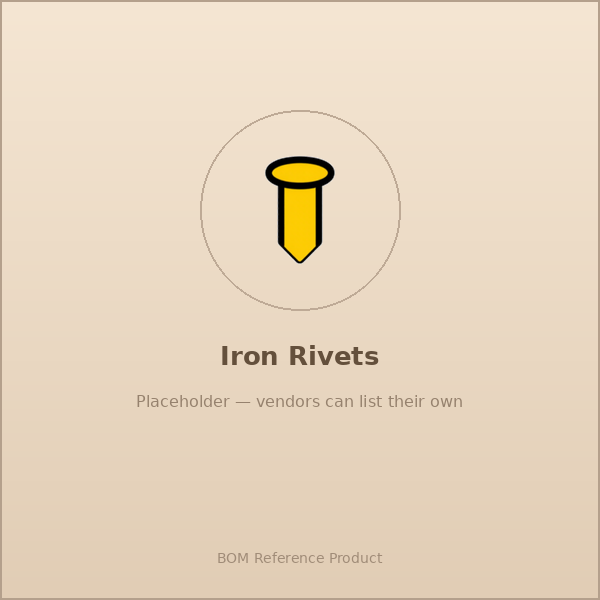 Iron Rivets2 개
필요한 도구:
 Anvil
Anvil Forge Hammer (Cross-Peen)
 Forge Tongs
 Bellows
Hammer to Even Thickness
Hammer to Even Thickness
Continue forging the plate on the flat face of the anvil, focusing on achieving uniform thickness across the entire surface. Thin spots will burn through in use; thick spots create uneven cooking. Use the flat face of the hammer with controlled, even blows.
Check thickness frequently by feel and by holding the plate up to light — thin spots will glow brighter when heated. Target 3-5mm throughout.
Smooth the Cooking Surface
Smooth the Cooking Surface
At a lower forging heat (dark red to black), planish the top surface with light, overlapping hammer blows using a flat-faced hammer. This smooths the surface and closes any small cracks. The cooking surface should be as smooth and flat as possible — lumps and dents cause bread to cook unevenly.
Forge the Handle Loop
Forge the Handle Loop
From a separate iron bar (approximately 15cm long, 1cm diameter), forge a loop or bracket handle. Heat the bar and bend it into a ring or hook shape using the horn of the anvil. The handle must allow safe lifting of the hot griddle from the hearth. A simple U-shaped loop riveted to the edge is the most practical design.
Attach the Handle
Attach the Handle
Attach the handle loop to the edge of the griddle plate by riveting. Punch two holes through both the handle base and the griddle edge, aligned. Insert iron rivets and peen them over on the back side. The rivets must be flush on the cooking surface.
Alternatively, the handle can be forge-welded directly to the plate — heat both pieces to welding temperature (white-hot, with sparks), press together, and hammer firmly to fuse the iron.
Season the Griddle
Season the Griddle
Heat the completed griddle over a fire until it is thoroughly hot. Rub the cooking surface generously with animal fat (tallow or lard) using a cloth pad. Allow the fat to smoke off and polymerize into a thin, dark, non-stick coating.
Repeat the oiling and heating process 2-3 times. Each layer builds up the seasoning, creating a better non-stick surface and protecting the iron from rust. The griddle is now ready for baking flatbread.
재료
4- ~1 kg 개플레이스홀더
- ~100 g 개플레이스홀더
- small amount 개플레이스홀더
- 2 개플레이스홀더
Related blueprints
Other builds that share materials, tools, or techniques with this one.

CC0 퍼블릭 도메인
이 블루프린트는 CC0로 공개되었습니다. 어떤 목적으로든 자유롭게 복사, 수정, 배포 및 사용할 수 있습니다.
제품 구매를 통해 메이커를 지원하세요. 판매자가 설정한 메이커 커미션 을 받거나, 이 블루프린트의 새로운 반복을 만들어 연결로 포함시킬 수 있습니다.