예술
뷰티 및 웰니스
공예
문화 및 역사
엔터테인먼트
환경
음식 및 음료
역공학
과학
스포츠
기술
웨어러블
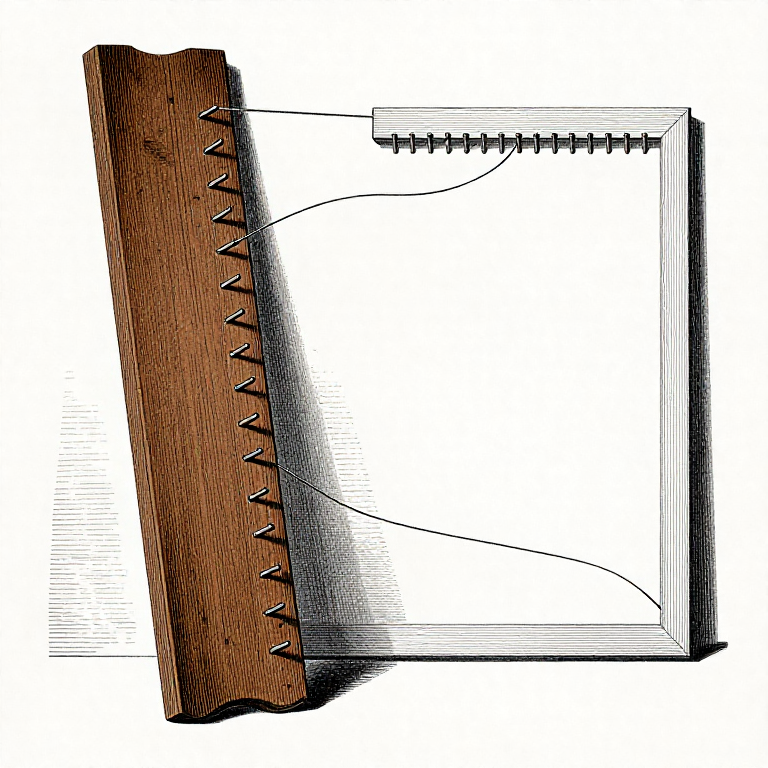


Warping: Most of Weaving Happens Before Any Weaving Happens
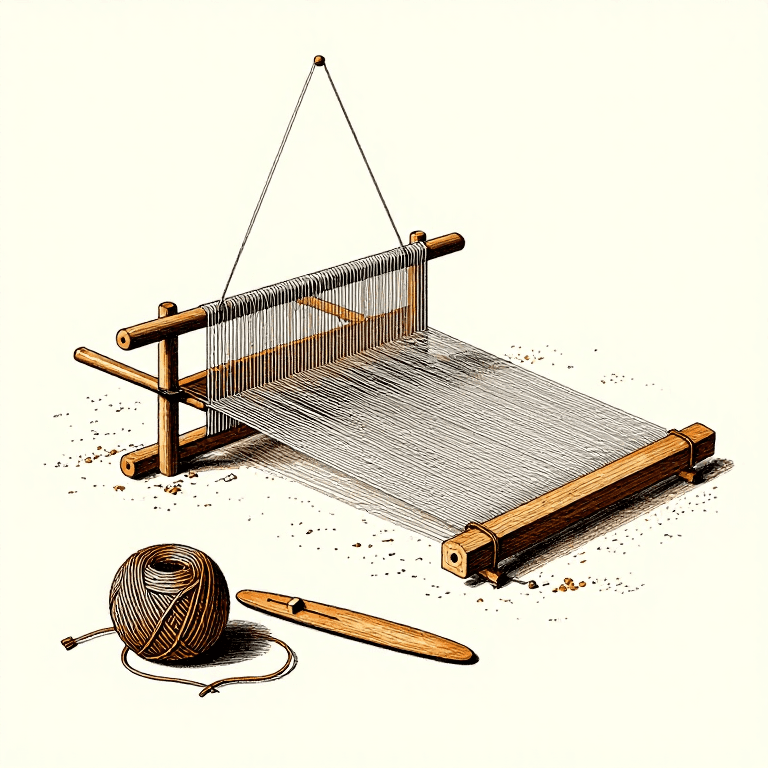
Weaving is interlacing two sets of threads. The **warp** runs the length of the cloth and is held under tension on the loom; the **weft** goes across and is put in one pick at a time.
Almost everything that can go wrong with a woven cloth was decided while the warp was being made and put on the loom, and almost none of it can be corrected afterwards. A single thread tensioned differently from its neighbours will show as a fault for the whole length of the cloth.
That is why warping takes longer than weaving on a short piece, and why every weaving tradition has a specific, unhurried procedure for it.
중급
5 hours
안내
1
1
Measuring the warp, and the cross
Measuring the warp, and the cross
**Work out the length first**, and add to it generously:
* the finished length wanted
* plus take-up, because the warp bends over every weft thread — 10% for a plain cloth
* plus shrinkage on washing — another 5 to 10%
* plus loom waste, the part that cannot be woven because it is tied to the beams: 45 cm on a small loom, up to a metre on a large one
Loom waste is a fixed cost, which is why weaving a 30 cm sample costs almost as much yarn as weaving a metre, and why weavers put several projects on one warp.
**Count the ends.** Width in centimetres times the sett — the next rung — plus a few extra at each selvedge.
**Make the cross.** As the threads are wound on the warping board, they are taken alternately over and under two pegs, so each thread's position in the order is locked. That figure of eight is the **cross**, and it is the single most important thing on a warping board: without it the warp is a bundle of identical threads in no known order, and there is no way to put it on the loom.
**Tie the cross in at least four places** before the warp comes off the board. A cross that slips is a warp that is lost.
이 단계의 재료:
 면 날실1 개
 아마 날실1 개
필요한 도구:
 자
자 가위
가위2
2
Getting it onto the loom evenly
Getting it onto the loom evenly
**Spread the warp to its full width before winding it on.** A raddle or the reed holds the threads at the right spacing, so the warp goes onto the beam as a flat even sheet rather than a rope. A warp wound on as a rope is tight in the middle and slack at the edges for its whole length.
**Wind under firm, even tension**, with someone holding the far end or with weights. This is the step where an extra pair of hands is worth more than any equipment.
**Interleave sticks or paper** between the layers on the beam. Without them each layer sinks into the one below, the tension changes as the beam unwinds, and the cloth changes with it halfway along.
**Thread the heddles in the order the cross gives**, one thread at a time, checking every few. A crossed thread found now is a minute's work; found after weaving has started it is an hour.
**Sley the reed** at the chosen sett, counting in groups so an error is caught within a few threads.
**Tie on in small bundles and adjust.** Tie all the bundles loosely, then go along tightening until the whole sheet sounds and feels the same. Press the flat of a hand across the warp: it should feel like one surface, not a row of separate threads at different tensions.
이 단계의 재료:
면 날실1 개필요한 도구:
 발판 바닥 베틀
 리지드 헤들 직기
 잉앗대
잉앗대3
3
Why tension is the whole job
Why tension is the whole job
**Uneven tension is the source of most weaving faults**, and each kind shows differently:
*A single slack thread* floats above the cloth in loops and never takes part in the interlacing properly. It shows as a visible line down the whole cloth.
*A single tight thread* is pulled straight while its neighbours bend around the weft, so the cloth puckers along it, and that thread wears and often breaks.
*Slack at the edges* makes the selvedges loopy and uneven.
*Tension that changes as the beam unwinds* makes the cloth change density along its length — a band of tighter weave and a band of looser one.
**The shed is the test.** When the shafts are raised, the opening between the two sheets of warp should be clean and triangular, with every thread in its own sheet. A thread sagging into the middle of the shed is a slack thread, and the shuttle will catch it.
**Fixing a slack thread mid-warp:** hang a small weight on it over the back beam, separate from the rest. This is the standard repair and it works indefinitely.
**A broken warp thread** is pinned into the cloth and a new length weighted from behind, with the ends woven in afterwards. It is routine, not a disaster.
이 단계의 재료:
면 날실1 개필요한 도구:
발판 바닥 베틀가위4
4
Choosing a warp yarn
Choosing a warp yarn
The warp has a harder life than the weft. It is under tension for the whole weaving, it is lifted and lowered thousands of times, and it rubs against the heddles and the reed every pick.
**So a warp yarn must be strong and smooth**, and that points at everything the earlier rungs covered: worsted preparation rather than woollen, plied rather than singles, and enough twist.
**The snap test.** Hold a length between both hands and pull hard. If it breaks easily it will break on the loom, hundreds of times, and each break is a repair. A yarn that fails this test is a weft yarn.
**The abrasion test.** Rub a length briskly against itself twenty times. A warp yarn survives; a fuzzy singles pills and thins.
**Anything can be weft.** Singles, novelty yarn, thick and thin handspun, unspun fibre, strips of cloth. The weft is laid in without tension and rubs against nothing, so the whole range of interesting yarn belongs there.
That asymmetry is worth planning around: **put the strong sensible yarn in the warp and the interesting yarn in the weft.** It is why so much handwoven cloth has a plain warp and a beautiful weft, and it is a design decision rather than a compromise.
A weak but wanted warp can be **sized** — dressed with a starch or gelatin size that washes out afterwards. That is what sizing has always been for.
이 단계의 재료:
면 날실1 개 물들이지 않은 모사1 개아마 날실1 개
필요한 도구:
 확대 루페
확대 루페관련 블루프린트
이 블루프린트들은 지식을 공유합니다 — 기술, 재료 또는 원리
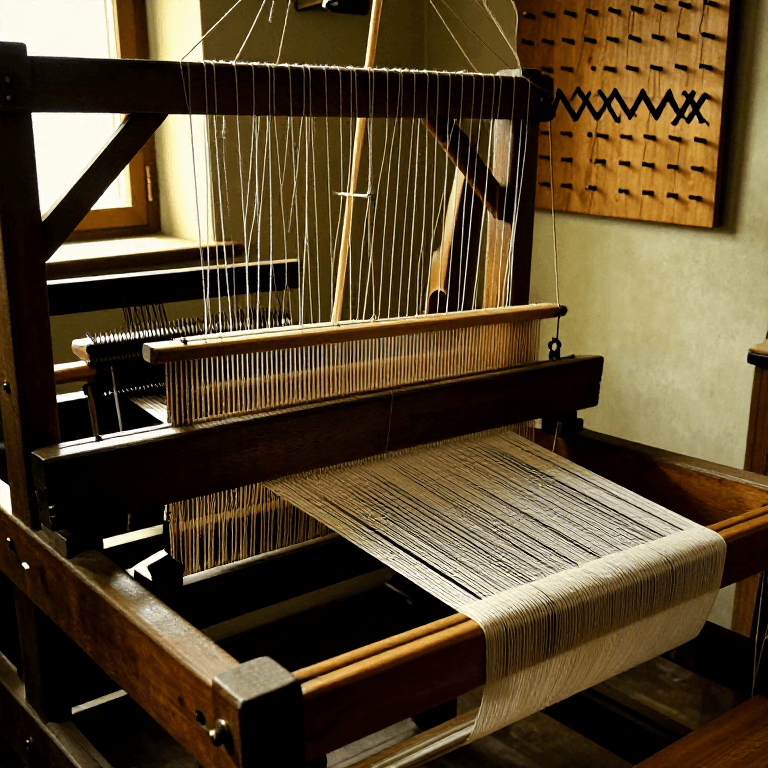
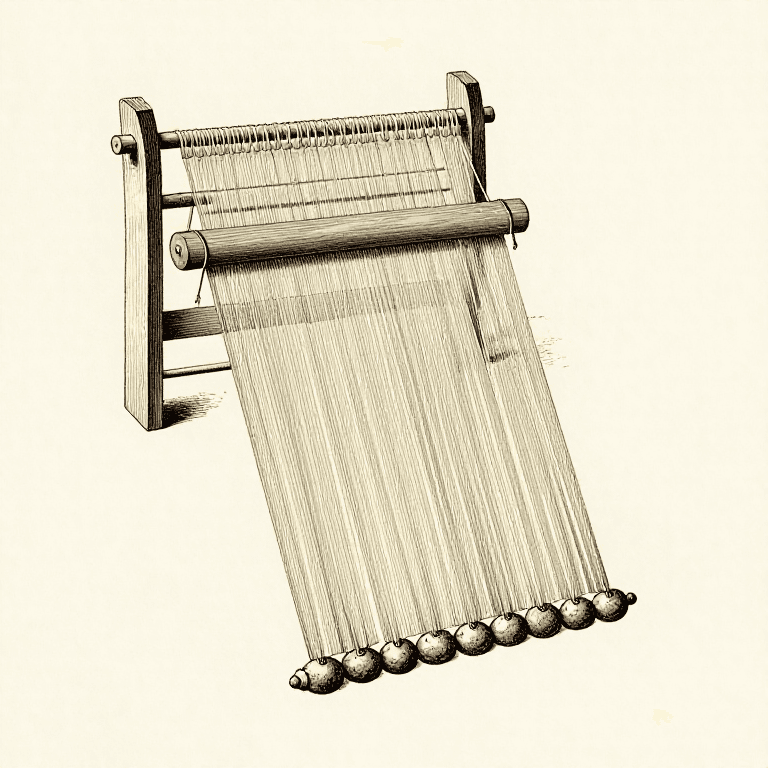
CC0 퍼블릭 도메인
이 블루프린트는 CC0로 공개되었습니다. 어떤 목적으로든 자유롭게 복사, 수정, 배포 및 사용할 수 있습니다.
제품 구매를 통해 메이커를 지원하세요. 판매자가 설정한 메이커 커미션 을 받거나, 이 블루프린트의 새로운 반복을 만들어 연결로 포함시킬 수 있습니다.