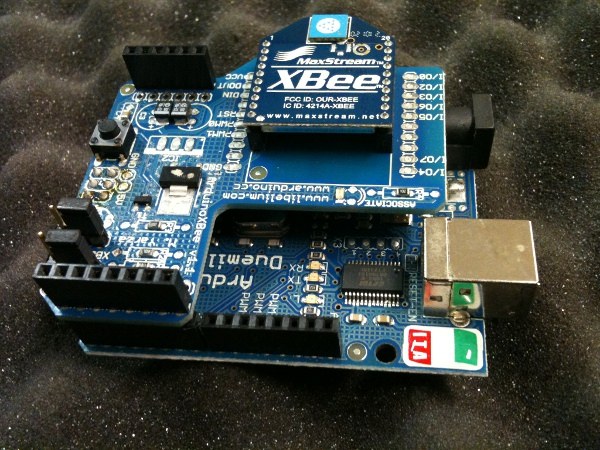


XBee Point-to-Point Wireless Link
안내
Solder headers to the XBee shield
Solder headers to the XBee shield
Solder the Arduino headers to the shield. The 2 mm XBee sockets are already fitted — only the 0.1 inch Arduino headers need soldering.
이 단계의 재료:
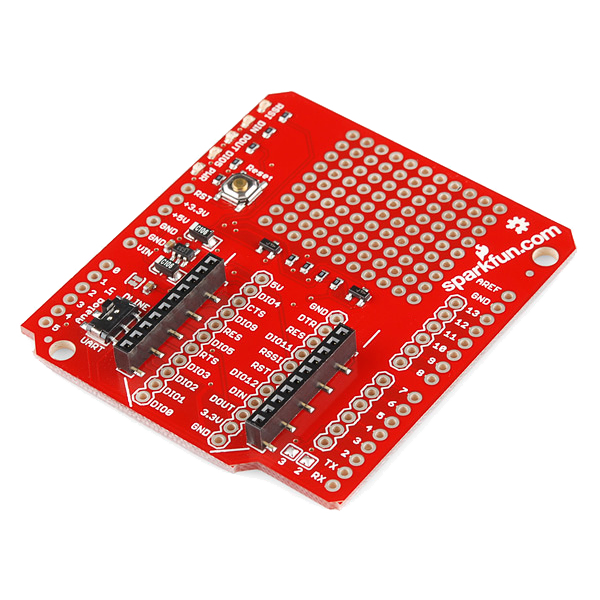 Sparkfun XBee Shield1 개
필요한 도구:
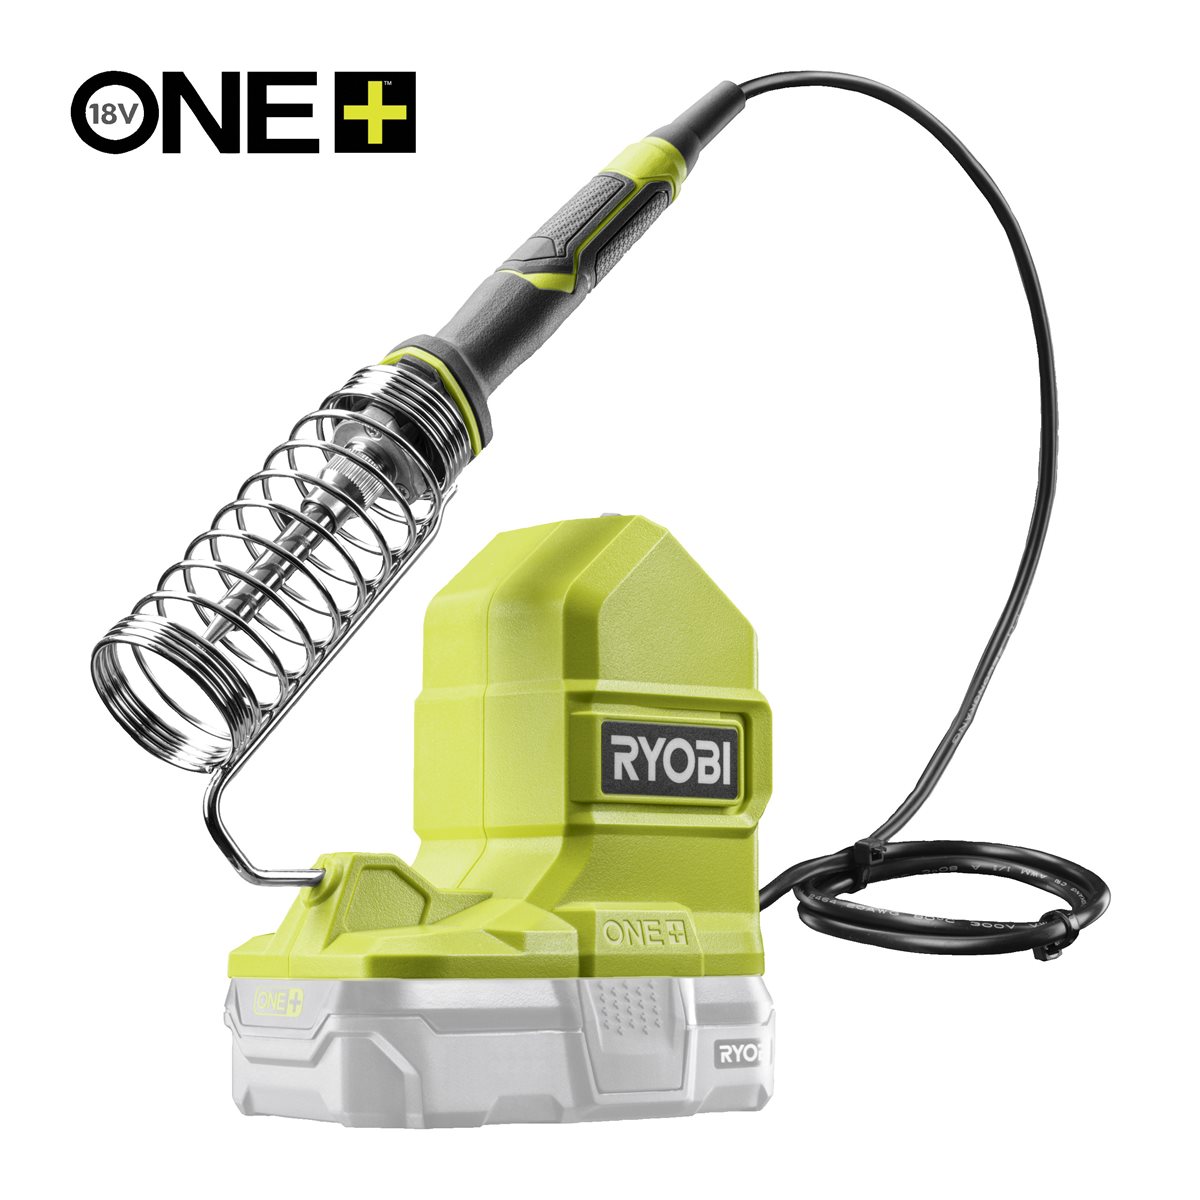 Ryobi ONE+ RSI18-0 Cordless Soldering Iron
Seat the radios — and mind the orientation
Seat the radios — and mind the orientation
One module into the USB explorer, the other into the shield.
- The modules are keyed: the pointed end of the outline matches the pointed end of the socket.
- Press straight down; the 2 mm pins bend easily.
이 단계의 재료:
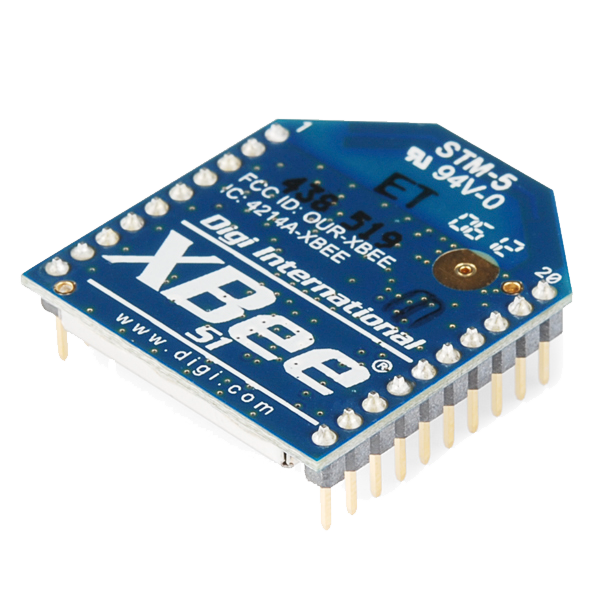 XBee 1mW Trace Antenna - Series 1 (802.15.4)2 개
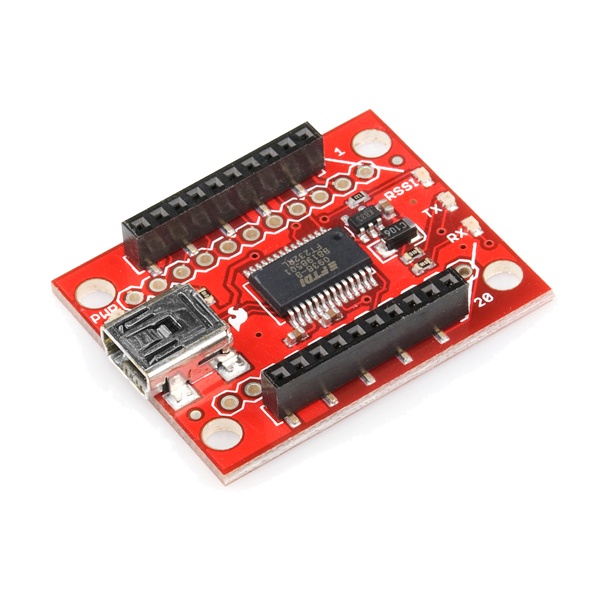 SparkFun XBee Explorer USB1 개
Confirm both radios share a network and channel
Confirm both radios share a network and channel
Plug the explorer into the computer and open a terminal at 9600 baud.
- Type +++ and wait — do not press Enter. The module replies OK.
- ATID shows the network identifier, ATCH the channel.
- Repeat for the second module and make the two match. ATWR saves.
Power the Arduino end and send bytes
Power the Arduino end and send bytes
Stack the shield on the Uno. Power over USB-B while testing; a 7–12 V supply on the barrel jack once it runs standalone.
Set the shield's UART switch to DLINE before uploading, then back for the radio to talk. On the SparkFun shield the radio shares the hardware UART with the USB port, so an upload and a live link cannot both use it at once.
이 단계의 재료:
 Arduino Uno R31 개
필요한 도구:
 USB-B 케이블
Find the range where it actually fails
Find the range where it actually fails
Walk the Arduino end away from the computer until the counter starts skipping, and write down the distance and what stood between the radios.
The quoted range assumes open air and line of sight. One brick wall or a metal cabinet cuts it sharply. Your measured figure is worth more than the datasheet's, because it is the one your project has to live with.재료
4- Sparkfun XBee Shield10% 수수료1 개₩190
- ₩323
- SparkFun XBee Explorer USB10% 수수료1 개₩323
- 플레이스홀더
필요 도구
2- ₩1,244
- 1 vendor sell this, none ship to you yet플레이스홀더
CC0 퍼블릭 도메인
이 블루프린트는 CC0로 공개되었습니다. 어떤 목적으로든 자유롭게 복사, 수정, 배포 및 사용할 수 있습니다.
제품 구매를 통해 메이커를 지원하세요. 판매자가 설정한 메이커 커미션 을 받거나, 이 블루프린트의 새로운 반복을 만들어 연결로 포함시킬 수 있습니다.