Extracting Birch Tar — Stone Age Adhesive by Pyrolysis
คำแนะนำ
Prepare the Birch Bark
Prepare the Birch Bark
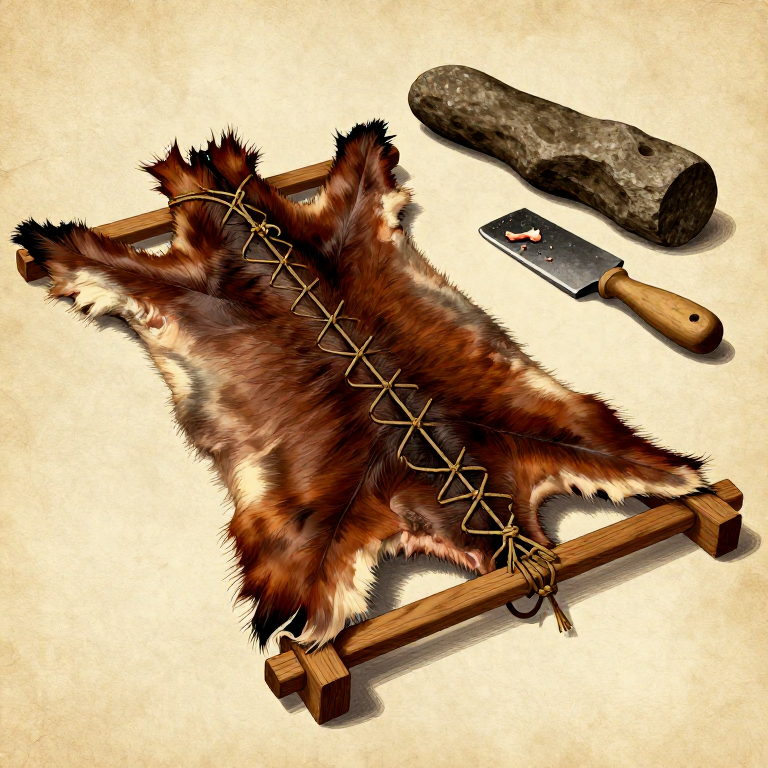
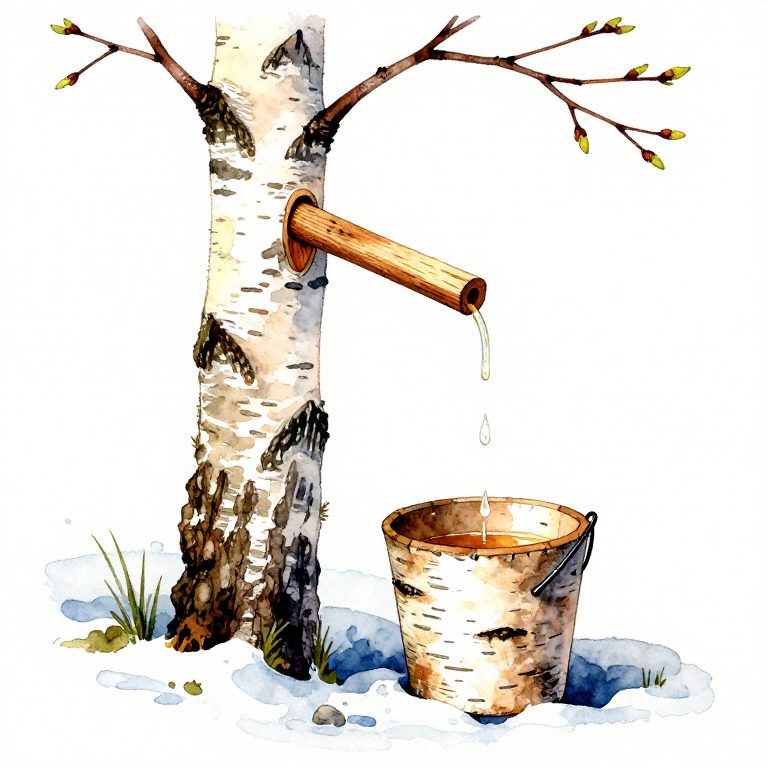
Collect a large quantity of birch bark — you need roughly a bucket-full of tightly packed bark to produce just a few tablespoons of tar. This is a low-yield but historically vital process.
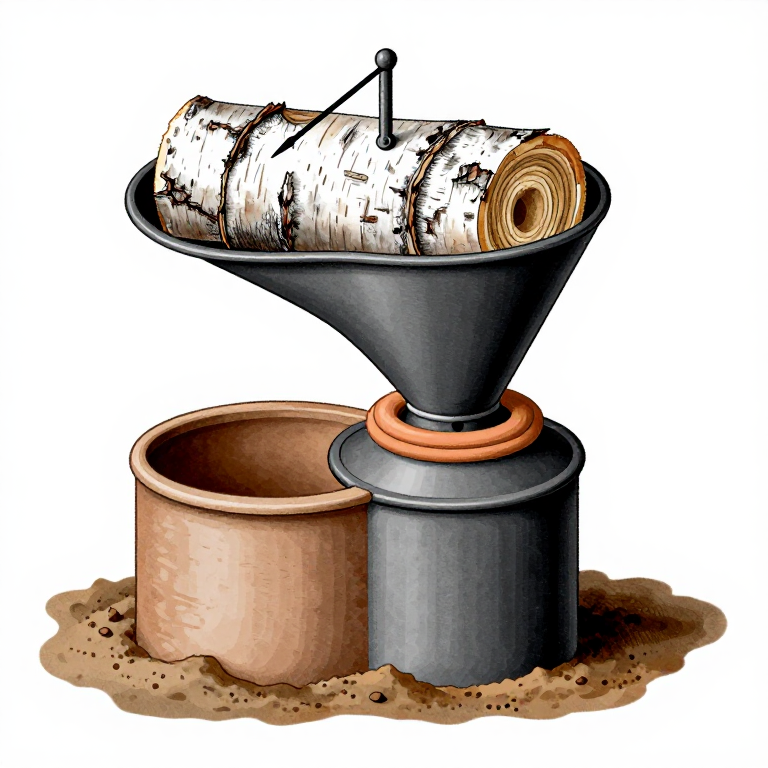
Roll the bark into tight cylinders or fold into compact bundles. The bark must be packed tightly to undergo pyrolysis (thermal decomposition without oxygen) rather than simply burning.
Birch tar production dates back at least 200,000 years — Neanderthals at Königsaue (Germany) used it to haft stone tools. This makes it the oldest known synthetic material in human history.
Build the Double-Pot Still
Build the Double-Pot Still
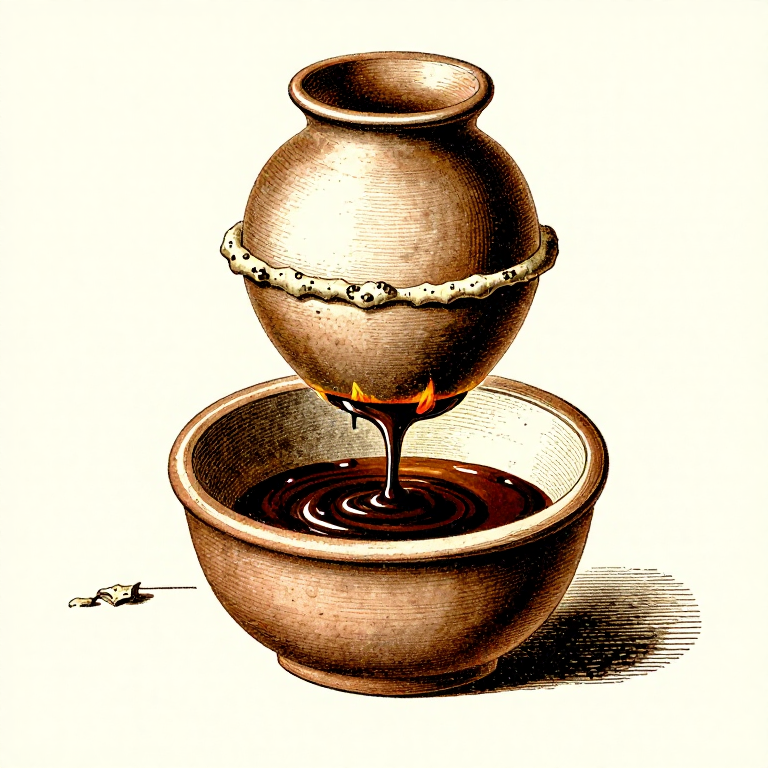
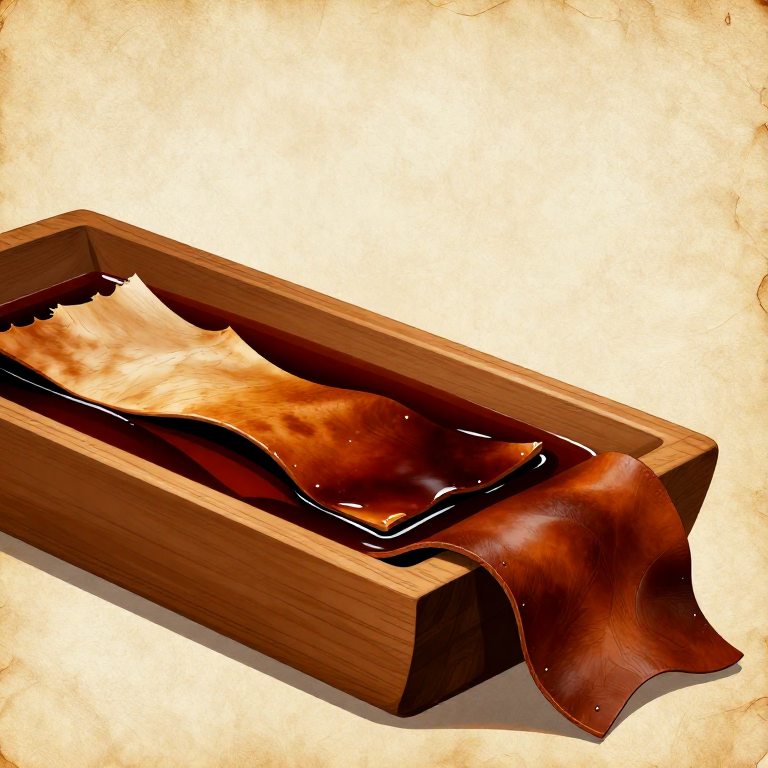
The "double-pot" or "pit roll" method is the most reliable primitive technique. You need two containers — traditionally clay pots, but tin cans work for practice.
Method: Punch a small hole in the bottom of the upper pot. Pack it tightly with rolled birch bark. Place it upside-down over the lower pot (which sits in a hole in the ground to keep it cool). Seal the joint between the two pots with clay to create an airtight seal.
The bark in the upper pot will be heated, releasing tar vapor that condenses and drips through the hole into the cooler lower pot.
Fire and Extract
Fire and Extract
Build a fire around and over the upper pot. The temperature must reach 340-400°C inside the bark chamber — hot enough for pyrolysis but not so hot that the tar burns. This requires a moderate, sustained fire for 2-3 hours.
Key indicators: white smoke from the seal means bark is pyrolyzing correctly. Black smoke means temperature is too high — reduce fire. No smoke means insufficient heat.
Do not open the apparatus during the process. The exclusion of oxygen is what makes this work — open air would cause the bark to simply combust instead of yielding tar.
Collect and Refine the Tar
Collect and Refine the Tar
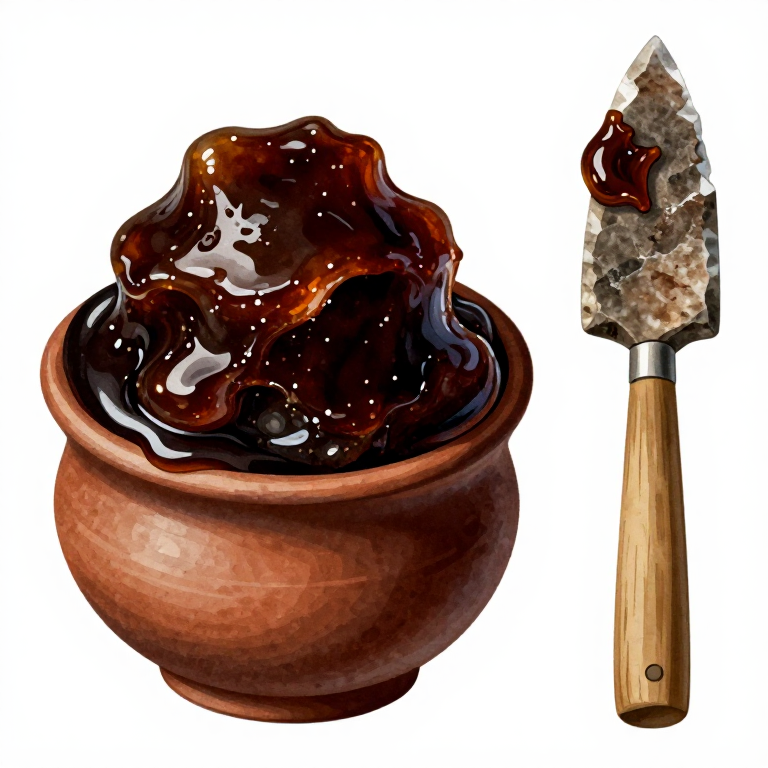
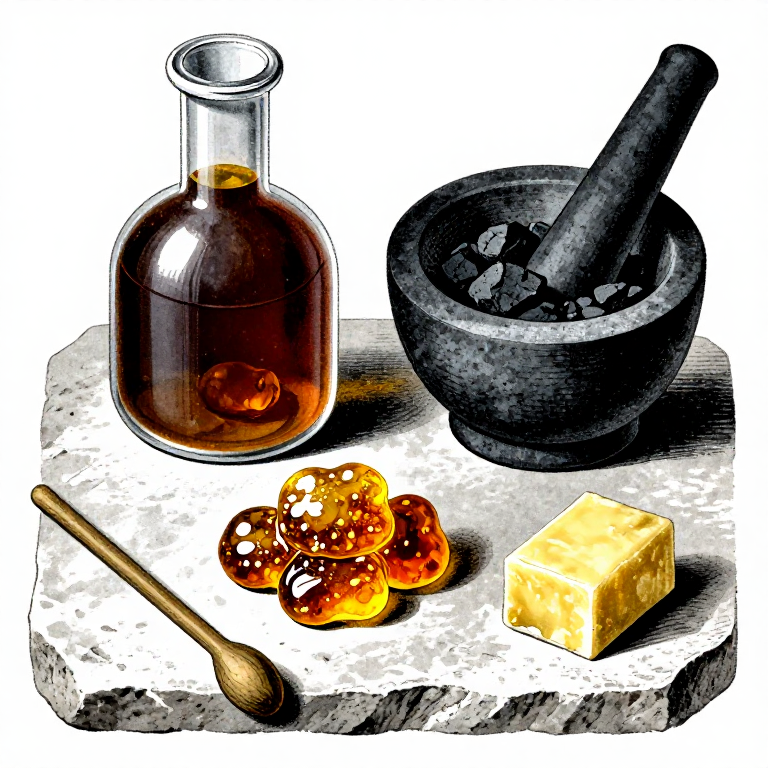
After the fire dies and the apparatus cools (2-3 hours), carefully separate the pots. The lower pot should contain a dark brown to black viscous liquid — birch tar. Expect only 2-5 tablespoons from a large batch of bark.
Raw tar can be used immediately as an adhesive. For a thicker, more workable consistency, gently reheat the tar in a small vessel to evaporate excess moisture. Be careful — birch tar is flammable.
The finished tar is a powerful adhesive, waterproofing agent, and antimicrobial coating. Vikings used it to waterproof boats, preserve leather, and as a medicinal salve. Chemical analysis shows it contains phenols, cresols, and guaiacol — all with antiseptic properties.
Test and Apply
Test and Apply
Test adhesion by applying a thin layer between two pieces of wood and pressing firmly. Birch tar sets as it cools and hardens over hours. It can be reheated and reworked repeatedly.
For hafting stone tools (the original use), apply warm tar to the tang or base of the stone, press into a split wooden handle, and wrap with sinew while the tar is still tacky. The combination of tar and sinew binding creates an extremely strong joint.
Store unused tar as a solid lump — it keeps indefinitely. Rewarm over flame to make it workable again. Chewing birch tar was common in Scandinavia (traces of teeth marks found on ancient tar lumps) and may have served as a natural antiseptic for gum infections.
Required Equipment
Equipment this kind of build typically needs — buy from any maker below.
- CriticalNitrile Lab Gloves·
 Boxing Gloves (Training)
 Leather Gauntlet Gloves
 Cotton Gloves
 Welding Gloves
 Heavy-Duty Gloves
 Leather Work Gloves
 - CriticalChemical Splash Goggles·
 Splash-Proof Safety Goggles
 Chemical Splash Goggles
 Safety Goggles
 Welding Goggles
 Laser Safety Goggles Set
 Anti-Fog Safety Goggles
 - RecommendedBeaker·
 Borosilicate Beaker
 Heat-Resistant Glass Beaker (1 liter)
 Glass Beaker (Borosilicate, 500ml)
 Volumetric Beaker
 Borosilicate Glass Beaker
 Beaker Set
 - RecommendedDust Mask / Respirator·
 Full-Face Gas Mask (ABEK multi-gas cartridge)
 Dust Mask
 Venetian Mask Blank (Papier-Mache)
 Full-Face Respirator
 Respirator Fit Test Kit
 Respirator with Acid Gas Cartridge
 - RecommendedGraduated Cylinder·
 Graduated Cylinder (100 ml)
 Cast Iron Cylinder
 Graduated Mixing Cups (50-Pack)
 Measuring Cylinder
 Hydraulic Cylinder
 Graduated Cylinder (10ml)
 - RecommendedSafety Glasses·
 Safety Sign (Caution/Warning)Splash-Proof Safety Goggles
 Reflective Safety Vest Kit (DIY)Chemical Splash Goggles
 Safety Netting for Rockfall
 Steel-Toed Safety Boots
 - RecommendedPrecision Scale·
 Iron Scale
 Livestock Scale
 Architectural Model Kit (Scale 1:100)
 Weighing Scale
 Precision Scale
 Platform Weighing Scale
 - RecommendedWork Gloves·Boxing Gloves (Training)Leather Gauntlet GlovesCotton GlovesWelding GlovesHeavy-Duty GlovesLeather Work Gloves
- OptionalFire Extinguisher·
 ABC Fire Extinguisher
 Fire Extinguisher
 - OptionalFirst Aid Kit·
 First Aid Kit
 Mountain First Aid Kit (Altitude)
 Workshop First Aid Kit
 Bow Release Aid
Related blueprints
Other builds that share materials, tools, or techniques with this one.
CC0 สาธารณสมบัติ
พิมพ์เขียวนี้เผยแพร่ภายใต้ CC0 คุณสามารถคัดลอก แก้ไข แจกจ่าย และใช้งานผลงานนี้เพื่อวัตถุประสงค์ใดก็ได้ โดยไม่ต้องขออนุญาต
สนับสนุนเมกเกอร์โดยซื้อสินค้าผ่านพิมพ์เขียวของพวกเขา ซึ่งพวกเขาจะได้รับ ค่าคอมมิชชันเมกเกอร์ ที่ผู้ขายกำหนด หรือสร้างเวอร์ชันใหม่ของพิมพ์เขียวนี้และรวมเป็นการเชื่อมต่อในพิมพ์เขียวของคุณเพื่อแบ่งรายได้