කලාව
රූපලාවණ්ය සහ සුවතාව
ශිල්පය
සංස්කෘතිය සහ ඉතිහාසය
විනෝදාස්වාදය
පරිසරය
ආහාර සහ පාන
ප්රතිලෝම ඉංජිනේරු
විද්යාවන්
ක්රීඩා
තාක්ෂණය
පැළඳිය හැකි
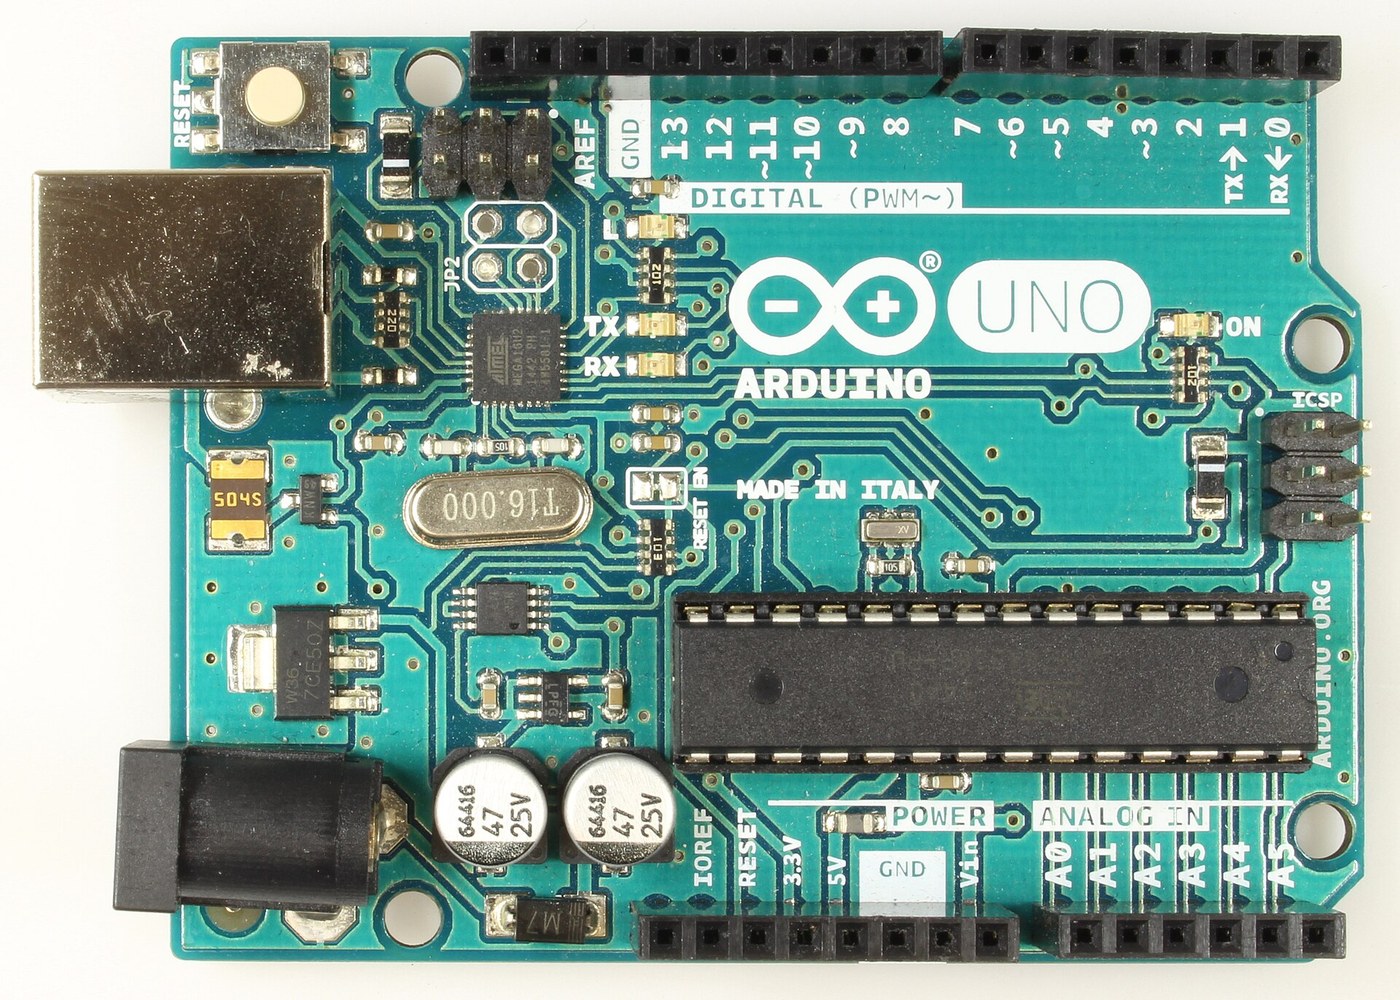


Arduino Uno R3: Assembled from Arduino's Open UNO-TH Rev3e Design Files and Flashed over ICSP
The Arduino Uno R3 is open hardware: Arduino publishes its schematic and board layout. This blueprint builds one from those files, part by part, then loads the firmware into its two processors.
Result: an Arduino Uno R3. An ATmega328P (16 MHz, 32 kB flash, 2 kB SRAM, 1 kB EEPROM) runs your programs; an ATmega16U2 turns USB into its serial link. It runs from USB (5.5 V at most) or 6-20 V at the DC jack.
Source: Arduino UNO-TH_Rev3e design files and the A000066 schematic and datasheet (Arduino, CC BY-SA). Unknown: how every bought part is made; no public source in hand says. The soldering method is ours. Picture: Wikimedia Commons.
උසස්
1 day
උපදෙස්
1
1
Get the bare board
Get the bare board
Have the two-layer board made to Arduino's UNO-TH_Rev3e board layout (the .brd file of the design files). Check it against the schematic before fitting anything.
මෙම පියවර සඳහා ද්රව්ය:
 මුද්රිත පරිපථ පුවරුව1 UNO-TH Rev3e layout
අවශ්ය මෙවලම්:
 විශාලන ලූපය
2
2
Fit the small surface-mount parts
Fit the small surface-mount parts
Solder the chip parts to their marked places: resistor arrays RN1 (10K), RN2 and RN4 (1K), RN3 (22R); R1, R2 (1M); capacitors C1, C2, C4-C7, C10 (100n), C3, C8 (1u), C9, C11 (22p); varistors Z1, Z2; ferrite bead L1; inductor L2 (10 uH); diodes D2, D3; LEDs ON (green), L, RX, TX (yellow). Ours: flux, tweezers and hot air or a fine iron, checked under a loupe.
මෙම පියවර සඳහා ද්රව්ය:
 චිප් ප්රතිරෝධක පෙළ4 RN1-RN4
 චිප් ප්රතිරෝධකය2 1M
 සෙරමික් චිප් ධාරිත්රකය11 7x100n, 2x1u, 2x22p
 චිප් වැරිස්ටරය2 Z1, Z2
 ෆෙරයිට් පබළුව1 L1
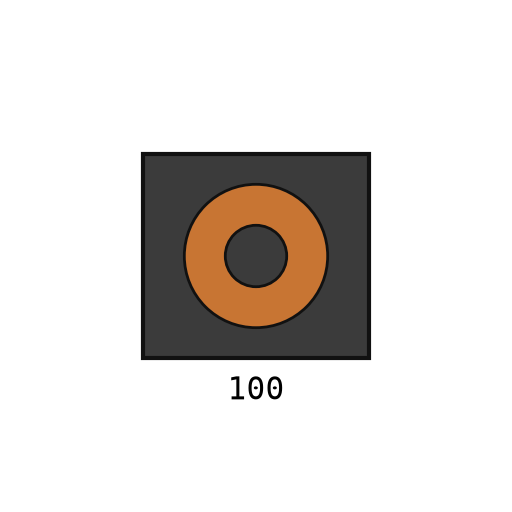 මතුපිට-සවි ප්රේරකය1 L2
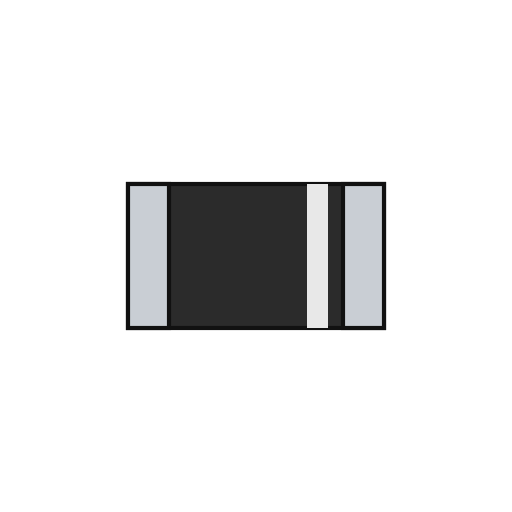 මතුපිට-සවි ඩයෝඩය2 D2, D3
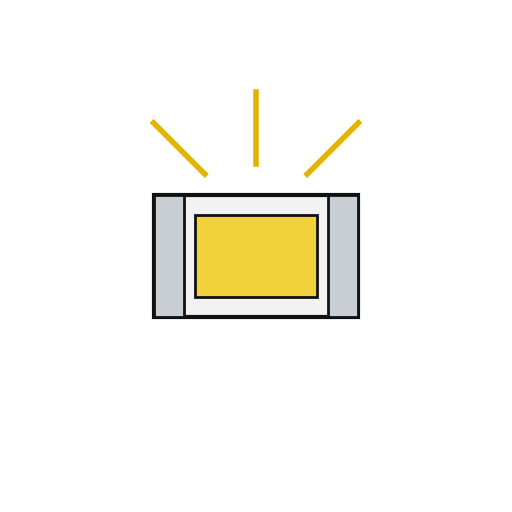 චිප් LED4 1 green, 3 yellow
 පාස්සන ඊයම් කම්බිය1 a little
අවශ්ය මෙවලම්:
 ෆ්ලක්ස්
 තියුණු තුඩු අඬු
 උණුසුම් වායු අලුත්වැඩියා ඒකකය
 පෑස්සුම් කූරුවිශාලන ලූපය
3
3
Fit the power and chip parts
Fit the power and chip parts
Solder the ATmega16U2 (U3), the 16 MHz resonator Y2 and crystal Y1, the 5 V regulator NCP1117 (U1) and 3.3 V regulator LP2985 (U2), the LMV358 op-amp (U5), the FDN340P transistor (T1), the M7 diode (D1), the 500 mA resettable fuse (F1) and the 47 uF capacitors PC1, PC2 with their polarity as marked.
මෙම පියවර සඳහා ද්රව්ය:
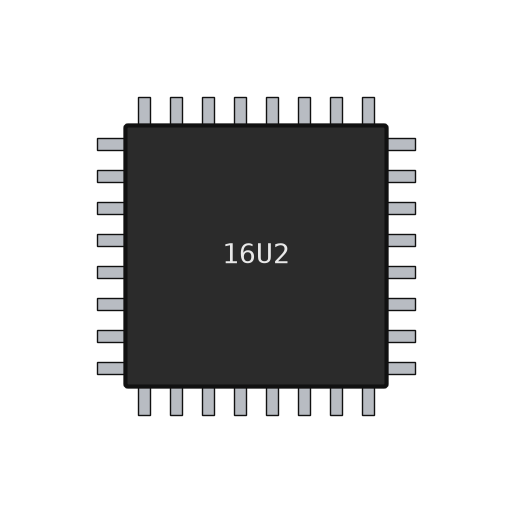 ATmega16U2 ක්ෂුද්ර පාලකය1 U3
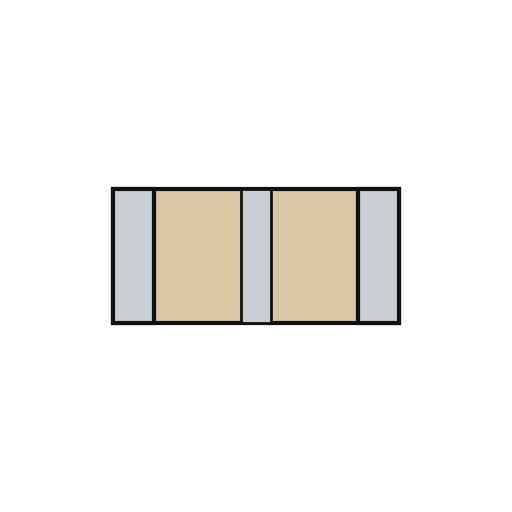 පීසෝවිද්යුත් සෙරමික් අනුනාදකය1 Y2
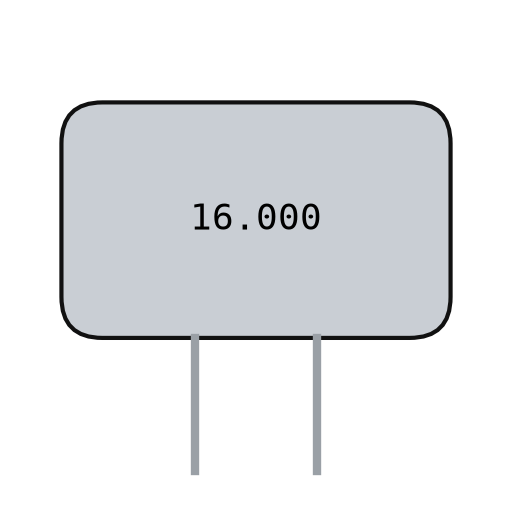 ක්වාර්ට්ස් ස්ඵටිකය1 Y1
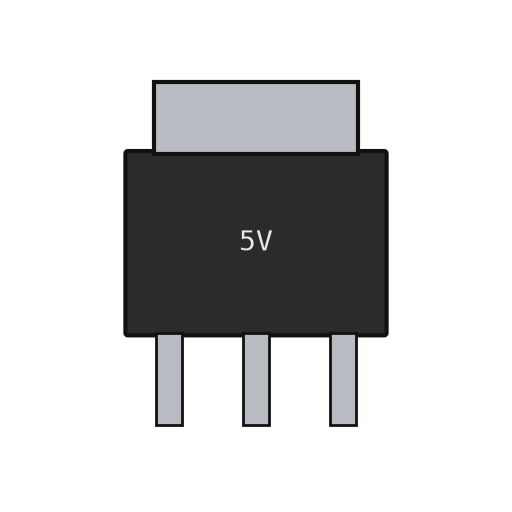 රේඛීය වෝල්ටීයතා නියාමකය2 U1 5 V, U2 3.3 V
 ඔප්-ඇම්ප් IC1 U5 LMV358
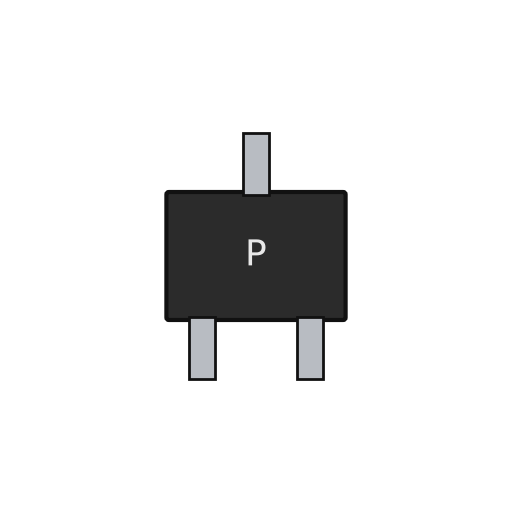 P-නාලිකා MOSFET1 T1මතුපිට-සවි ඩයෝඩය1 D1 M7
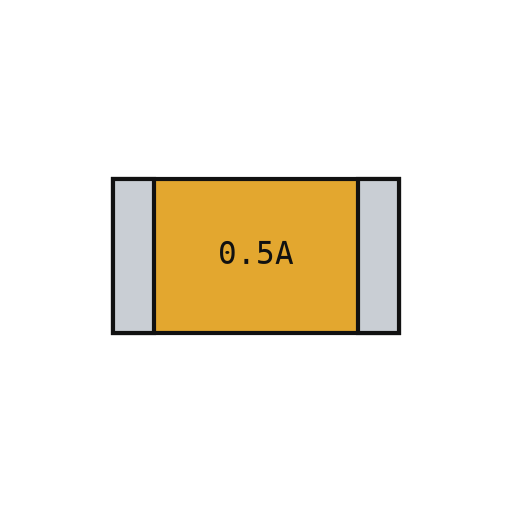 යළි සැකසිය හැකි විලායකය1 F1
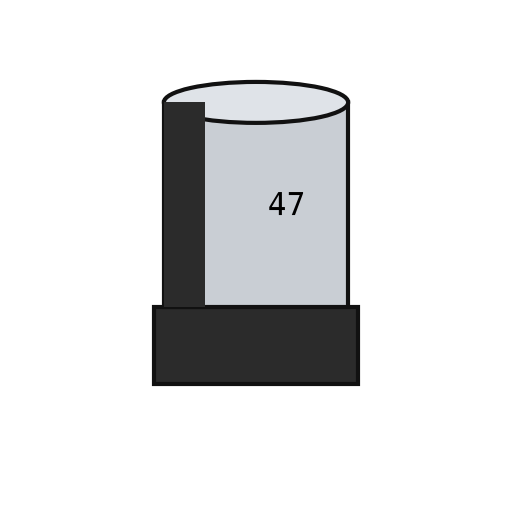 ධ්රැවීය චිප් ධාරිත්රකය2 PC1, PC2පාස්සන ඊයම් කම්බිය1 a little
අවශ්ය මෙවලම්:
ෆ්ලක්ස්තියුණු තුඩු අඬුඋණුසුම් වායු අලුත්වැඩියා ඒකකයපෑස්සුම් කූරුවිශාලන ලූපය4
4
Fit the through-hole parts
Fit the through-hole parts
Solder the USB-B socket (X2), the DC jack (X1), the reset switch, the female headers (one 10-way, two 8-way, one 6-way) and the two 2x3 ICSP headers. Seat the ATmega328P in its place (ZU4).
මෙම පියවර සඳහා ද්රව්ය:
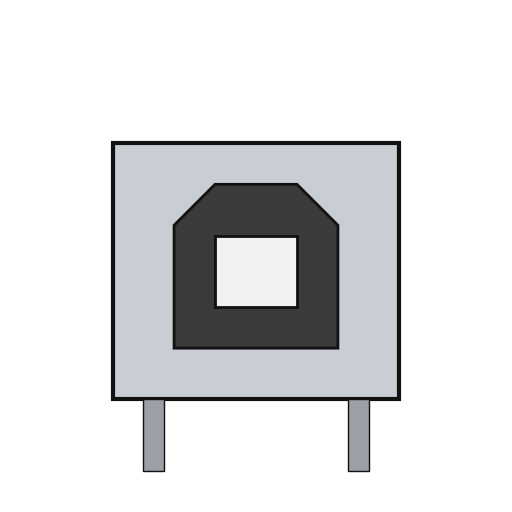 USB-B කෙවෙනිය1 X2
 බැරල් බල සොකට්ටුව1 X1
 තල්ලු බොත්තම1 RESET
 පින් හෙඩරය6 10x1, 2x 8x1, 6x1 female; 2x 3x2 ICSP
 ATmega328P ක්ෂුද්ර පාලකය1 ZU4පාස්සන ඊයම් කම්බිය1 as needed
අවශ්ය මෙවලම්:
පෑස්සුම් කූරු5
5
Flash and check
Flash and check
Check with a meter that 5 V and GND are not shorted. Through the ICSP headers, load the USB-to-serial firmware into the ATmega16U2 and the bootloader into the ATmega328P. Plug in USB: the green ON LED lights, and the blink test in the next step flashes the L LED. Ours: an AVR ISP programmer and a multimeter.
මෙම පියවර සඳහා ද්රව්ය:
 Arduino Uno ස්ථිරාංග1 download
අවශ්ය මෙවලම්:
 බහුමානකය
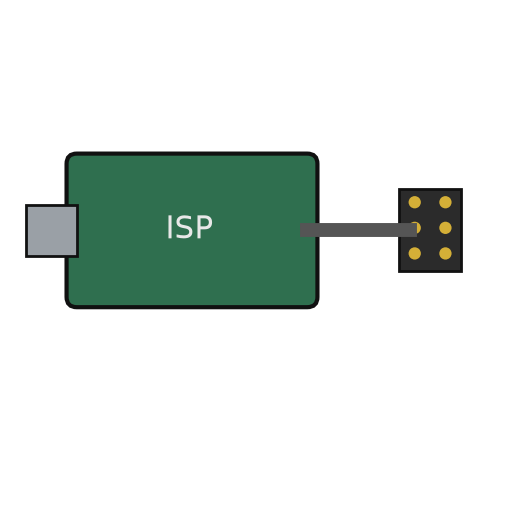 AVR ISP ක්රමලේඛකය
 USB-B කේබලය
6
6
The blink test
The blink test
blink_test.ino: the same check as Arduino's Blink example. Upload it over USB from the Arduino IDE with the board set to Arduino Uno; the L LED on pin 13 turns on for one second and off for one second, over and over. If it does, both processors, the USB link and the bootloader work.
blink_test.inocpp
අවශ්ය මෙවලම්:
USB-B කේබලයද්රව්ය
24- 1 UNO-TH Rev3e layoutස්ථානගත
- 4 RN1-RN4ස්ථානගත
- 2 1Mස්ථානගත
- 11 7x100n, 2x1u, 2x22pස්ථානගත
- 2 Z1, Z2ස්ථානගත
- 1 L1ස්ථානගත
- ස්ථානගත
- 1 D1 M7ස්ථානගත
- 4 1 green, 3 yellowස්ථානගත
- 1 as neededස්ථානගත
- ස්ථානගත
- ස්ථානගත
- ස්ථානගත
- 2 U1 5 V, U2 3.3 Vස්ථානගත
- 1 U5 LMV358ස්ථානගත
- 1 T1ස්ථානගත
- ස්ථානගත
- 2 PC1, PC2ස්ථානගත
- 1 X2ස්ථානගත
- ස්ථානගත
- ස්ථානගත
- ස්ථානගත
- ස්ථානගත
- 1 downloadස්ථානගත
මෙම සැලසුම සාදන්නේ
සම්බන්ධ බ්ලූප්රින්ට්
මෙම බ්ලූප්රින්ට් දැනුම බෙදා ගනී — ශිල්ප ක්රම, ද්රව්ය හෝ මූලධර්ම
CC0 පොදු වසම
මෙම බ්ලූප්රින්ට් CC0 යටතේ නිකුත් කර ඇත. ඔබට අවසර නොමැතිව පිටපත් කිරීම, වෙනස් කිරීම, බෙදා හැරීම සහ භාවිතා කිරීම කළ හැක.
බ්ලූප්රින්ට් හරහා නිෂ්පාදන මිලදී ගැනීමෙන් නිර්මාතෘට සහාය වන්න නිර්මාතෘ කොමිසම විකුණුම්කරුවන් විසින් නියම කළ, හෝ මෙම බ්ලූප්රින්ට්හි නව අනුවාදයක් සාදා ආදායම බෙදා ගැනීමට ඔබේ බ්ලූප්රින්ට්හි සම්බන්ධතාවයක් ලෙස ඇතුළත් කරන්න.