කලාව
රූපලාවණ්ය සහ සුවතාව
ශිල්පය
සංස්කෘතිය සහ ඉතිහාසය
විනෝදාස්වාදය
පරිසරය
ආහාර සහ පාන
ප්රතිලෝම ඉංජිනේරු
විද්යාවන්
ක්රීඩා
තාක්ෂණය
පැළඳිය හැකි
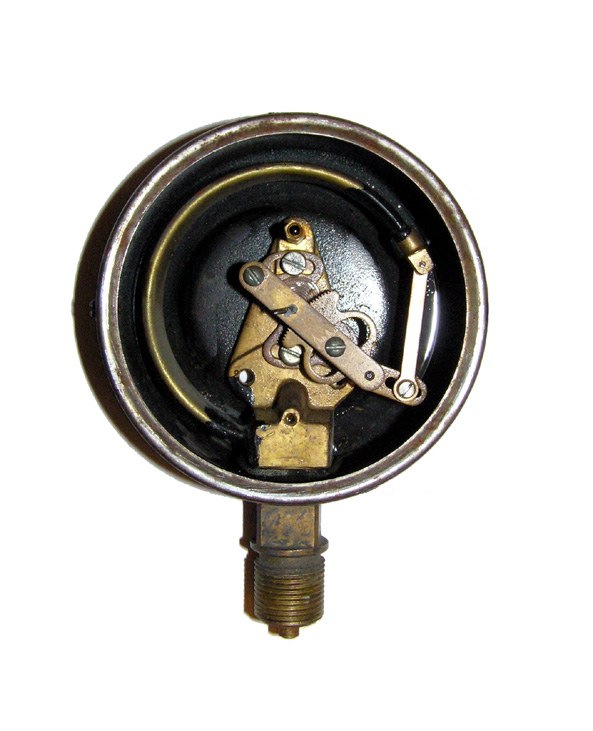


Bourdon-Tube Pressure Gauge
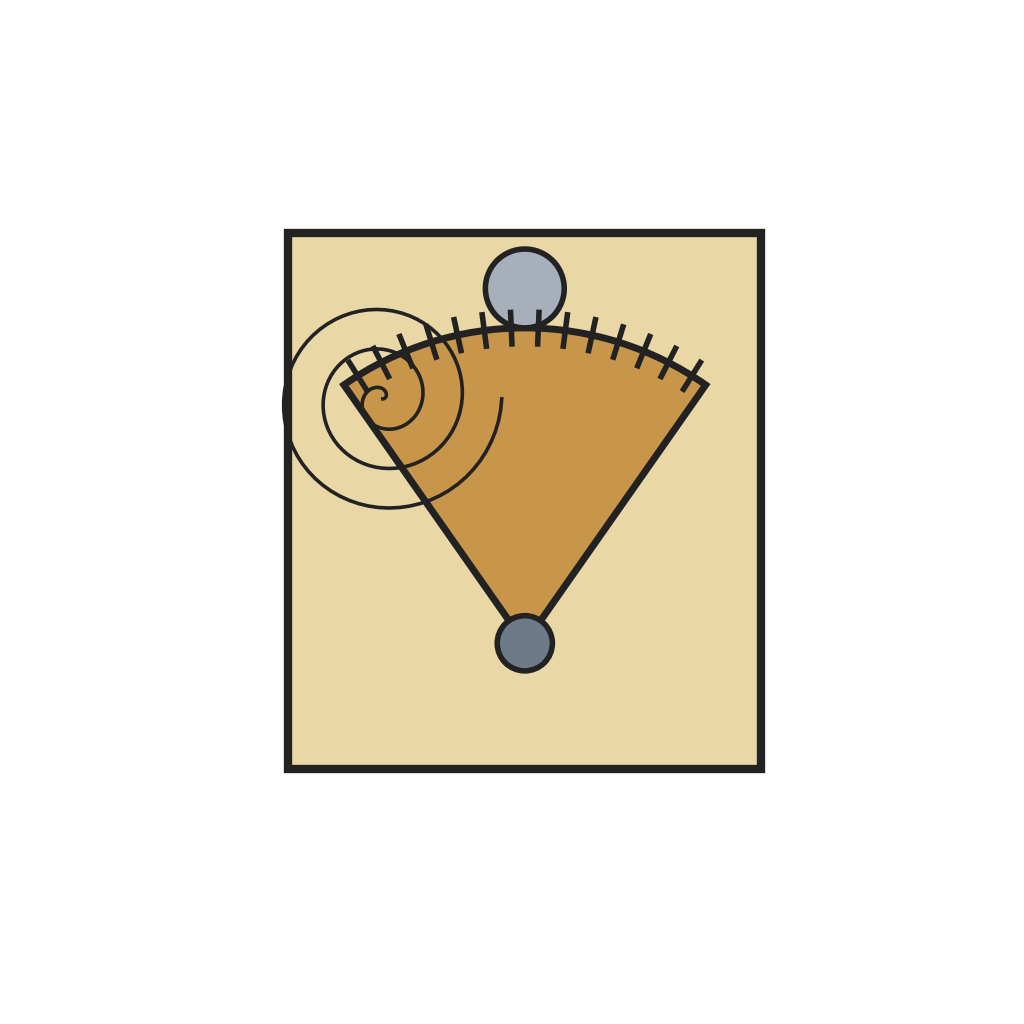
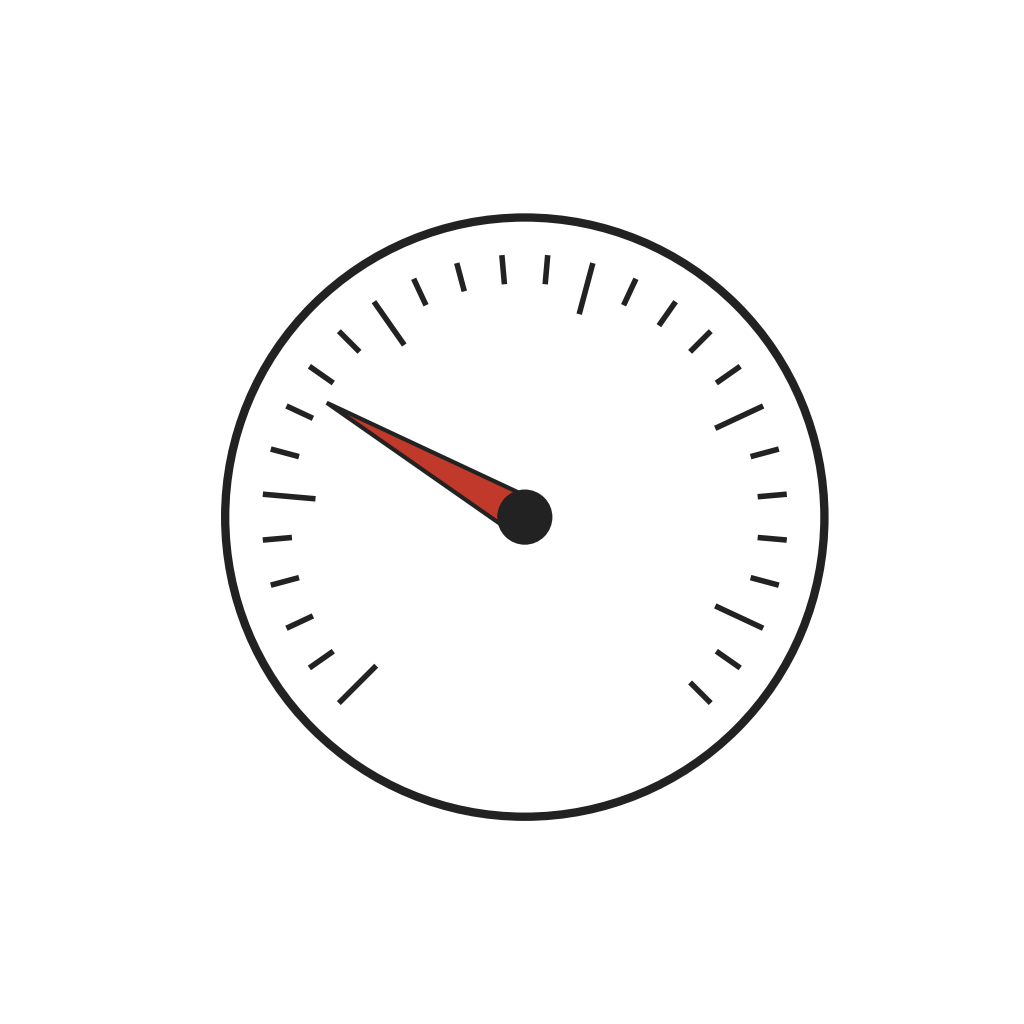
The heart of a dial pressure gauge is the Bourdon tube: a metal tube of oval section bent into a C and sealed at its free end. The greater the pressure, the farther the free tip moves, but only about 0.125–0.25 in (3–6 mm) across the whole range. A geared movement, built much like clockwork, turns that small movement into the sweep of a pointer, usually over 270° of dial. The tube metal must take a spring temper; phosphor bronze is used for most gauges for air, light oil or water, and beryllium copper for high pressure. The tube's wall thickness and the radius of its curve set the pressure range.
උසස්
Factory process
උපදෙස්
1
1
Roll the C
Roll the C
Pass the tubing over a lubricated steel mandrel and between two grooved, powered rollers. One roller grips the end and bends the inside radius while the other presses from outside; the grooves keep the tube from flattening.
මෙම පියවර සඳහා ද්රව්ය:
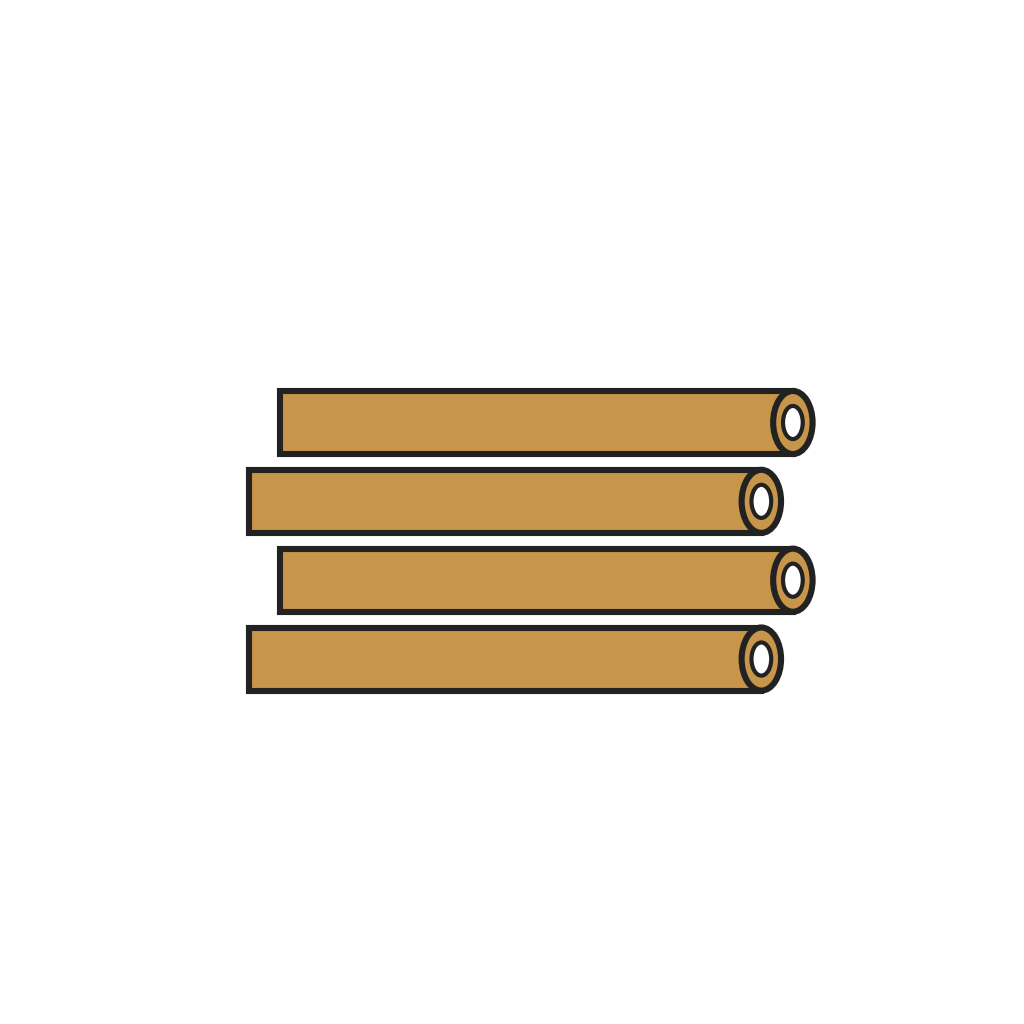 පොස්පර ලෝකඩ නළය1 as required
අවශ්ය මෙවලම්:
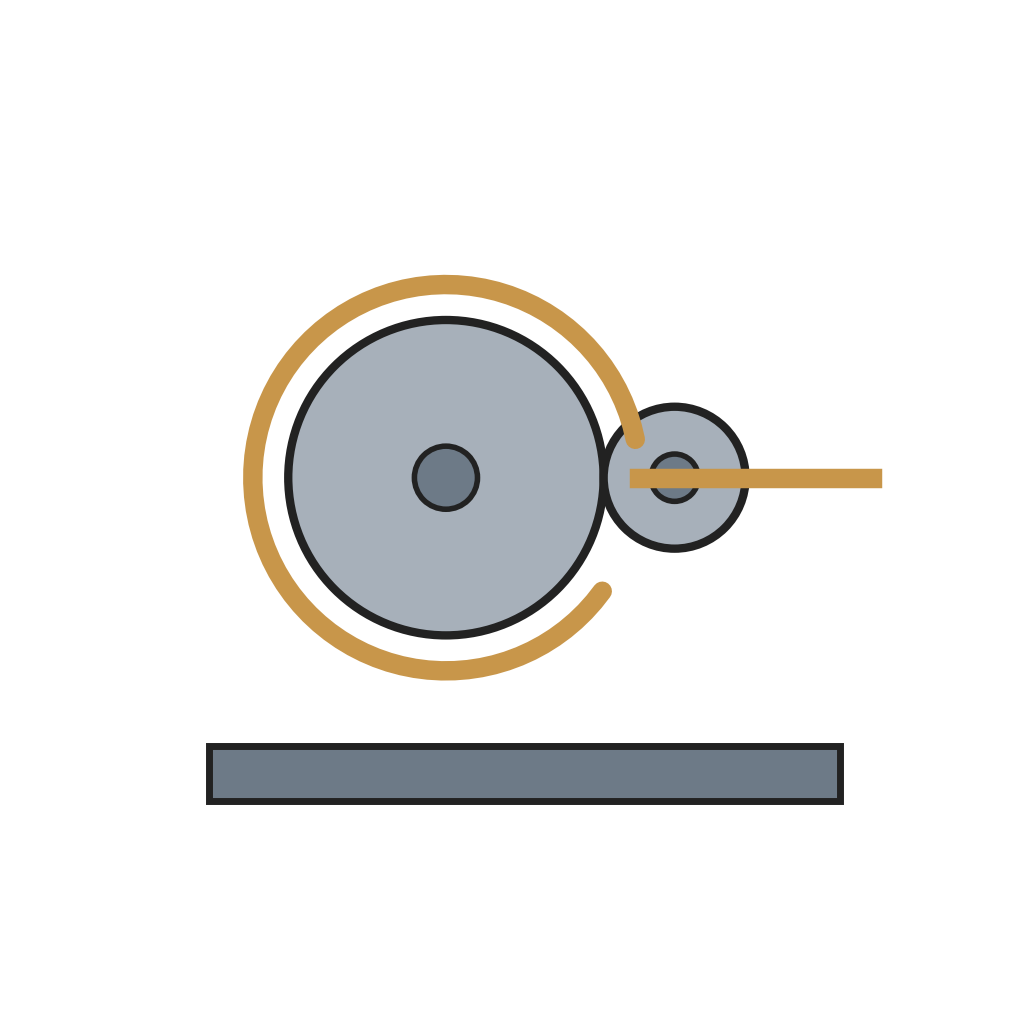 බූර්ඩෝන් නළ නැමීමේ යන්ත්රය
2
2
Cut and heat treat
Cut and heat treat
As the roller keeps turning, a saw blade on it cuts the tube to length. Heat treat the tubes in ovens to give them their spring temper.
අවශ්ය මෙවලම්:
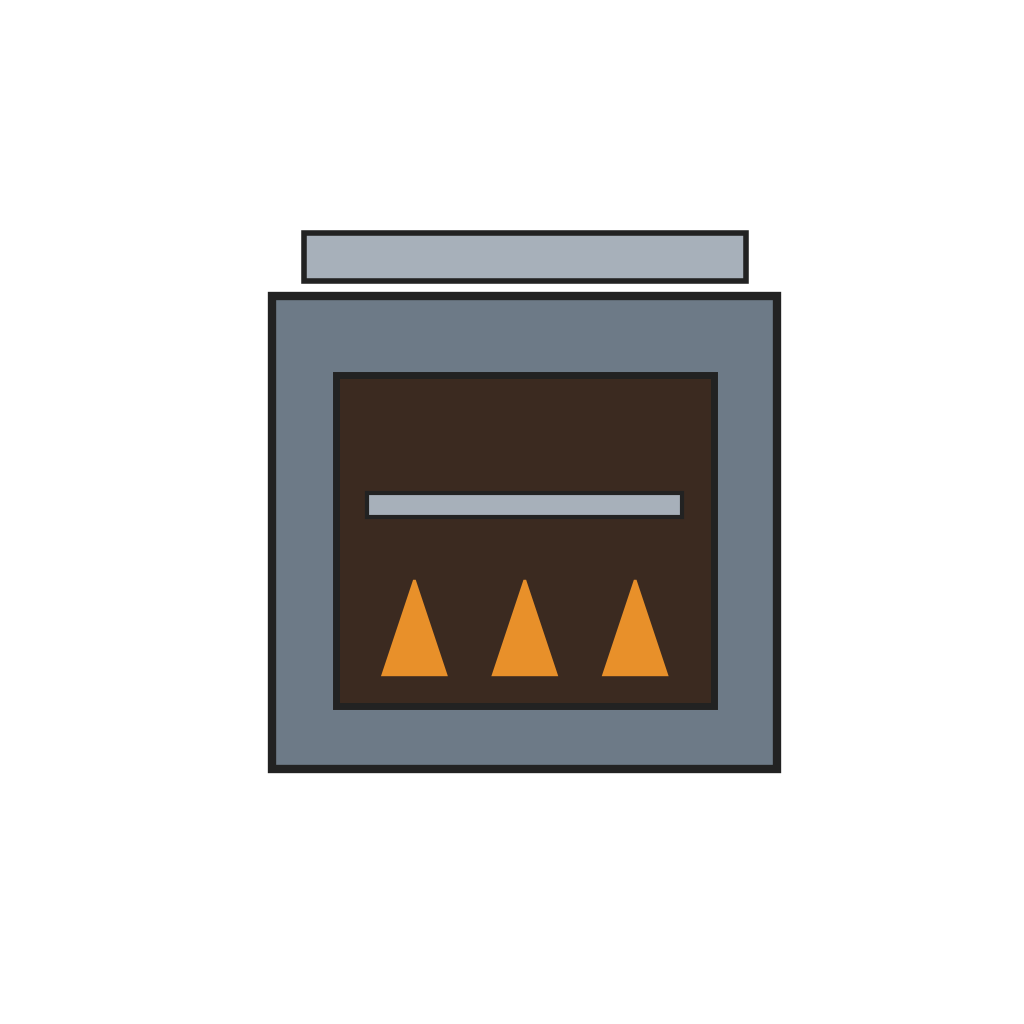 තාප පිරියම් උදුන
3
3
Machine the socket
Machine the socket
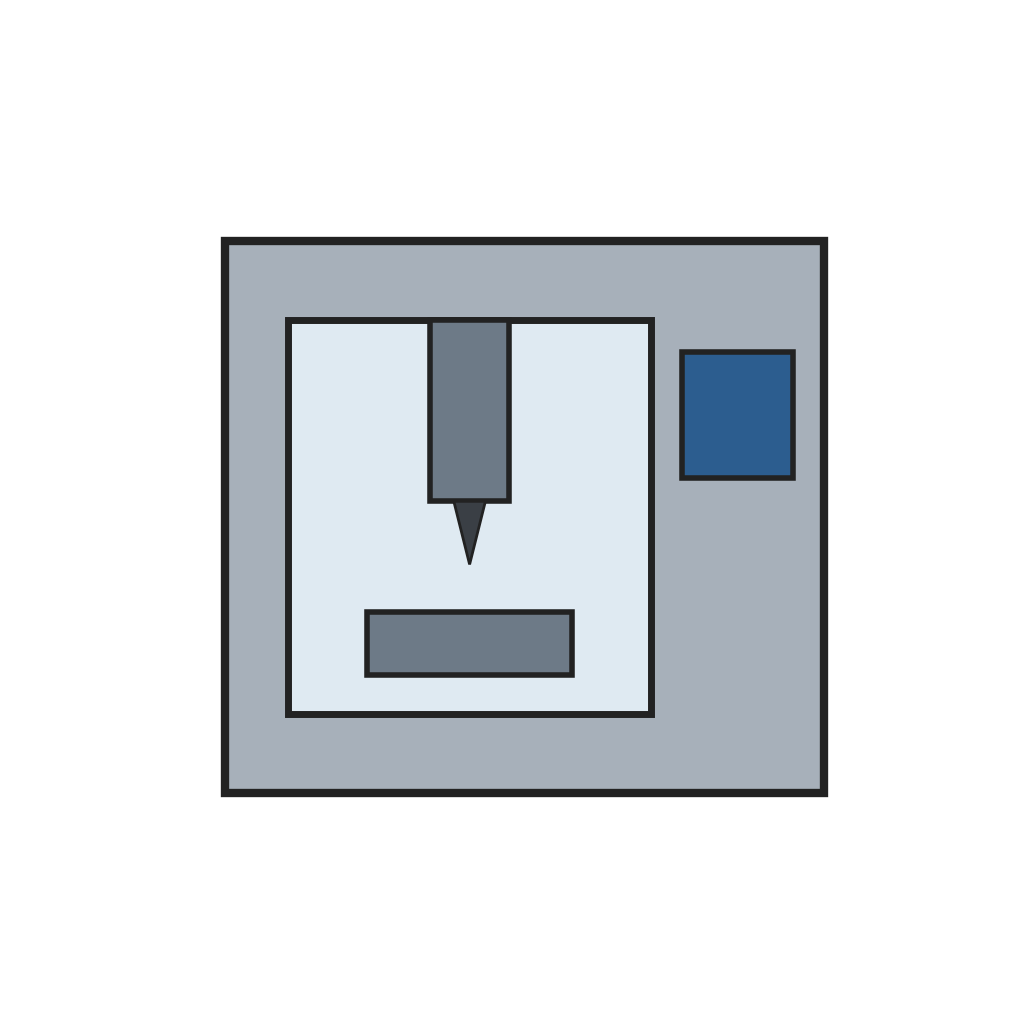
Turn, drill, mill and thread the socket from bar stock in one cycle on a machining centre. One end is threaded to screw into the pressure source.
මෙම පියවර සඳහා ද්රව්ය:
 පිත්තල වට කූරු1 as required
අවශ්ය මෙවලම්:
 CNC යන්ත්රකරණ මධ්යස්ථානය
4
4
Join tube and socket
Join tube and socket
Solder, braze or weld the open end of the tube to the socket, locating the free end precisely, and seal the free end the same way. Fit an endpiece to the tip; its small hole links the tip to the movement.
අවශ්ය මෙවලම්:
 ලෝකඩ පෑස්සුම් පන්දම
5
5
Fit movement, dial and pointer
Fit movement, dial and pointer
Mount the movement, the dial and the pointer onto the socket as a group.
මෙම පියවර සඳහා ද්රව්ය:
 පීඩන මාන යාන්ත්රණය1 කැබැල්ල
 මාන මුහුණත සහ දර්ශකය1 කැබැල්ල
6
6
Calibrate and case
Calibrate and case
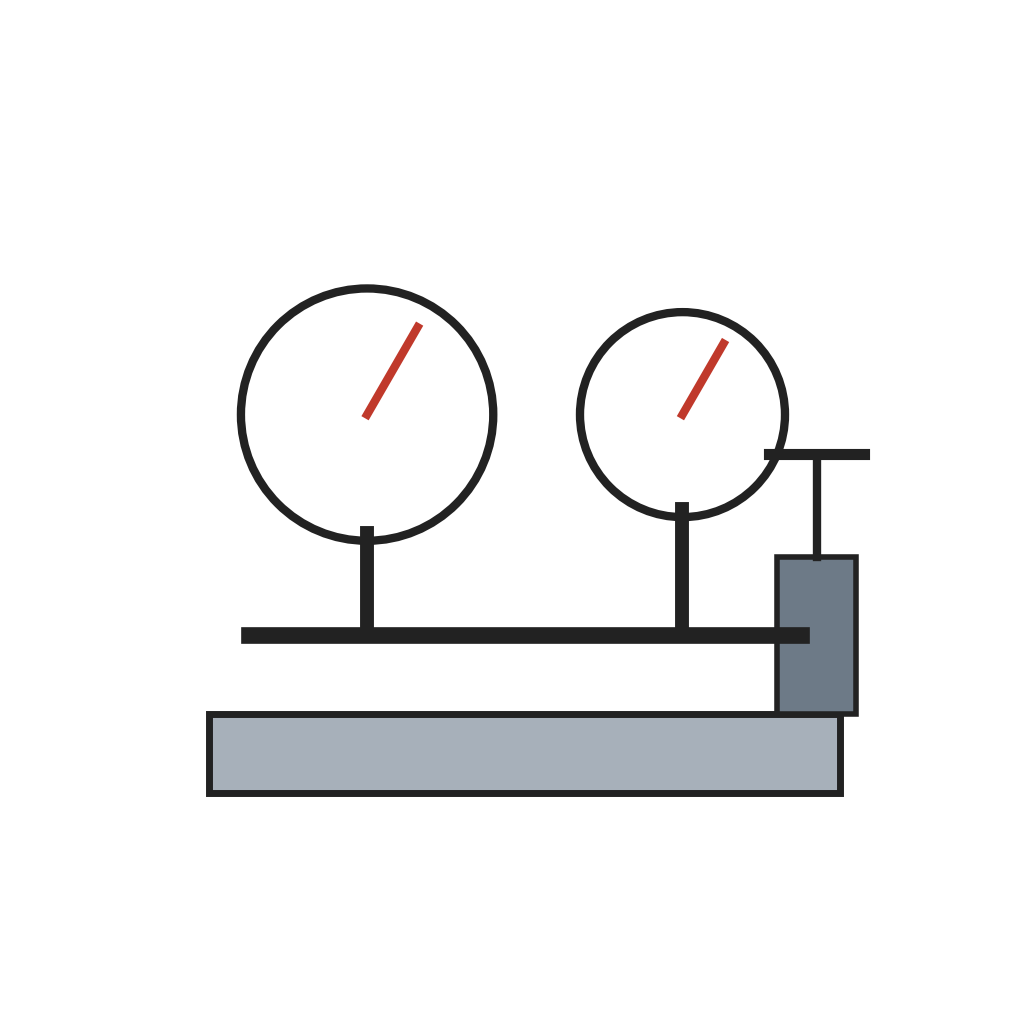
Connect the assembly to a pressure source alongside a master gauge of known accuracy and adjust it until it reads the same; 2% is a common accuracy, finer grades 1, 0.5 or 0.25%. Then fit the case and lens.
මෙම පියවර සඳහා ද්රව්ය:
 මාන කවචය සහ කාචය1 කැබැල්ල
අවශ්ය මෙවලම්:
 ප්රධාන මානය සහිත ක්රමාංකන බංකුව
ද්රව්ය
5- 1 as requiredස්ථානගත
- 1 as requiredස්ථානගත
- 1 කැබැල්ලස්ථානගත
- 1 කැබැල්ලස්ථානගත
- 1 කැබැල්ලස්ථානගත
අවශ්ය මෙවලම්
5- ස්ථානගත
- ස්ථානගත
- ස්ථානගත
- ස්ථානගත
මෙම සැලසුම සාදන්නේ
සම්බන්ධ බ්ලූප්රින්ට්
මෙම බ්ලූප්රින්ට් දැනුම බෙදා ගනී — ශිල්ප ක්රම, ද්රව්ය හෝ මූලධර්ම
CC0 පොදු වසම
මෙම බ්ලූප්රින්ට් CC0 යටතේ නිකුත් කර ඇත. ඔබට අවසර නොමැතිව පිටපත් කිරීම, වෙනස් කිරීම, බෙදා හැරීම සහ භාවිතා කිරීම කළ හැක.
බ්ලූප්රින්ට් හරහා නිෂ්පාදන මිලදී ගැනීමෙන් නිර්මාතෘට සහාය වන්න නිර්මාතෘ කොමිසම විකුණුම්කරුවන් විසින් නියම කළ, හෝ මෙම බ්ලූප්රින්ට්හි නව අනුවාදයක් සාදා ආදායම බෙදා ගැනීමට ඔබේ බ්ලූප්රින්ට්හි සම්බන්ධතාවයක් ලෙස ඇතුළත් කරන්න.