කලාව
රූපලාවණ්ය සහ සුවතාව
ශිල්පය
සංස්කෘතිය සහ ඉතිහාසය
විනෝදාස්වාදය
පරිසරය
ආහාර සහ පාන
ප්රතිලෝම ඉංජිනේරු
විද්යාවන්
ක්රීඩා
තාක්ෂණය
පැළඳිය හැකි
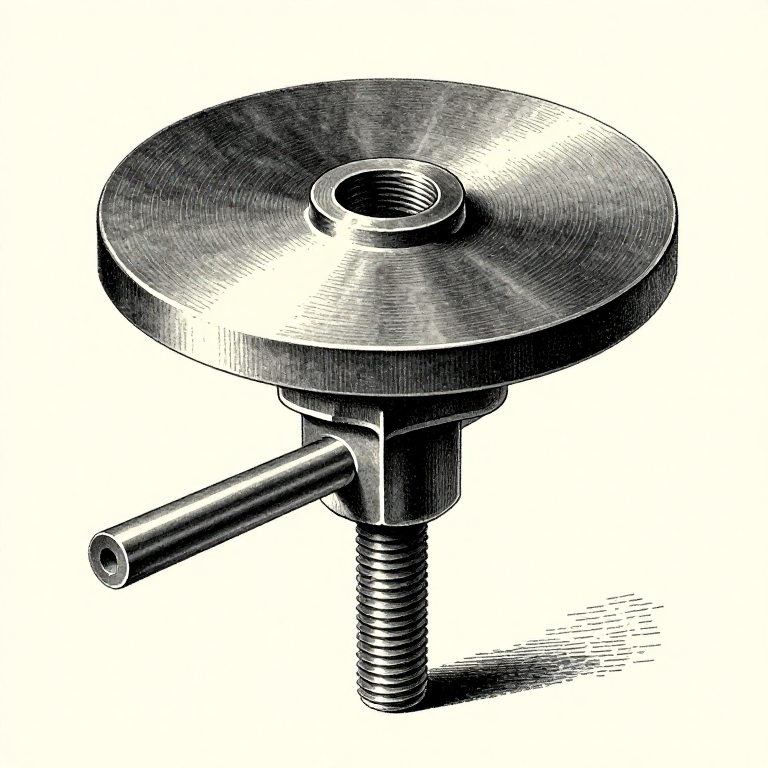


Cutting a Thread with a Die: Making Your Own Bolt
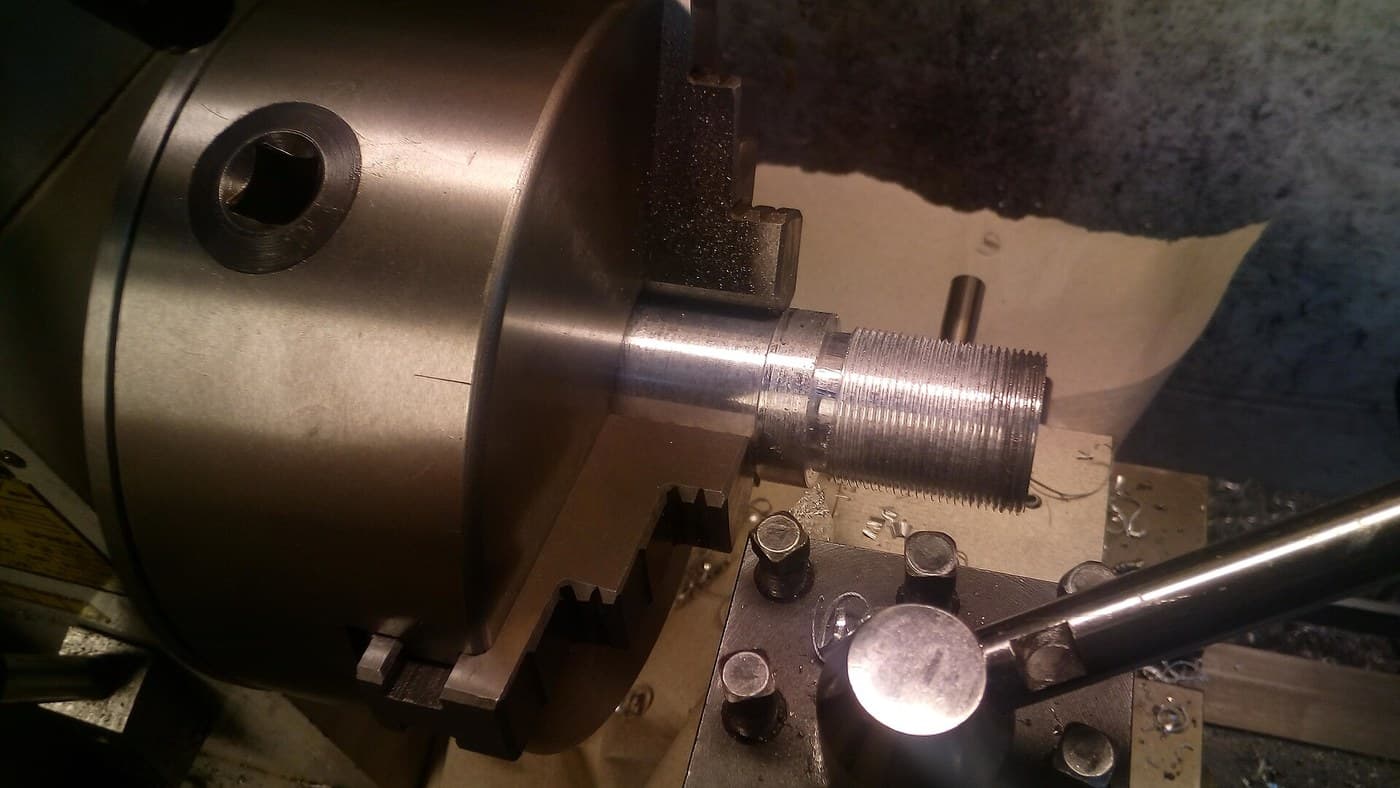
A die cuts a thread onto the outside of a bar — the mirror of what a tap does inside a hole, and the way to make a bolt, a stud or a threaded rod in exactly the length you need.
It is more forgiving than tapping in one way and less in another. A die cannot break off inside anything, so the worst outcome is a spoiled bar. But getting it square is harder, because there is no hole to guide it — the die will happily start at an angle and cut a drunken thread.
The preparation matters more than the cutting: the bar has to be the right size and it has to be chamfered.
මධ්යම
3 hours
උපදෙස්
1
1
The bar must be slightly UNDER nominal
The bar must be slightly UNDER nominal
An M8 thread wants a bar of about 7.8 to 7.9 mm, not 8.0. Commercial round bar sold as 8 mm is usually a little under already, which is why it works.
A bar at full nominal diameter forces the die to remove metal right at the crest of the thread, where it has the least clearance. The result is a tight, rough thread, high cutting torque, and a crest that tears rather than cuts. Turning or filing a few hundredths off first transforms the job.
Measure before you start. Bar stock varies, and a bar that is a tenth of a millimetre oversize is the difference between a die that cuts sweetly and one that has to be forced.
මෙම පියවර සඳහා ද්රව්ය:
 මෘදු වානේ දණ්ඩ1 කැබැල්ල
අවශ්ය මෙවලම්:
 වර්නියර් කැලිපරය
 කියතුරු (අත් කියතුර)
 බර බංකු වයිසය
2
2
Chamfer the end — always
Chamfer the end — always
File or grind a 45 degree chamfer on the end of the bar, down to roughly the thread's minor diameter. The die then has a tapered surface to sit on and centres itself.
Without a chamfer, the die meets a flat square end and has nothing to align against. It will start crooked, and a crooked start on a die cannot be corrected at all — the thread that follows simply repeats the error down the bar.
The chamfer also becomes the lead-in of the finished thread, which is what lets the bolt start easily into a nut. A bolt with no chamfer is difficult to start and is the commonest cause of cross-threading.
මෙම පියවර සඳහා ද්රව්ය:
මෘදු වානේ දණ්ඩ1 කැබැල්ලඅවශ්ය මෙවලම්:
කියතුරු (අත් කියතුර)බර බංකු වයිසයවර්නියර් කැලිපරය3
3
Which way up, and starting square
Which way up, and starting square
A die has a lead on ONE face — the first few threads are tapered — and that face goes against the work. Look for it; it is usually the side without the printed size, and putting the die on backwards means it cannot start at all.
Seat the die stock flat against the bar end and press down hard while turning. The pressure is doing the work for the first two turns; after that the thread pulls the die along on its own and you can ease off.
Check square after two turns exactly as with a tap. A round split die can also be adjusted slightly by its screws: opened out for a first roughing pass, closed for a second finishing pass. On a tough material that two-pass approach halves the torque and gives a better thread.
අවශ්ය මෙවලම්:
 පිටත කැපුම් මෙවලමේ අත
 ඉස්කුරුප්පු කැපීමේ කට්ටලයබර බංකු වයිසය
 නිල් සලකුණු ආලේපනය
4
4
Back off, oil, and test it on a real nut
Back off, oil, and test it on a real nut
Half a turn forward, a quarter back — the same rhythm as tapping and for the same reason. Use cutting oil generously; a die has far more cutting edges in contact than a tap and generates correspondingly more heat.
Cut to the length you need and no further. A thread run right up to a shoulder leaves no clearance and the nut will not seat, so stop two or three threads short.
Test the result by running a real nut down the full length by hand. It should turn with light finger pressure the whole way. If it tightens progressively, the bar was oversize or the die is closing; if it is loose and rocks, the die was opened too far. Both are diagnosed in ten seconds by the nut and by nothing else.
මෙම පියවර සඳහා ද්රව්ය:
 කැපුම් තෙල්1 කැබැල්ලමෘදු වානේ දණ්ඩ1 කැබැල්ල
අවශ්ය මෙවලම්:
පිටත කැපුම් මෙවලමේ අත නට් සහ වොෂර් එකතුව
 කපු රෙදි
 පැහැදිලි ආරක්ෂක කණ්ණාඩිය
ද්රව්ය
2- 1 කැබැල්ලස්ථානගත
- 1 කැබැල්ලස්ථානගත
අවශ්ය මෙවලම්
9- ස්ථානගත
- ස්ථානගත
- ස්ථානගත
- ස්ථානගත
- ස්ථානගත
- ස්ථානගත
- ස්ථානගත
- ස්ථානගත
- ස්ථානගත
සම්බන්ධ බ්ලූප්රින්ට්
මෙම බ්ලූප්රින්ට් දැනුම බෙදා ගනී — ශිල්ප ක්රම, ද්රව්ය හෝ මූලධර්ම
CC0 පොදු වසම
මෙම බ්ලූප්රින්ට් CC0 යටතේ නිකුත් කර ඇත. ඔබට අවසර නොමැතිව පිටපත් කිරීම, වෙනස් කිරීම, බෙදා හැරීම සහ භාවිතා කිරීම කළ හැක.
බ්ලූප්රින්ට් හරහා නිෂ්පාදන මිලදී ගැනීමෙන් නිර්මාතෘට සහාය වන්න නිර්මාතෘ කොමිසම විකුණුම්කරුවන් විසින් නියම කළ, හෝ මෙම බ්ලූප්රින්ට්හි නව අනුවාදයක් සාදා ආදායම බෙදා ගැනීමට ඔබේ බ්ලූප්රින්ට්හි සම්බන්ධතාවයක් ලෙස ඇතුළත් කරන්න.