සහයෝගීතාව
කලාව
රූපලාවණ්ය සහ සුවතාව
ශිල්පය
සංස්කෘතිය සහ ඉතිහාසය
විනෝදාස්වාදය
පරිසරය
ආහාර සහ පාන
ප්රතිලෝම ඉංජිනේරු
විද්යාවන්
ක්රීඩා
තාක්ෂණය
පැළඳිය හැකි
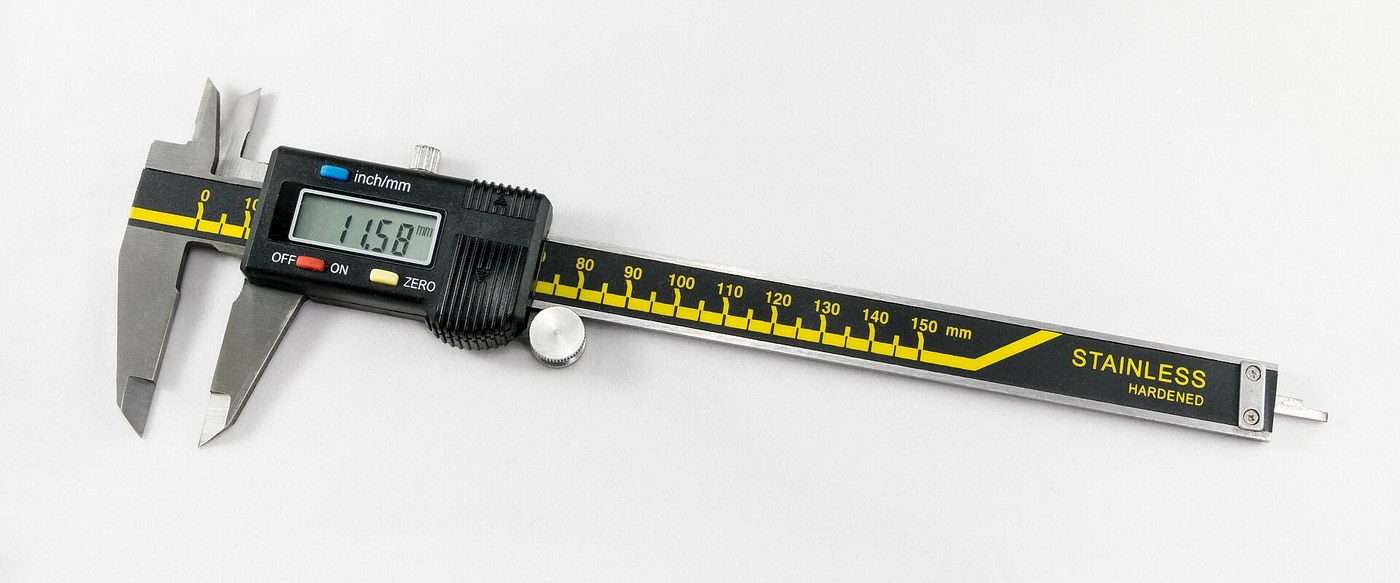


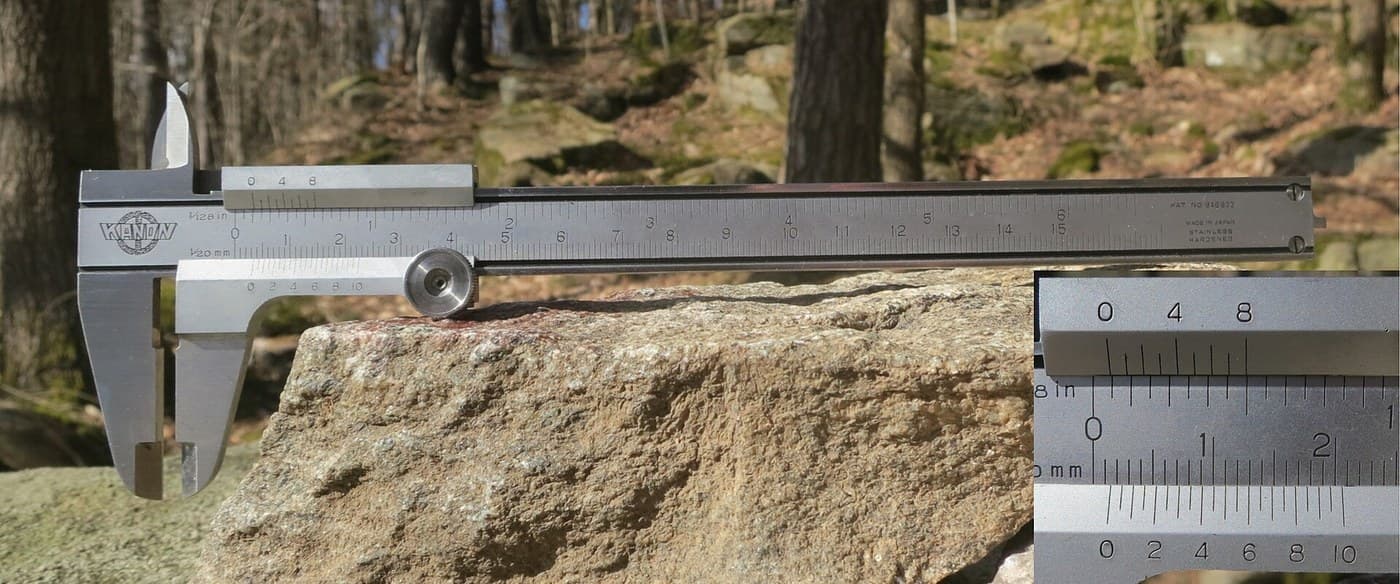
Digital Caliper: Capacitive Scale and Slider with Two-Chip Electronics (Baxter and Buehler, Starrett, 1986)
A six-inch caliper that reads out on a display. Under the slide, a strip of etched copper bars runs along the beam. Electrodes on the slider pass a signal through the bars by capacitance, and the slider's electronics count the bars crossed and work out the position in between.
Result: a digital caliper reading in inches or millimetres, repeatable to a ten-thousandth of an inch, with floating zero, peak hold and high/low limits. It runs on two 1.5 V cells at 10-50 microamps.
Source: L. K. Baxter and R. J. Buehler (L. S. Starrett Co.), US Patent 4,586,260 (1986). Unknown: the metal of the beam, slide and rod, their dimensions, the processor's program, and how the chips and display are made. Ours: the etchant, photoresist and glue. Picture: Wikimedia Commons.
උසස්
2 days
උපදෙස්
1
1
Etch the scale
Etch the scale
Etch the scale pattern onto a strip of copper-clad epoxy fibreglass with photoresist and etchant. Each copper bar is 0.40 inch long, with a wider centre 0.12 inch long and two ends 0.14 inch long. Space the bars on 0.05 inch centres: the centres sit 0.004 inch apart, the ends 0.025 inch apart. Run the pattern the full length of the scale. Ours: dry film resist and ferric chloride.
මෙම පියවර සඳහා ද්රව්ය:
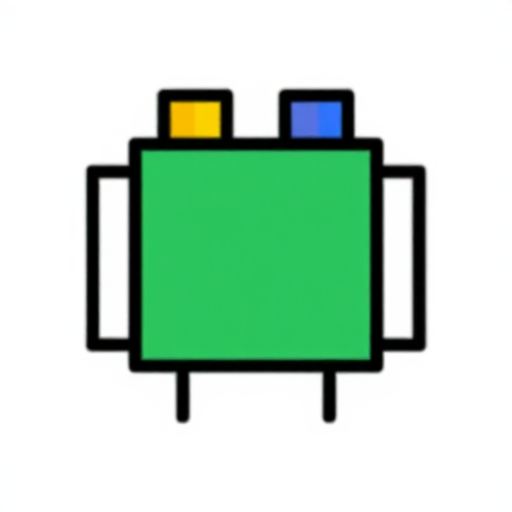 හිස් PCB තහඩුව (තඹ ආලේපිත)1 strip, length of the beam
අවශ්ය මෙවලම්:
 වියළි පටල ෆොටෝරෙසිස්ට්
 ෆෙරික් ක්ලෝරයිඩ් ද්රාවණය
 රසායනිකවලට ඔරොත්තු දෙන අත්වැසුම්
2
2
Fix the scale into the beam
Fix the scale into the beam
The beam is a metal bar with the fixed outside and inside jaws at one end, a wide shallow channel in its face and a second channel along its back. Fix the scale permanently into the face channel, copper up. The patent allows etching before or after this step. Not given: the metal, the dimensions and how the scale is fixed. Ours: epoxy.
මෙම පියවර සඳහා ද්රව්ය:
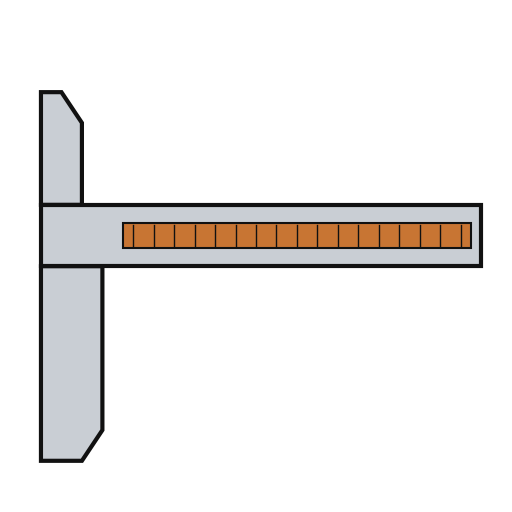 කැලිපරයේ දණ්ඩ1 with integral jaws
 කොටස් දෙකේ එපොක්සි1 a little
අවශ්ය මෙවලම්:
 නොදන්නා මිනුම්
3
3
Fit the parts to the circuit
Fit the parts to the circuit
The circuit is one folded piece: a double-sided slider board joined by a flexible hinge to a circuit board. Its bottom face has two pickup electrodes, 0.750 x 0.110 inch and 0.0625 inch apart. On each side of them is an interdigitated transmitter array: fingers 0.115 inch long on 0.025 inch spacing, opening to 0.0375 inch at the centre. On the circuit board, solder or wire-bond the two chips: an NEC uPD7503 3 V processor (768 bits RAM, 2 kB ROM) and a CMOS gate array. Then fit the LCD, the 100 kHz crystal, the integrating capacitor and the MODE and SET buttons. Not given: the processor's program. Ours: a capacitor from a kit.
මෙම පියවර සඳහා ද්රව්ය:
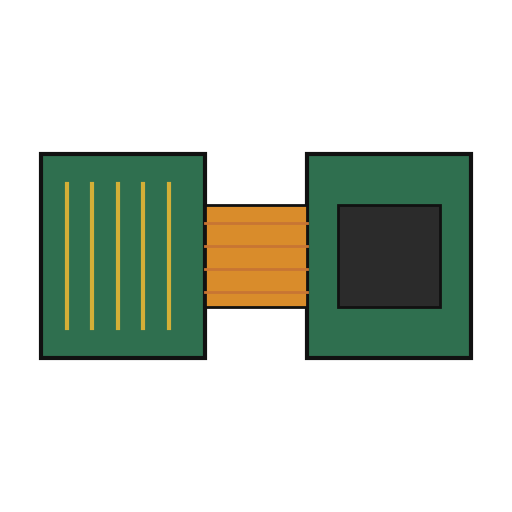 දෘඪ-නම්යශීලී පරිපථ පුවරුව1 slider board + circuit board
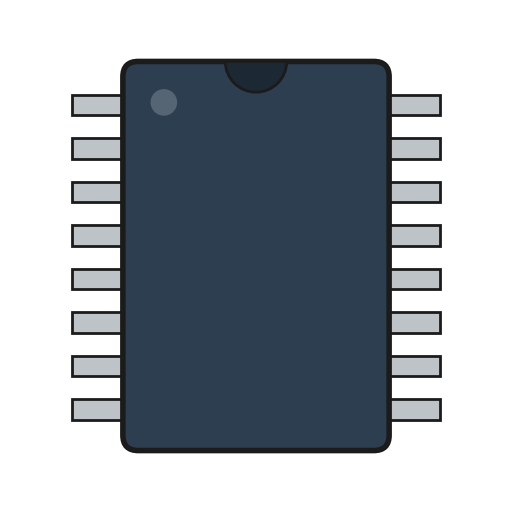 අනුකලිත පරිපථය2 uPD7503 CPU, CMOS gate array
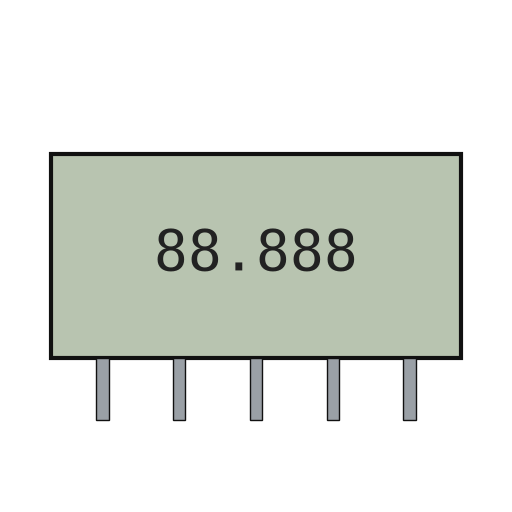 ඛණ්ඩ LCD පුවරුව1 5 digits
 ක්වාර්ට්ස් ස්ඵටිකය1 100 kHz
 ධාරිත්රක කට්ටලය1 one integrating capacitor
 තල්ලු බොත්තම2 MODE, SET
 පාස්සන ඊයම් කම්බිය1 a little
අවශ්ය මෙවලම්:
 පෑස්සුම් කූරු
4
4
Build the slide
Build the slide
The slide frame wraps the back and edges of the beam and carries the movable jaws. Fix it to the depth rod, which runs in the back channel of the beam; the rod's free end is the depth gauge. Put the moulded plastic housing between the frame ends. Fasten two metal wear strips under the slider board, one on each side of the scale. They ride on the beam and connect the board's copper to it. Not given: the metal and sizes.
මෙම පියවර සඳහා ද්රව්ය:
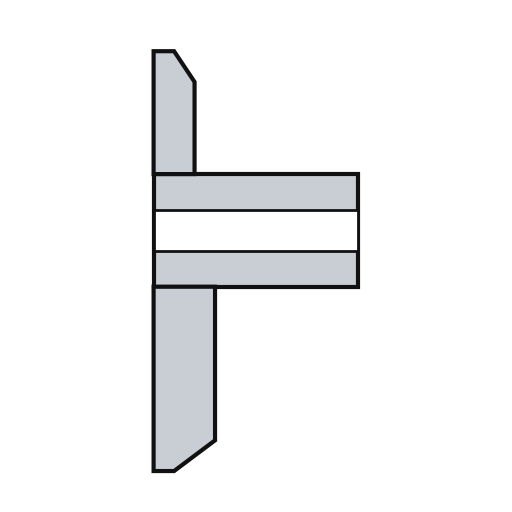 ස්ලයිඩ රාමුව1 with jaws
 නොදන්නා ලෝහය1 depth rod and two wear strips
 ස්ලයිඩ ආවරණය1 කැබැල්ල
අවශ්ය මෙවලම්:
නොදන්නා මිනුම් නිරවද්ය ඉස්කුරුප්පු නියන කට්ටලය
5
5
Assemble and check
Assemble and check
Fold the circuit into the housing recess, slider board facing the scale, and screw it to the frame. The electrodes must lie parallel to the scale bars at every point of travel. Put the two 1.5 V cells (the patent says 'zinc oxide') in the battery pockets of the circuit. The display shows five digits, a ten-thousandths bar graph, a minus sign and 'mm', plus PEAK, LOW, HIGH and LIMIT. Ours: check the reading against a vernier caliper.
මෙම පියවර සඳහා ද්රව්ය:
 යන්ත්ර ඉස්කුරුප්පු2 කැබලි
 වෝල්ට් 1.5 බොත්තම් කෝෂය2 කැබලි
අවශ්ය මෙවලම්:
නිරවද්ය ඉස්කුරුප්පු නියන කට්ටලය වර්නියර් කැලිපරය
ද්රව්ය
15- 1 strip, length of the beamස්ථානගත
- 1 with integral jawsස්ථානගත
- 1 a littleස්ථානගත
- 1 slider board + circuit boardස්ථානගත
- 2 uPD7503 CPU, CMOS gate arrayස්ථානගත
- 1 5 digitsස්ථානගත
- 1 100 kHzස්ථානගත
- 1 one integrating capacitorස්ථානගත
- ස්ථානගත
- 1 a littleස්ථානගත
- 1 with jawsස්ථානගත
- 1 depth rod and two wear stripsස්ථානගත
- 1 කැබැල්ලස්ථානගත
- 2 කැබලිස්ථානගත
- 2 කැබලිස්ථානගත
අවශ්ය මෙවලම්
7- ස්ථානගත
- ස්ථානගත
- ස්ථානගත
- 2 vendors sell this, none ship to you yetස්ථානගත
- ස්ථානගත
සම්බන්ධිත සැලසුම්වල ද්රව්ය

මෙම සැලසුම සාදන්නේ

සම්බන්ධ බ්ලූප්රින්ට්
මෙම බ්ලූප්රින්ට් දැනුම බෙදා ගනී — ශිල්ප ක්රම, ද්රව්ය හෝ මූලධර්ම

CC0 පොදු වසම
මෙම බ්ලූප්රින්ට් CC0 යටතේ නිකුත් කර ඇත. ඔබට අවසර නොමැතිව පිටපත් කිරීම, වෙනස් කිරීම, බෙදා හැරීම සහ භාවිතා කිරීම කළ හැක.
බ්ලූප්රින්ට් හරහා නිෂ්පාදන මිලදී ගැනීමෙන් නිර්මාතෘට සහාය වන්න නිර්මාතෘ කොමිසම විකුණුම්කරුවන් විසින් නියම කළ, හෝ මෙම බ්ලූප්රින්ට්හි නව අනුවාදයක් සාදා ආදායම බෙදා ගැනීමට ඔබේ බ්ලූප්රින්ට්හි සම්බන්ධතාවයක් ලෙස ඇතුළත් කරන්න.