
Making Natural Earth Pigments from Soil and Rocks — Collecting and Processing
උපදෙස්
Identify and Collect Coloured Earth
Identify and Collect Coloured Earth
Look for naturally coloured soil, clay, or soft rock in exposed earth faces: riverbanks, road cuts, cliff faces, construction excavations, or eroded hillsides. The most useful colours come from iron-rich soils: yellow ochre (goethite, FeOOH — common in temperate and tropical soils), red ochre (hematite, Fe2O3 — found in laterite soils and red sandstone), raw sienna (a warm yellow-brown ochre named after Siena, Italy), burnt umber (manganese-rich dark brown earth — the manganese dioxide MnO2 adds a cool, dark tone). Collect from exposed natural deposits, NOT from topsoil (which contains organic matter that rots) and NOT from areas near roads (lead contamination), industrial sites (heavy metals), or chemically treated agricultural land (pesticides). The deeper the soil layer, the purer the mineral content. Collect 500g-1kg of the most intensely coloured material.
Tools needed:
 Garden Trowel
Dry and Crush the Raw Material
Dry and Crush the Raw Material
Spread the collected earth on a flat surface in a well-ventilated area and let it dry completely — this may take 1-3 days depending on the initial moisture content and weather. Moist earth is difficult to grind and does not pass through sieves. Once completely dry, break up any large clumps by hand, then crush the material in a mortar and pestle (or place in a heavy bag and hammer). Reduce the material to a coarse powder — you do not need to achieve a fine grind at this stage because the levigation process in the next steps will separate fine from coarse particles automatically. Remove any visible organic material (roots, leaves, twigs), stones, or non-earthy debris during this step.
Materials for this step:
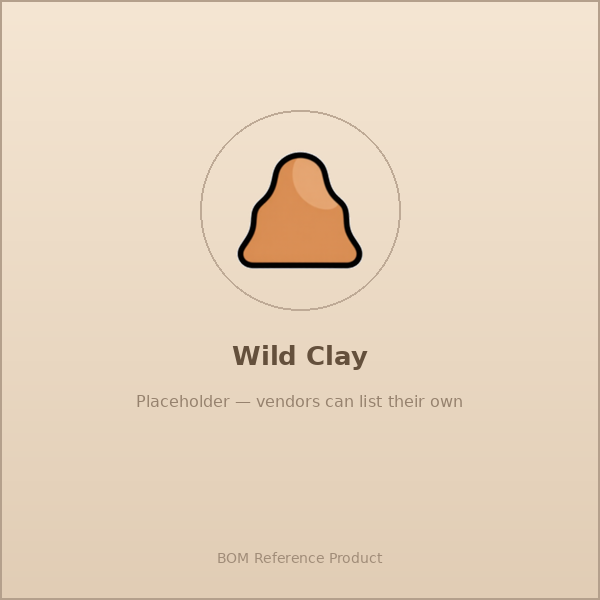 Wild Clay1000 g
Tools needed:
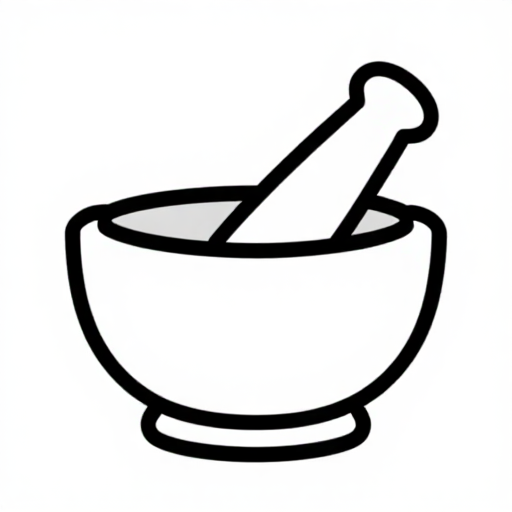 Mortar & Pestle
 Flat Drying Surface
Perform Initial Washing (Remove Organics)
Perform Initial Washing (Remove Organics)
Place the crushed, dry earth in a large jar or bucket and add water at a ratio of approximately 3-4 parts water to 1 part earth. Stir vigorously for 2-3 minutes to suspend all particles. Let it settle for 30 seconds — any organic material (root fragments, leaf matter, humus) will float to the surface because organic matter is less dense than mineral particles. Skim off the floating debris and pour off the top layer of murky water. Repeat this washing 2-3 times until no more organic material floats up. This step is important because organic matter causes pigment to decay, develop mould, and smell bad when mixed into paint binders.
Materials for this step:
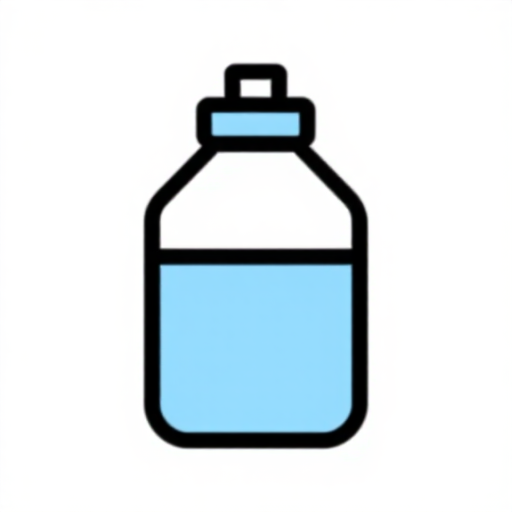 Distilled Water (1 Gallon)5 liter
Tools needed:
 Fermentation Bucket
 Wooden Stirring Stick
Levigation — Separate Fine Pigment from Coarse Sand
Levigation — Separate Fine Pigment from Coarse Sand
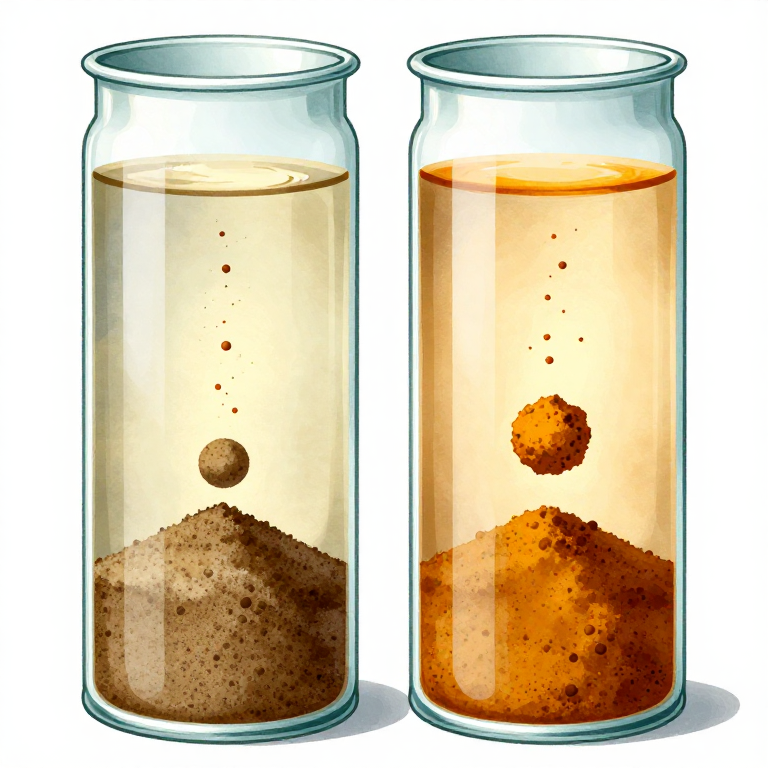
Levigation is the key purification step that separates the fine pigment particles (which produce smooth, rich colour) from the coarse sand and grit (which produce gritty, weak colour). Place the washed earth in a large jar and add water at approximately 5:1 water-to-earth ratio. Stir vigorously for 1-2 minutes to suspend all particles. Let the jar sit undisturbed for exactly 30-60 seconds. During this time, heavy coarse particles (sand, grit) settle quickly to the bottom, while fine pigment particles remain suspended in the water. Carefully pour the coloured suspension (NOT the settled sediment) into a second clean jar. The liquid you poured off contains the fine pigment; the sediment left behind is mostly coarse sand and is discarded. Repeat the levigation on the poured-off suspension: stir, wait 60 seconds, pour off the still-suspended portion into a third jar. Each successive levigation produces finer particles. Two to three rounds of levigation is usually sufficient for artist-grade pigment.
Materials for this step:
Distilled Water (1 Gallon)5 literTools needed:
 Glass Jar (1L)Wooden Stirring Stick
Settle and Collect the Fine Pigment
Settle and Collect the Fine Pigment
Let the final levigated suspension sit undisturbed for 24-48 hours. The fine pigment particles will slowly settle to the bottom of the jar, and the water above will become relatively clear. Very carefully pour off (decant) the clear water without disturbing the settled pigment. You can also siphon the clear water off with a tube. The settled layer at the bottom is your purified pigment — a smooth, dense paste. Scoop or pour this paste onto a flat, non-absorbent drying surface: a glass plate, glazed ceramic tile, or plastic tray. Spread it to a uniform thickness of approximately 3-5mm. The thinner the layer, the faster it dries.
Tools needed:
Flat Drying SurfaceDry the Pigment
Dry the Pigment
Let the pigment paste dry at room temperature in a dust-free, well-ventilated location. Drying takes 2-5 days depending on layer thickness and humidity. Do not use high heat to accelerate drying — rapid drying can cause the pigment cake to crack into hard chunks that are difficult to re-grind. As the paste dries, it will shrink slightly and lighten in colour (wet pigment always appears darker than dry pigment because water changes the refractive index). When completely dry, the pigment should be a solid cake or powder on your drying surface. Break up the dry cake and grind to a fine powder using a mortar and pestle. For the finest results, grind the dry pigment on a glass slab with a glass muller — just the pigment powder with no binder — until it feels silky-smooth between your fingers with no gritty particles.
Tools needed:
Mortar & Pestle Glass Muller
Optional: Calcination — Transform Yellow Ochre to Red
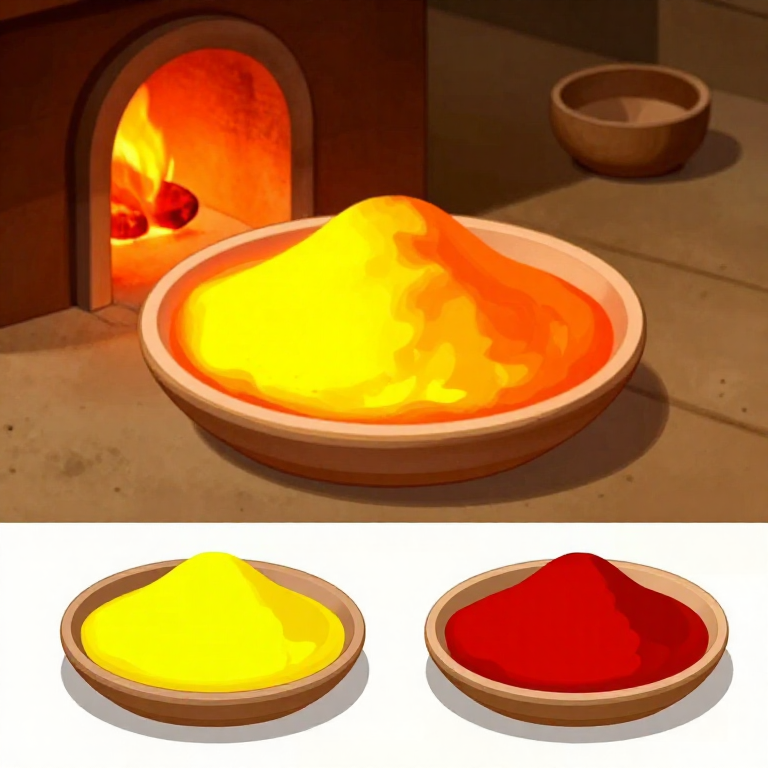
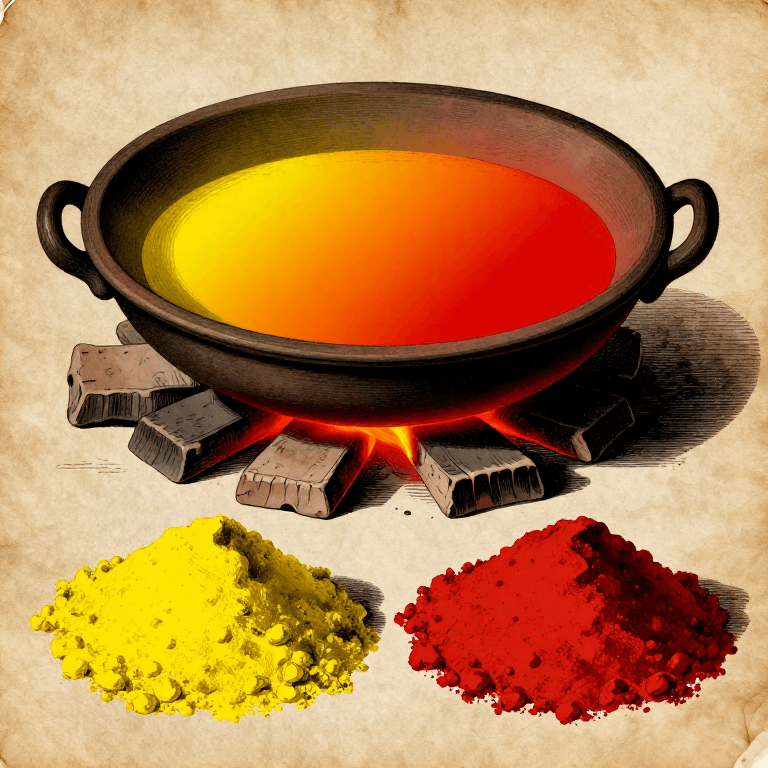
Optional: Calcination — Transform Yellow Ochre to Red
Calcination is the process of heating earth pigment to change its colour. Yellow ochre (goethite, FeOOH) transforms to red ochre (hematite, Fe2O3) when heated to approximately 250-350 degrees Celsius — the heat drives off the chemically bound water (the -OH group), converting iron oxyhydroxide to iron oxide. This is the same process that occurs naturally in bush fires and volcanic heating, producing the red soils found in fire-prone and volcanic regions. Place dry yellow ochre pigment in a heat-resistant ceramic dish (not metal — iron contamination can alter the colour). Heat in a kiln or oven at 300 degrees C for 1-2 hours. The pigment will gradually shift from yellow through orange to red as the goethite converts to hematite. The exact shade depends on the temperature and duration — lower temperatures and shorter times produce orange; higher temperatures and longer times produce deep red. Let cool completely before handling. The calcined pigment is now red ochre — regrind to a fine powder if the heat has sintered it into lumps.
Tools needed:
 Heat-Proof Container
 Kiln
KilnTest the Pigment in a Binder
Test the Pigment in a Binder
To evaluate your finished pigment, mix a small amount with a binder and paint a test swatch. For oil paint testing: mix with a few drops of linseed oil on a glass slab and paint on paper or canvas. For watercolour testing: mix with a drop of gum arabic solution. For egg tempera: mix with a drop of egg yolk. The test swatch reveals the pigment's mass tone (colour when applied thickly), undertone (colour when spread thinly over white — often different from mass tone), transparency/opacity, and tinting strength. Compare your earth pigment to a commercial equivalent if available. Hand-processed earth pigments typically produce softer, more muted colours than factory-refined pigments — this is desirable for many artists and is the distinctive character of earth pigments. Store the dry pigment powder in sealed glass jars, labelled with the collection location, date, and any processing notes (levigation rounds, calcination temperature). Dry mineral pigments stored in sealed containers last indefinitely — earth pigments from ancient Roman and Egyptian workshops are still usable after 2,000 years.
Materials for this step:
 Linseed Oil50 ml
 Gum Arabic10 g
Tools needed:
Glass Mullerද්රව්ය
4- 10 literස්ථානගත
- 50 mlස්ථානගත
- 10 gස්ථානගත
Connected Blueprint Materials

Preparing Ochre Pigment for Cave Painting — Mineral Processing
Charlie විසින්![]()
Prehistoric

Pecking a Stone Mortar and Pestle — Grinding Implements from Granite
Mary විසින්![]()
Stoneworking

Making Chalk White Pigment (Whiting) — Grinding and Levigating Natural Chalk
Charlie විසින්![]()
ART
Making Red Ochre by Calcining Yellow Ochre — The Oldest Deliberate Pigment Transformation
Charlie විසින්![]()
ART

Making Verdigris — The Copper Acetate Green of Medieval Painters
Charlie විසින්![]()
ART
සම්බන්ධ බ්ලූප්රින්ට්
මෙම බ්ලූප්රින්ට් දැනුම බෙදා ගනී — ශිල්ප ක්රම, ද්රව්ය හෝ මූලධර්ම

Making Charcoal in an Earth Mound — Pyrolysis in a Covered Burn
Charlie විසින්![]()
Prehistoric

Burning Limestone for Lime Plaster — Calcination and Slaking
Charlie විසින්![]()
Masonry

Making Lampblack Pigment — Collecting Carbon Soot from a Burning Flame
Charlie විසින්![]()
ART

Making Malachite Green Pigment — Grinding the Copper Mineral into Painter's Green
Charlie විසින්![]()
ART

Making Bone Black Pigment — Calcining Animal Bones into the Warm Black of Old Master Painters
Charlie විසින්![]()
ART

Making Vine Black Pigment — Charring Grape Vines into the Cool Blue-Black of Classical Painters
Charlie විසින්![]()
ART

Making Green Earth Pigment (Terra Verte) — The Soft Green of Celadonite and Glauconite
Charlie විසින්![]()
ART

Making Cinnabar Red Pigment — Grinding Mercury Sulfide into the Most Vivid Red of the Ancient World
Charlie විසින්![]()
ART
CC0 පොදු වසම
මෙම බ්ලූප්රින්ට් CC0 යටතේ නිකුත් කර ඇත. ඔබට අවසර නොමැතිව පිටපත් කිරීම, වෙනස් කිරීම, බෙදා හැරීම සහ භාවිතා කිරීම කළ හැක.
බ්ලූප්රින්ට් හරහා නිෂ්පාදන මිලදී ගැනීමෙන් නිර්මාතෘට සහාය වන්න නිර්මාතෘ කොමිසම විකුණුම්කරුවන් විසින් නියම කළ, හෝ මෙම බ්ලූප්රින්ට්හි නව අනුවාදයක් සාදා ආදායම බෙදා ගැනීමට ඔබේ බ්ලූප්රින්ට්හි සම්බන්ධතාවයක් ලෙස ඇතුළත් කරන්න.