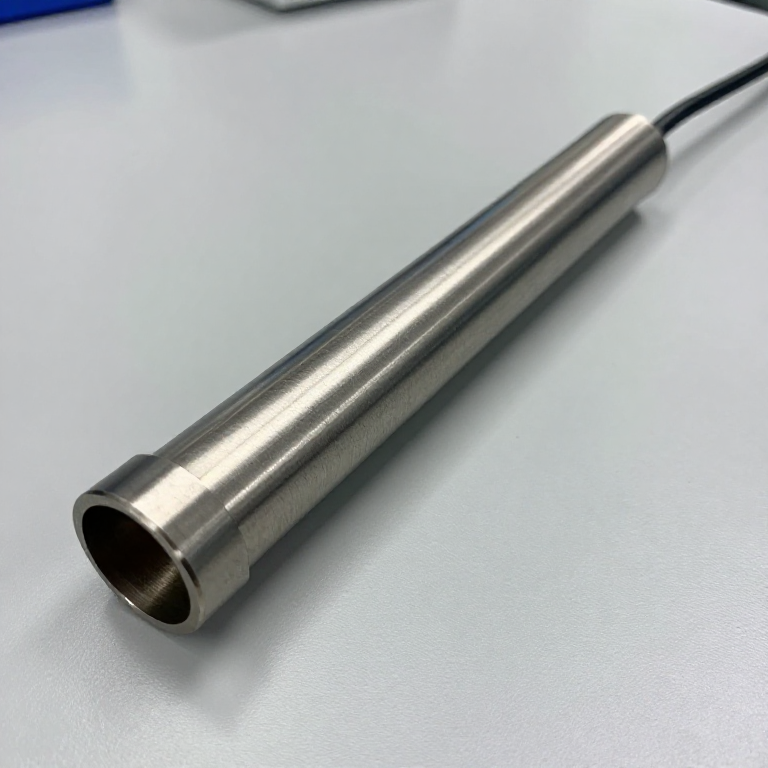


Pirani Gauge
උපදෙස්
Mount a fine wire inside a vacuum envelope
Mount a fine wire inside a vacuum envelope
Same sensor as the anemometer, now sealed inside the system it measures.
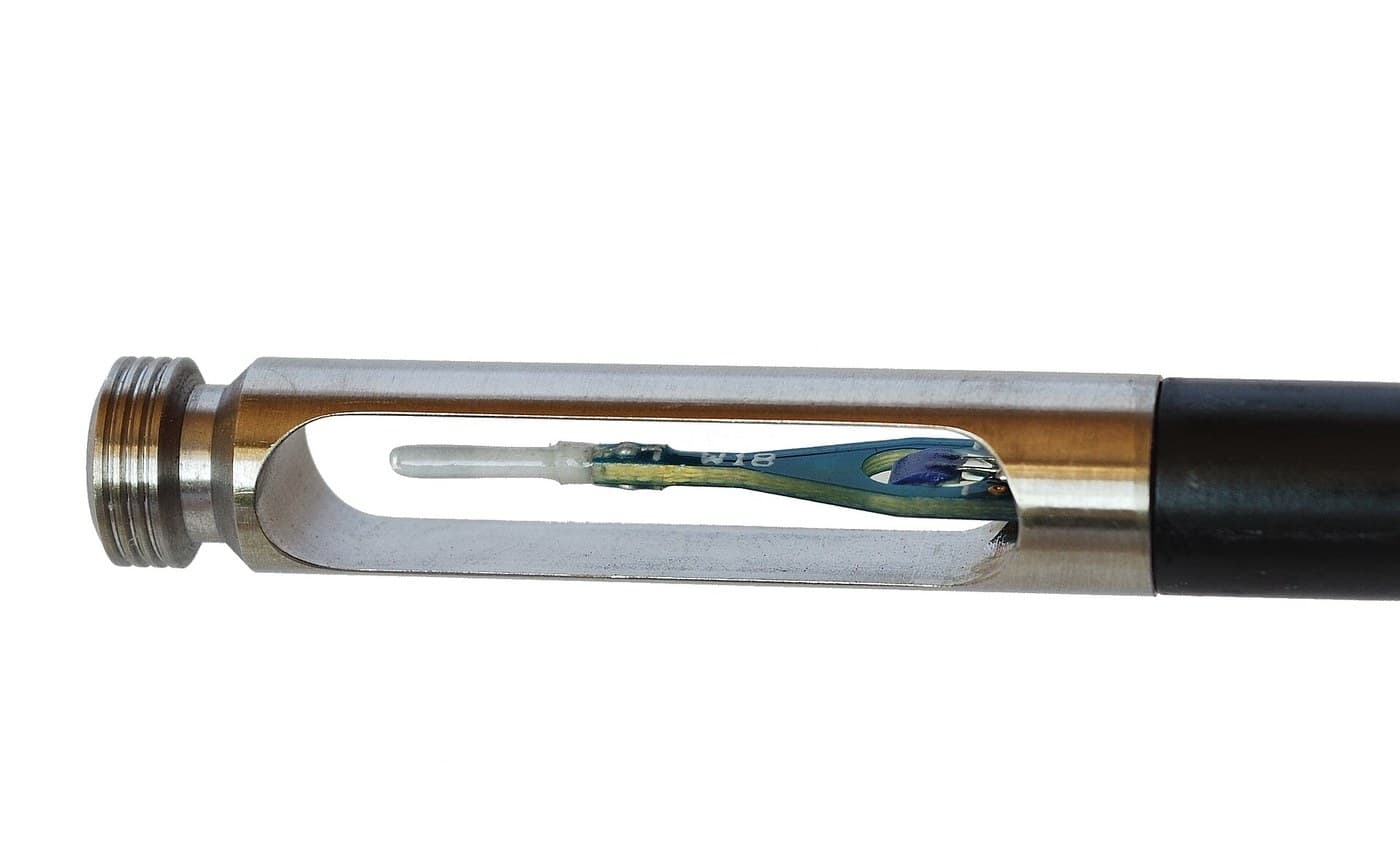
- Stretch a fine tungsten or nichrome wire between two supports on a small flange or bung.
- Bring the two leads out through a sealed feedthrough.
- Mount the assembly in a side arm on your vacuum vessel.
- Check for leaks around the feedthrough with the rate-of-rise test from the Guericke blueprint.
The feedthrough is the hard part. Two wires must pass through a wall while the wall stays leak-tight — an epoxy or a compressed O-ring seal will do at this level. Every vacuum system's weakest points are the places where something has to get in or out, which is why industrial systems use glass-to-metal or ceramic seals.
Keep the wire well away from the walls. If it is close enough to lose heat by conduction through the supports or radiation to a nearby surface, that loss is constant and swamps the pressure-dependent part you are trying to measure.මෙම පියවර සඳහා ද්රව්ය:
 එනැමල් ආලේපිත තඹ කම්බිය1 රෝල
 වීදුරු නල කට්ටලය1 කට්ටලය
 O-වළලු එකතුව1 කට්ටලය
අවශ්ය මෙවලම්:
 රසායනාගාර තරාතිරමේ ඩිජිටල් බහුමානකය
 කටු කට්ටලය
 ඩිජිටල් කැලිපරය අඟල් 6
 රැහැන් රහිත සිදුරු යන්ත්රය
Put it in a bridge — the fourth appearance
Put it in a bridge — the fourth appearance
The same Wheatstone circuit that measured temperature, airflow and force now measures pressure.
- Wire the gauge wire into one arm of a bridge with three fixed resistors.
- Drive it so the wire runs warm, well above ambient.
- Balance the bridge at atmospheric pressure.
- Include a second identical wire in a SEALED reference tube in the adjacent arm, if you can — it cancels ambient temperature changes.
The reference wire is the dummy gauge technique from the strain gauge blueprint, applied again. Both wires feel room temperature changes equally and the bridge cancels them; only the one exposed to the vacuum feels the pressure. Whenever a sensor responds to something you do not want as well as something you do, the answer is usually a matched second sensor that feels only the unwanted part.
This is the Wheatstone bridge's fourth distinct measurand across two batches — temperature, air velocity, force and now pressure. All four sensors work by changing a resistance, so one circuit reads them all.මෙම පියවර සඳහා ද්රව්ය:
 1/4W ප්රතිරෝධක කට්ටලය1 කට්ටලය
 සීරුමාරු කළ හැකි වැඩපොළ බල සැපයුම1 කැබැල්ල
අවශ්ය මෙවලම්:
රසායනාගාර තරාතිරමේ ඩිජිටල් බහුමානකය ඇනලොග් බහුමානයඩිජිටල් කැලිපරය අඟල් 6
Pump down and watch the wire get hotter
Pump down and watch the wire get hotter
Removing gas removes the wire's cooling, so the wire heats up at constant power.
- With the bridge balanced at atmosphere, start the rotary vane pump.
- Record the bridge output every ten seconds as the pressure falls.
- Note that the output moves steadily in one direction.
- Admit air slowly and watch it return.
මෙම පියවර සඳහා ද්රව්ය:
 ප්රස්තාර කඩදාසි1 pad
අවශ්ය මෙවලම්:
රසායනාගාර තරාතිරමේ ඩිජිටල් බහුමානකය නැවතුම් ඔරලෝසුව
Calibrate against the McLeod and find both ends of the range
Calibrate against the McLeod and find both ends of the range
The primary standard calibrates the convenient instrument — that is what it is for.
- Connect the McLeod gauge and the Pirani to the same system.
- Take simultaneous readings at eight pressures across the pump-down.
- Plot Pirani output against McLeod pressure on log axes.
- Note where the curve goes flat at the HIGH pressure end.
- Note where it goes flat at the LOW pressure end.
මෙම පියවර සඳහා ද්රව්ය:
ප්රස්තාර කඩදාසි1 padඅවශ්ය මෙවලම්:
රසායනාගාර තරාතිරමේ ඩිජිටල් බහුමානකයඩිජිටල් කැලිපරය අඟල් 6නැවතුම් ඔරලෝසුවOne sensor, two regimes, and history
One sensor, two regimes, and history
Marcello Pirani published his gauge in 1906 while working at Siemens in Berlin, where the growing lamp industry needed a way to monitor bulb evacuation continuously rather than by stopping to take a McLeod reading. An electrical output that a factory could watch in real time was worth more than a laboratory instrument's accuracy.
The relationship with the hot-wire anemometer is the interesting part. They are the same device — a heated wire in a bridge, cooled by the gas around it. What differs is the regime. At atmospheric pressure the gas is dense and heat is carried away by BULK MOTION, so the wire reports velocity. Below roughly a thousandth of an atmosphere the gas is so thin that molecules travel between the wire and the wall without colliding with each other, and heat loss depends on how many of them there are, so the wire reports pressure. Same physics, different regime, two different instruments — and the catalogue now holds both.
Its practical virtues: continuous reading, no mercury, robust, cheap, and an electrical output that can drive an interlock or a control loop. That last property is why it displaced the McLeod for routine use even though it is less accurate — an instrument a machine can read beats a more accurate one that needs a person.
Its honest limits: gas-dependent calibration; a limited range with saturation at both ends; sensitivity to ambient temperature unless compensated; and contamination of the wire by oil or deposits, which changes its heat loss and hence its calibration. For pressures below its floor you need the ionisation gauge later in this batch.
ද්රව්ය
6- ස්ථානගත
- 1 කට්ටලයස්ථානගත
- 1 කට්ටලයස්ථානගත
- 1 කට්ටලයස්ථානගත
- 1 කැබැල්ලස්ථානගත
- 1 padස්ථානගත
අවශ්ය මෙවලම්
6- ස්ථානගත
- ස්ථානගත
- 1 vendor sell this, none ship to you yetස්ථානගත
- ස්ථානගත
- ස්ථානගත
සම්බන්ධ බ්ලූප්රින්ට්
මෙම බ්ලූප්රින්ට් දැනුම බෙදා ගනී — ශිල්ප ක්රම, ද්රව්ය හෝ මූලධර්ම

CC0 පොදු වසම
මෙම බ්ලූප්රින්ට් CC0 යටතේ නිකුත් කර ඇත. ඔබට අවසර නොමැතිව පිටපත් කිරීම, වෙනස් කිරීම, බෙදා හැරීම සහ භාවිතා කිරීම කළ හැක.
බ්ලූප්රින්ට් හරහා නිෂ්පාදන මිලදී ගැනීමෙන් නිර්මාතෘට සහාය වන්න නිර්මාතෘ කොමිසම විකුණුම්කරුවන් විසින් නියම කළ, හෝ මෙම බ්ලූප්රින්ට්හි නව අනුවාදයක් සාදා ආදායම බෙදා ගැනීමට ඔබේ බ්ලූප්රින්ට්හි සම්බන්ධතාවයක් ලෙස ඇතුළත් කරන්න.